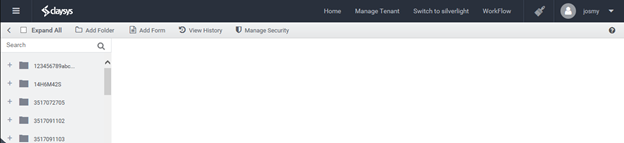
User Management
- Click on the User Management button. The User Management is used to Add, Delete users and change the groups for various users.
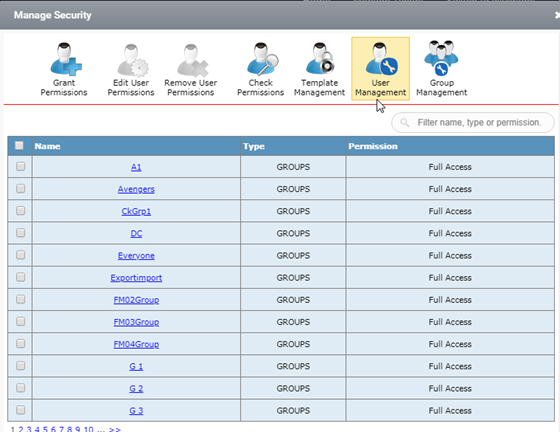
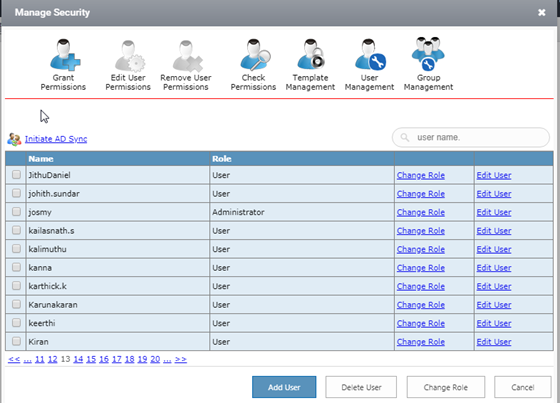
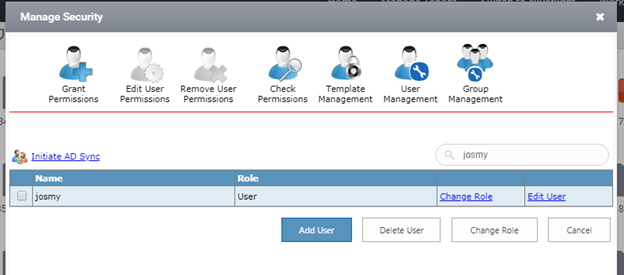
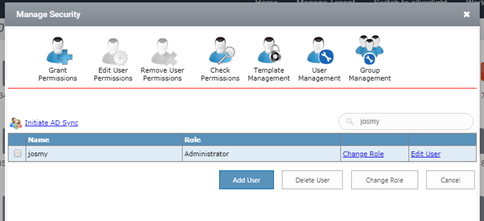
2. A window opens as shown below in the figure.
3. Click on the Add User button to add the users for adding the users to different group. On clicking the a window is opened where a new user can be added as shown below. On clicking the Save button the user will be added successfully.
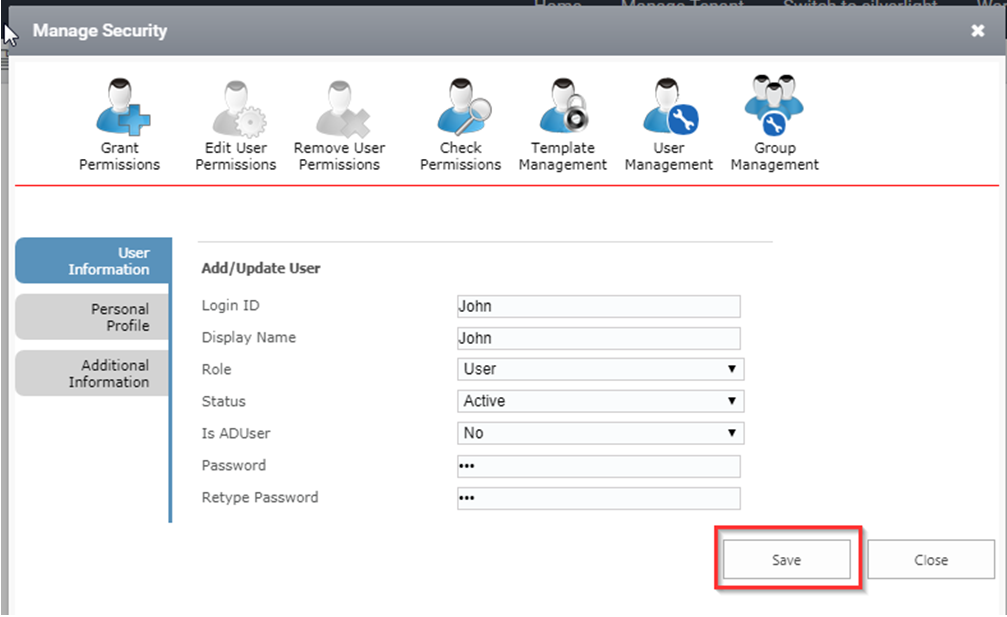
Figure 5
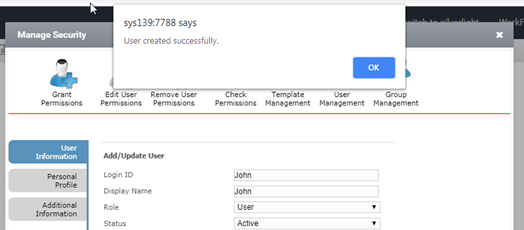
Figure 6
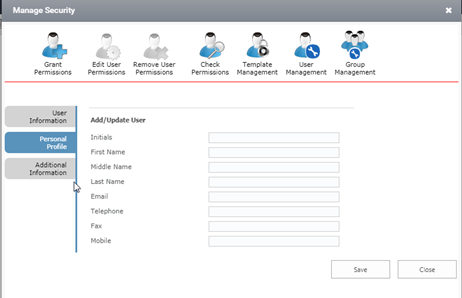
4. The personalProfile details as well as additional information about the user can also be provided while adding a user.
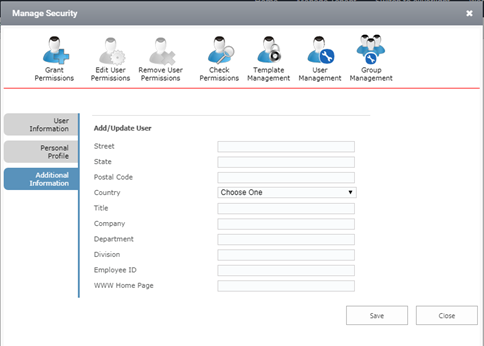
The addition information contains the details shown below.
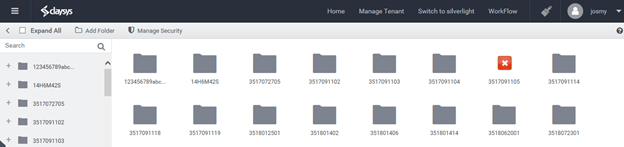
The added user can be seen in user’s window.
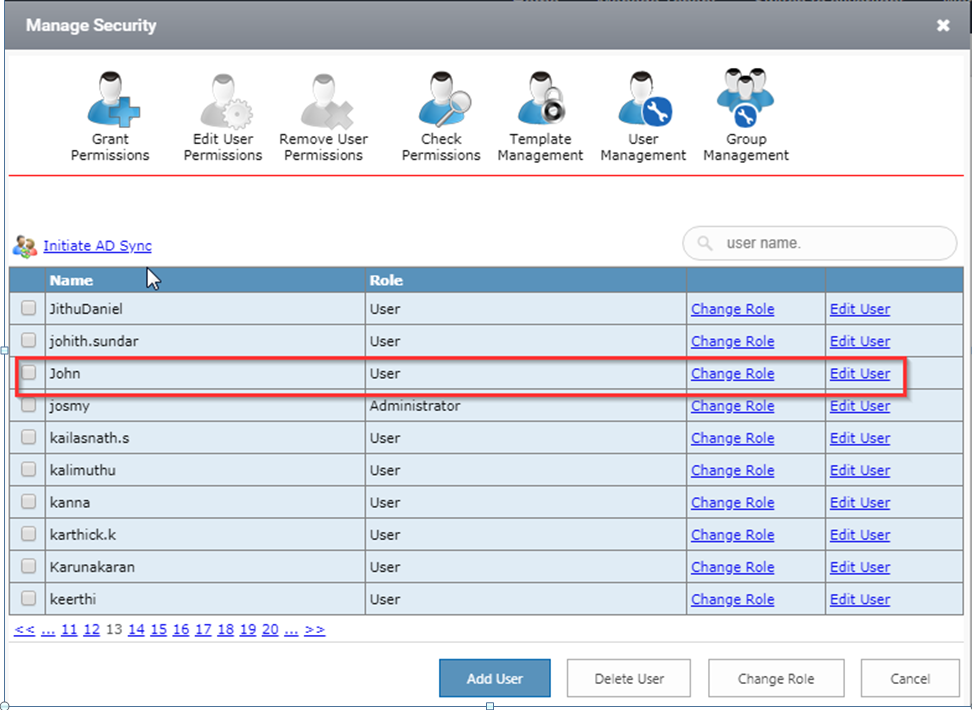
5. To delete a user from the users, tick on the checkbox of the user which has to be deleted and click the button.
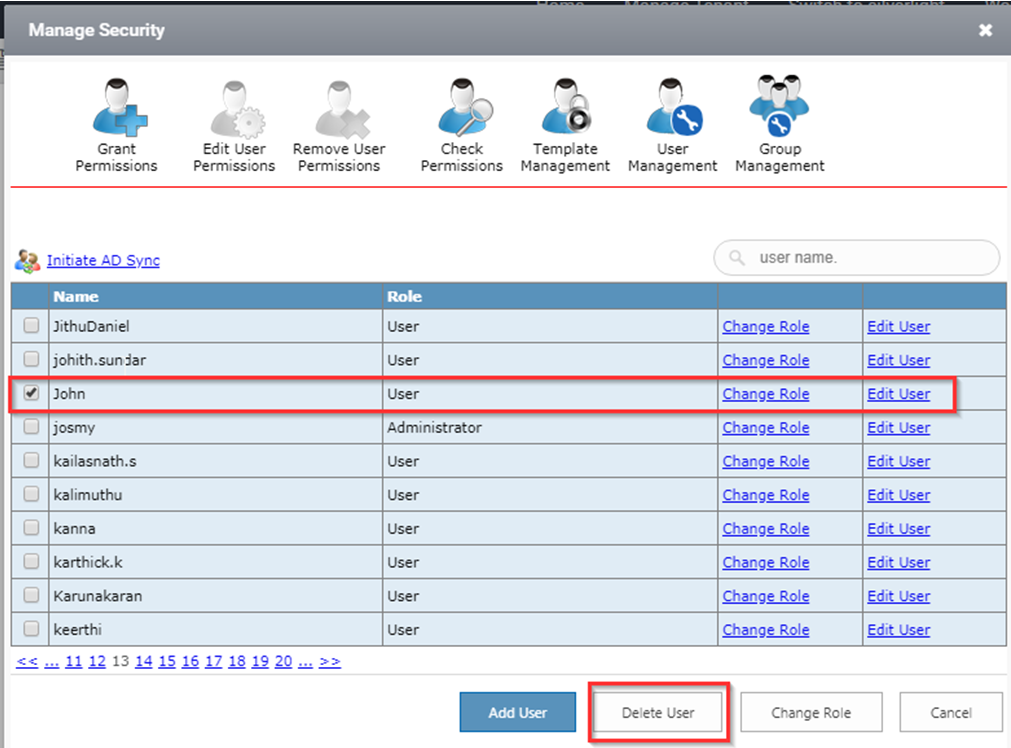
6. The deleted user will not be visible in the User Management list.
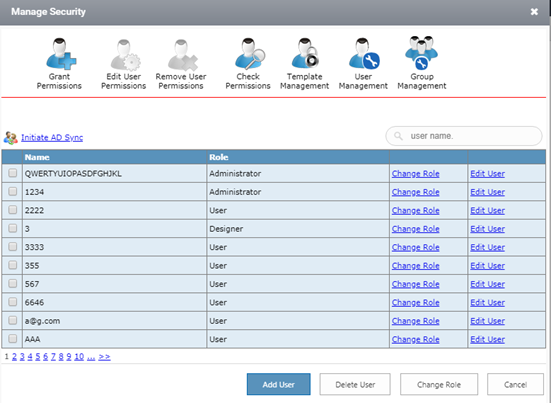
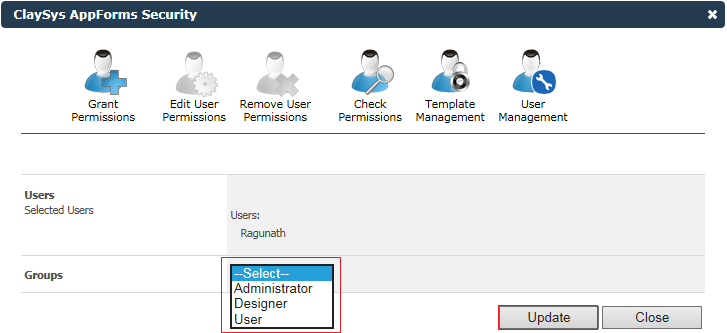
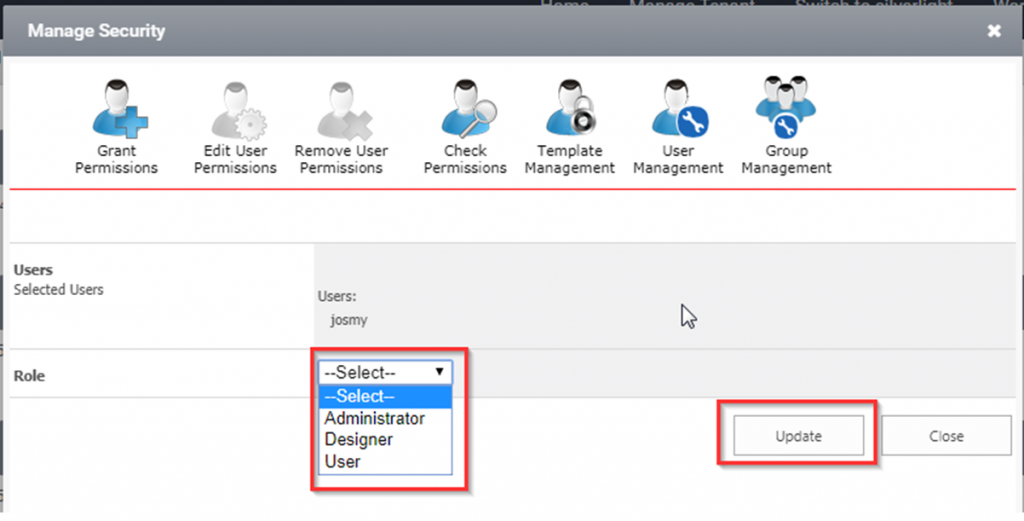
7. To change the group of a user we can either click on the link present in the row of the respective user  or on the button
  . While clicking on any of these buttons a page appears as shown below.
Administrator:The administartor can view the designer and rendering.
Designer: The designer can view the designer as well as rendering but cannot view the” Manage Security” , “Navigation Settings” and “Manage Tenant”.
User: The user cannot view the designer.
8. Update the group for the user after selecting the choice provided by clicking the  button.
9. For below logged in user “Designer” permission was given.
10. Now change the group for Josmy from Designer to User.
11. If the user logged in as Josmy, the designer will not be displayed.
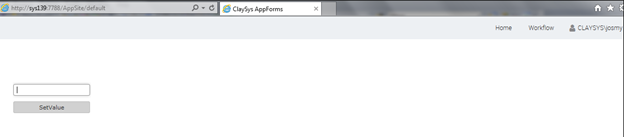
12. Change the group for Josmy to Administrator.
13. Login as Josmy.