Configuration of MetaData Control in SharePoint
Metadata Control allows users to define and manage metadata for data fields or datasets. It helps standardize data definitions, apply validation rules, and ensure consistent data usage across the system. This feature supports better data organization, integration, and governance.
Let’s explore the detailed configuration options available in Metadata Control.
Creation of Meta Data column in List
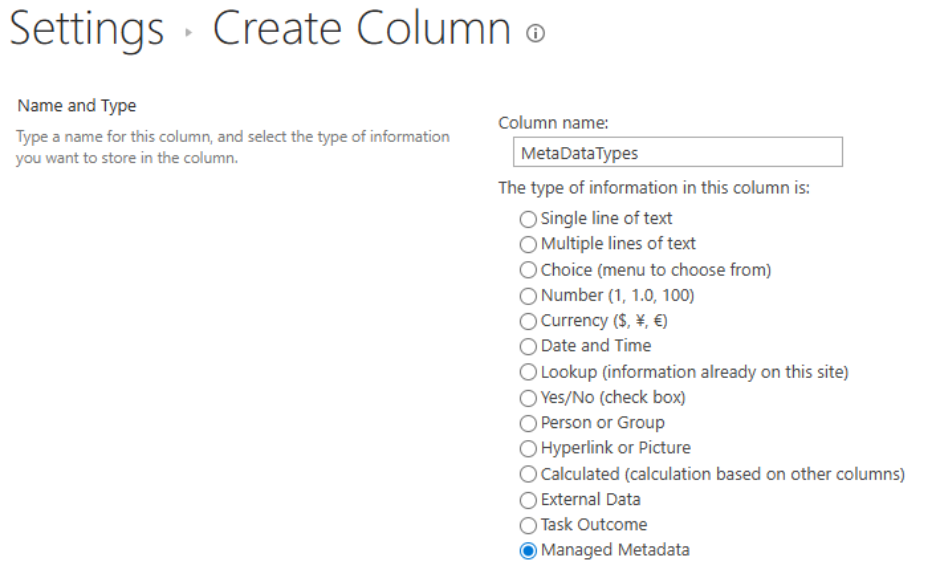
Step 1: Click on the “Create Column” option from the list.

Step 2: The Create Column window will appear. Enter the column name and select Managed Metadata as the column type, as shown in the image below.
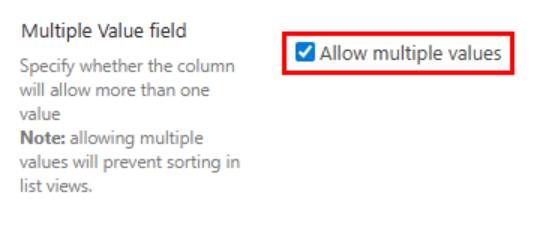
Step 3: Select the ‘Allow multiple values’ checkbox to enable the column to accept more than one value, as illustrated in the image below.
Step 4: Select ‘Use a managed term set’ to utilize a predefined term set. Examples of these predefined term sets are shown under the ‘Managed Metadata Service’ heading.
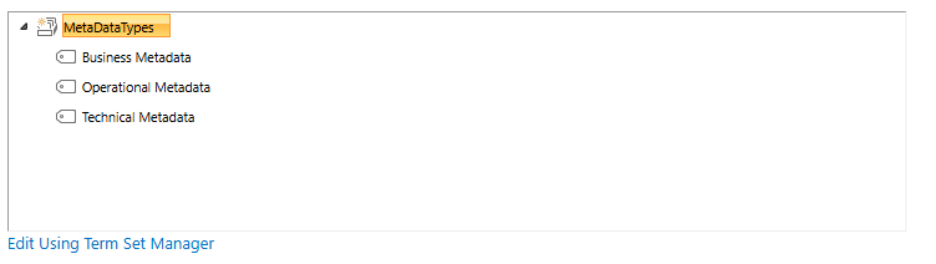
Step 5: You can also select ‘Customize your term set’, as shown in the image below.
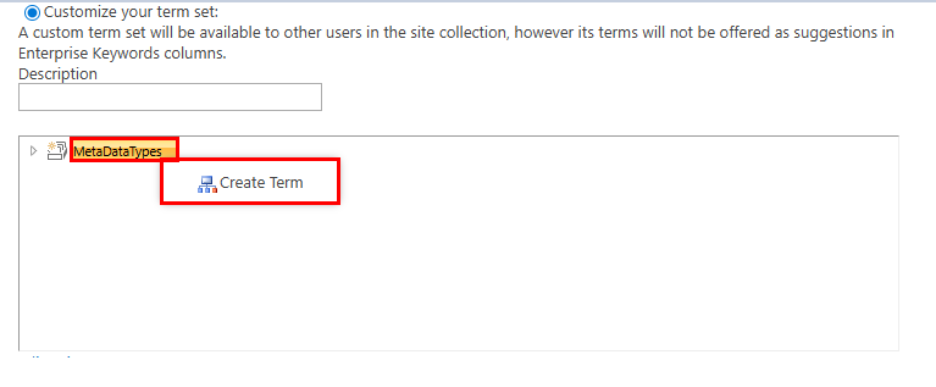
Step 6: The terms that have been created are displayed in the image below.
For each parent term, you can create a child term by right-clicking on the parent and selecting the ‘Create Term’ option. Similarly, you can also delete or move a term using the right-click menu.
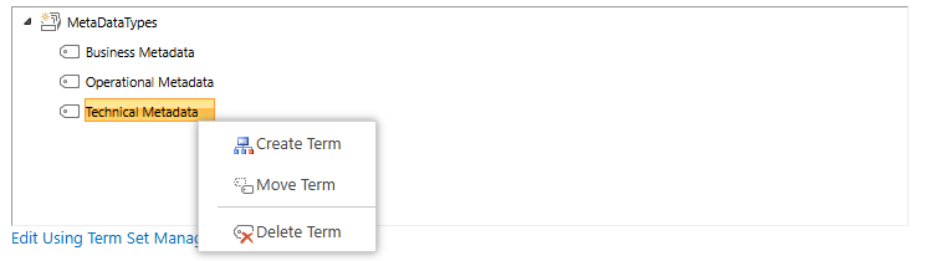
Once you’ve entered all the details, click OK to proceed.
Configuration of MetaData control with the list
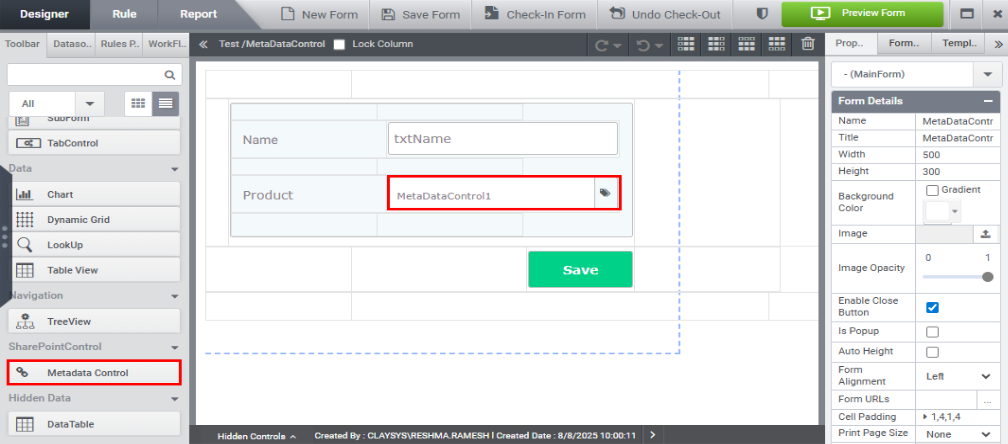
Step 1: Drag and drop the Metadata control onto the form, as shown in the image below.
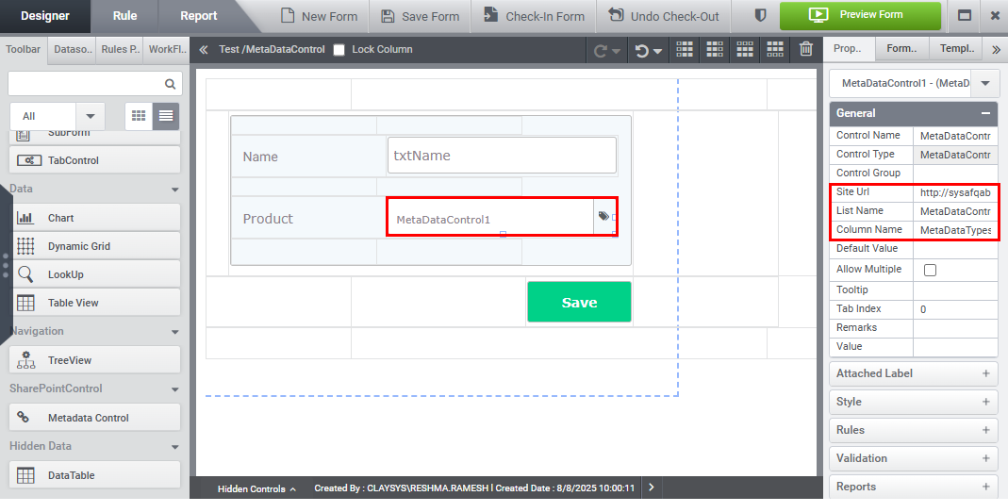
Step 2: Click on the Metadata control and enter the following values in the General properties:
- Site URL: Provide the URL of the site containing the list with the Metadata control.
- List Name: Enter the name of the list.
- Column Name: Specify the name of the column linked to the Metadata control, as shown in the image below.
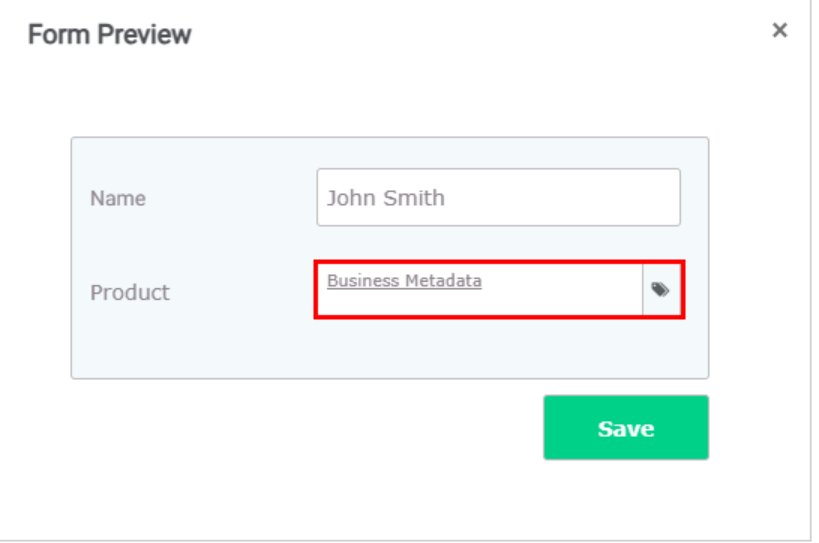
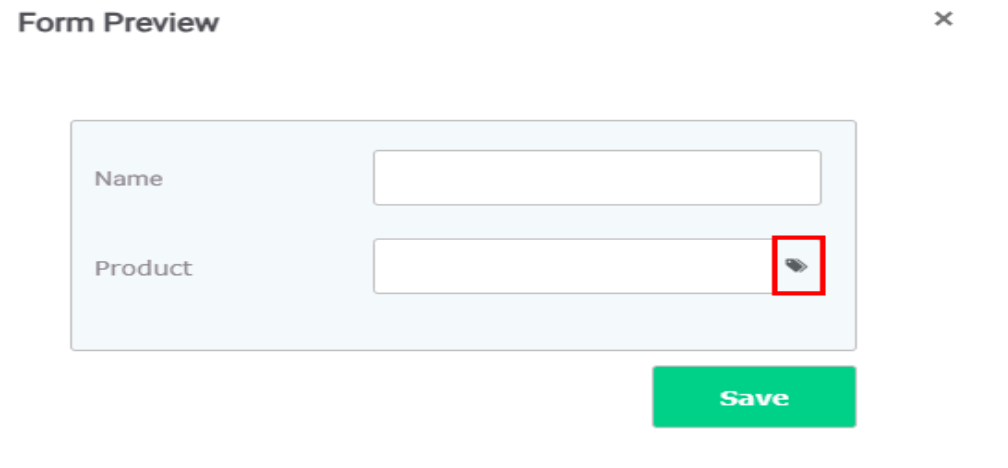
Step 3: In preview, click on the Metadata Control icon, as shown in the image below.
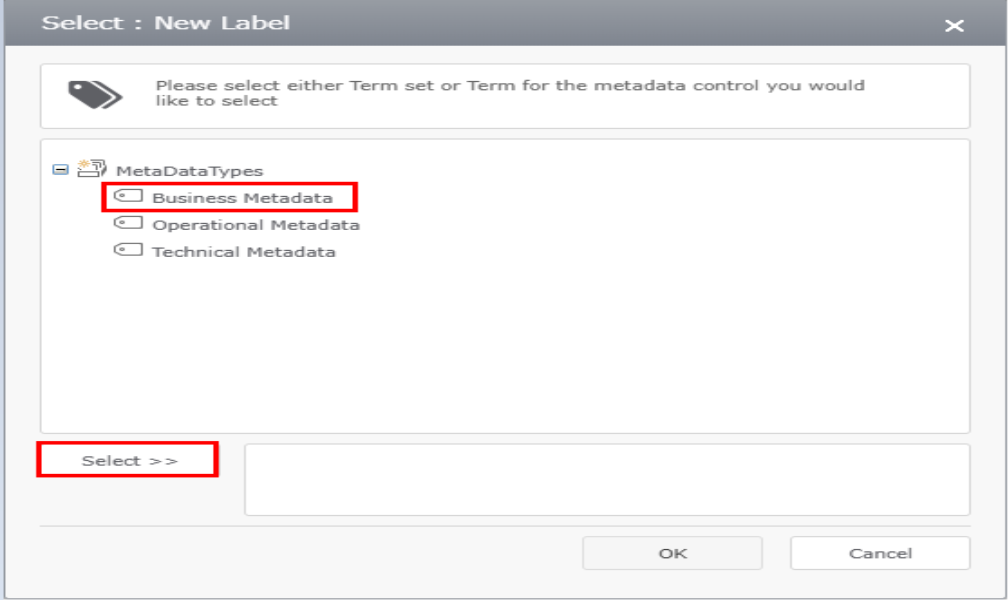
Step 4: A popup window will appear. Select the desired item and then click the Select button, as shown in the image below.
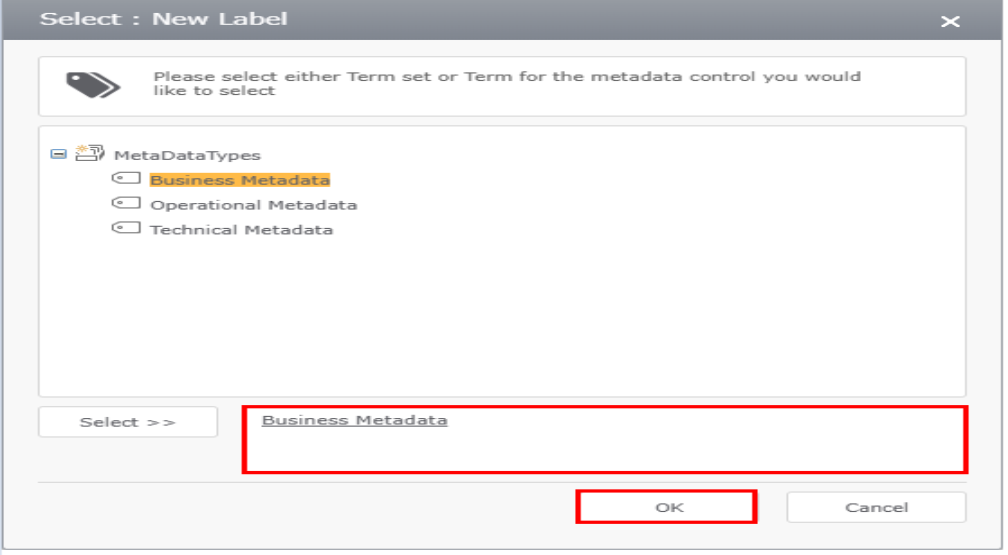
Step 5: The selected item will be added to the section below, as shown in the image below.
Step 6: The selected data will be added in the meta data control as shown in the image below.