Add AppForm to web part in SharePoint
Let’s explore how to add forms to a web page.
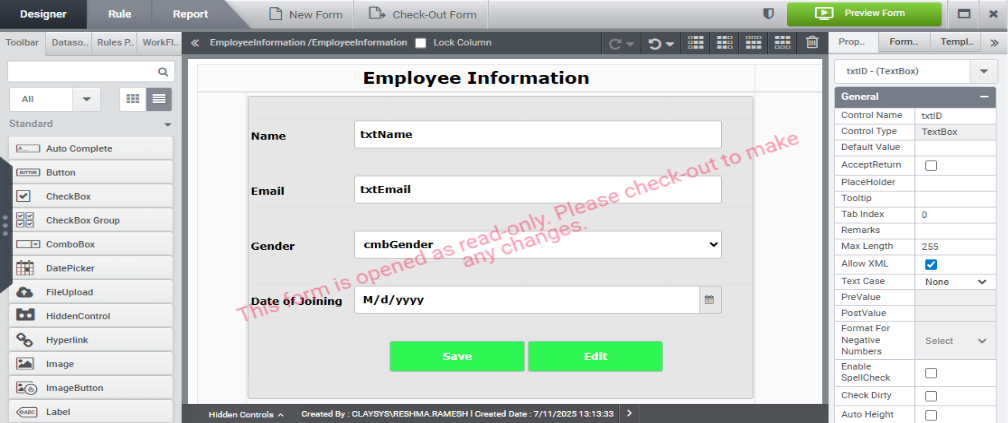
In Form Explorer, create a form with the necessary controls and check in the form as shown in the image below.
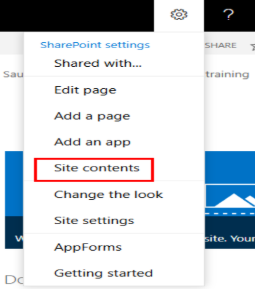
Click the gear icon located in the top navigation bar, as illustrated in the image below.

From the list of available options, click on “Site contents” as shown in the image below.
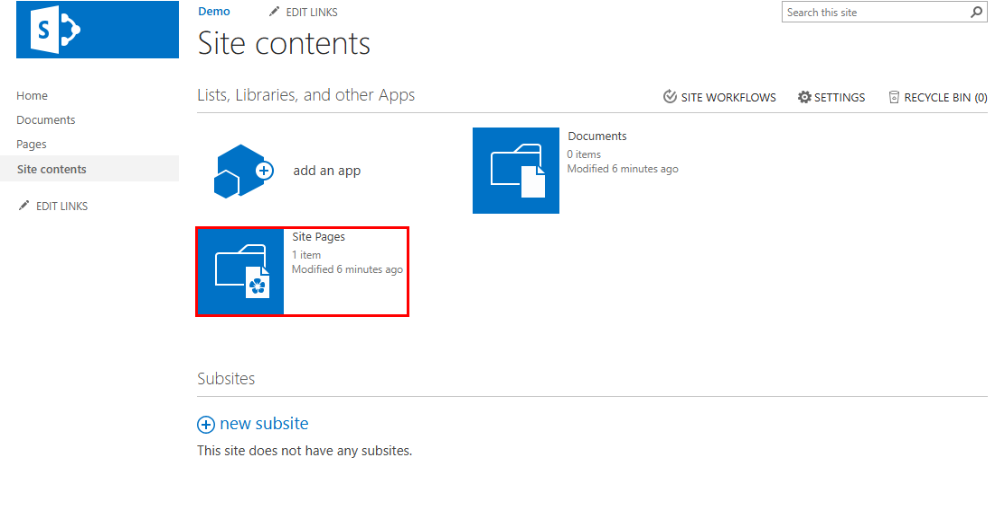
Once the Site Contents page appears, locate and click on the “Site Pages” option. This will take you to the section where all your site pages are listed.
Click on the New option, as shown in the image below.

A prompt will appear requesting you to enter a name for the new page. Enter the desired page name and click the “Create” button.

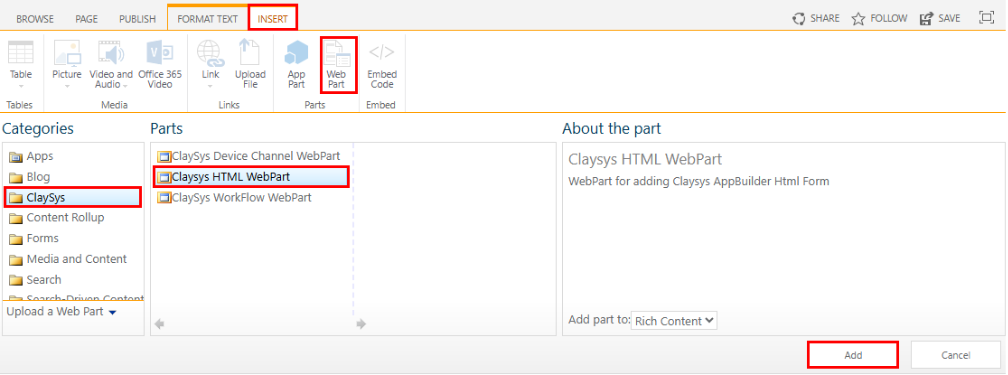
Once the newly created page opens, navigate to the “Insert” tab, select the “Web Part” option.
Under Categories, choose “Claysys”, then select “Claysys HTML Webpart”, and click “Add” as illustrated in the image below.
When the page loads, click the “Edit the Web Part” link, as shown in the image below.
This action will open a side panel, as displayed in the image.
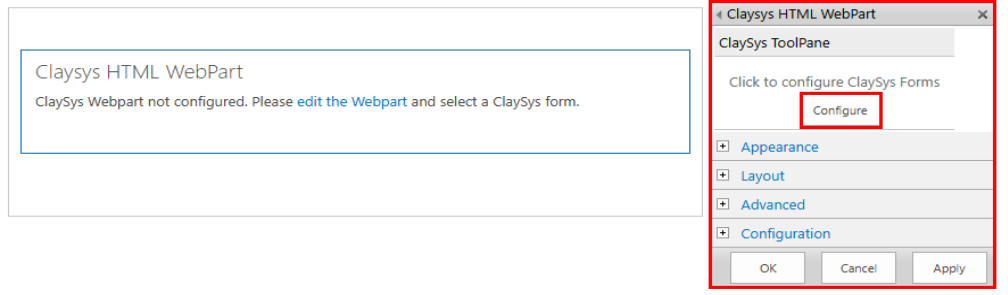
Next, click the “Configure” button. The Form Selection window will appear. Choose the desired form and click the “Select” button, as shown in the image below.

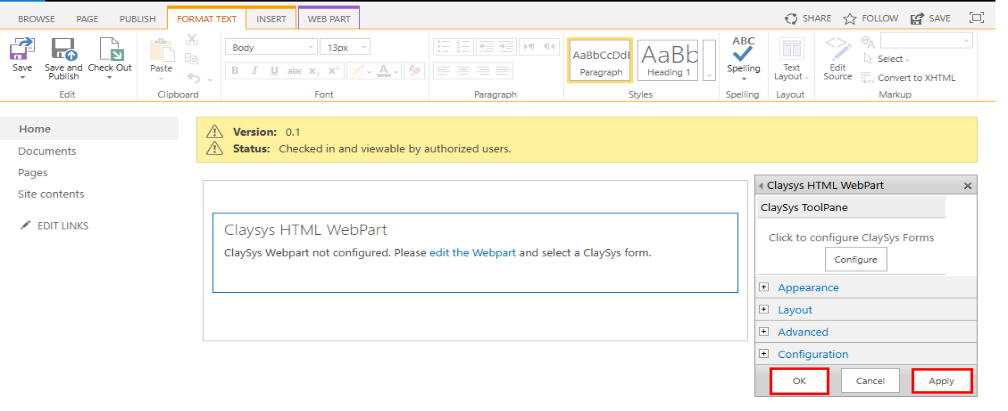
Click the “Apply” button, followed by the “OK” button, as shown below.
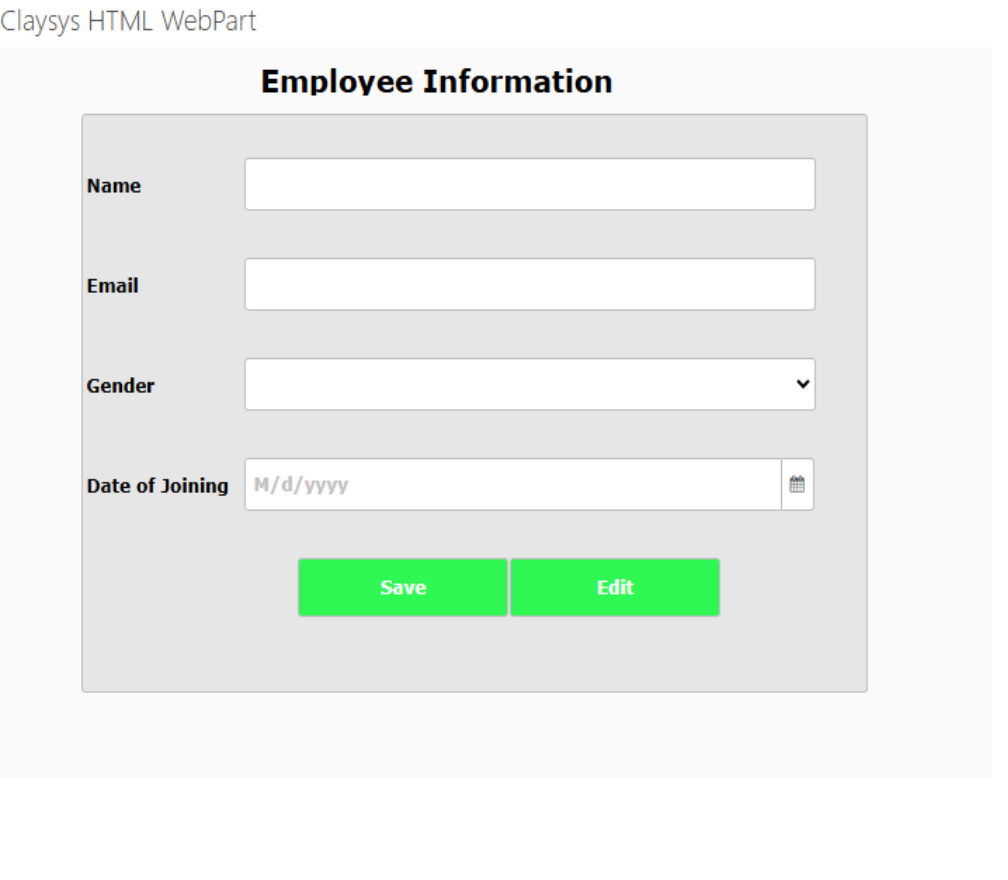
Click the “Save” button to save the web part, as illustrated in the image below.
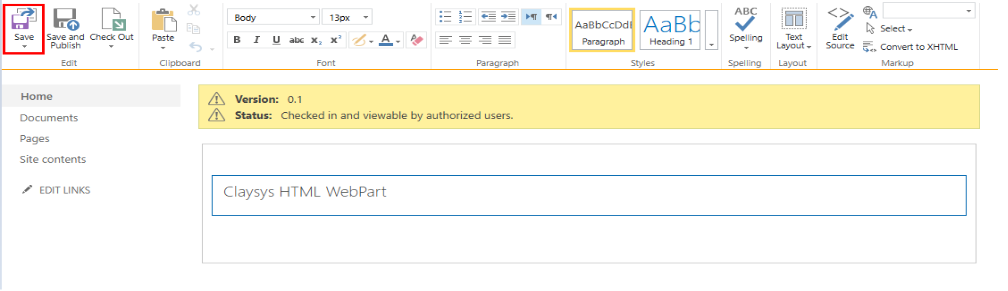
Once saved, the web part will be displayed on the page as shown in the image below.