DataSource Settings
DataSource Settings are the configuration options in AppForms used to connect to databases or web services. You can access them within the form’s data source and apply them directly to controls such as Table View, Dynamic Grid, Collection control, etc. These settings allow you to configure connection types (SQL, REST, SharePoint, etc.), authentication, server details, and more, ensuring seamless data binding for your form controls.
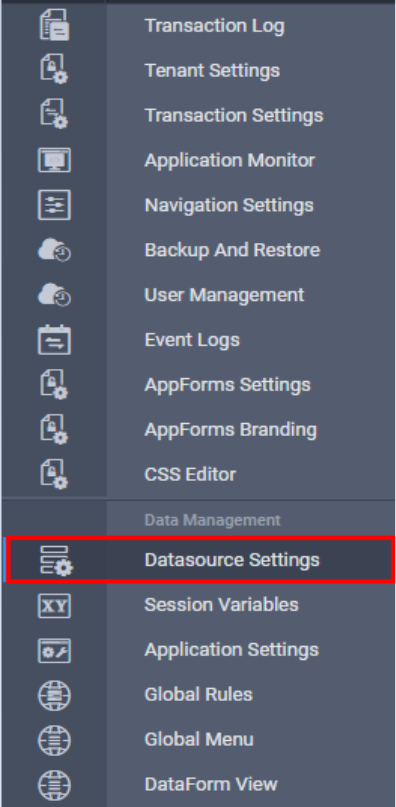
Datasource settings link is available on the left navigation link as shown below.
When the Datasource Settings link is clicked, the Datasource Settings page appears as shown below. This page is divided into two sections: the left side allows you to create a new DataSource, while the right side displays the newly created DataSource along with any existing ones.
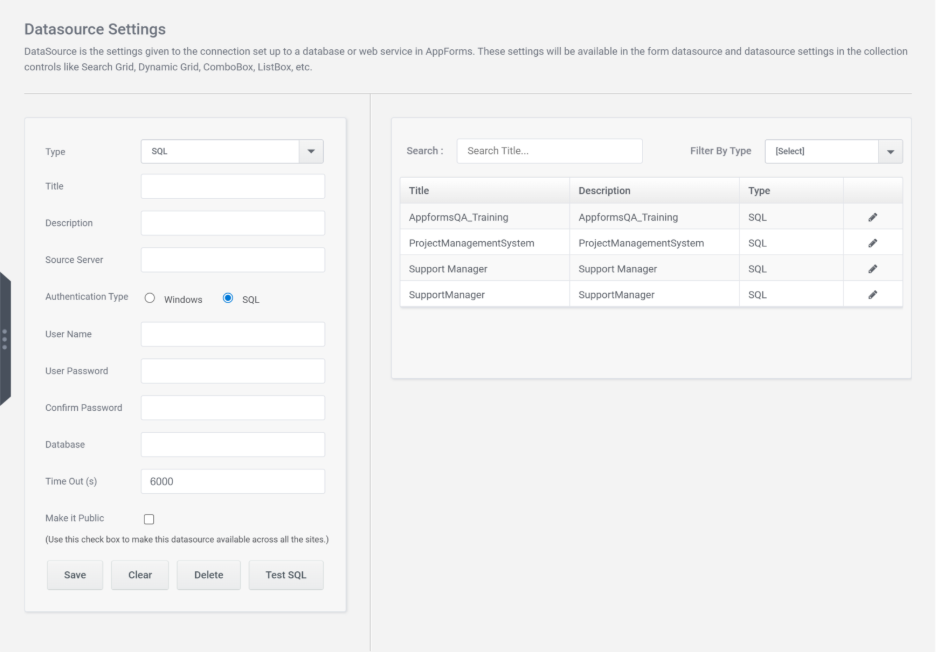
Fields in Datasource Creation Section
Type -Various types of data sources are available, including SQL, Webservice, RESTful Webservice, Azure Table, and External SharePoint. Note that External SharePoint is only available in SharePoint. Select the appropriate DataSource type as needed.
Title –Enter the required title for the DataSource. This title will be displayed when configuring the DataSource in Forms.
Description – The description of the DataSource can be added in this field.
Source Server -The source server name should be given.
Authentication Type – There are two types of authentications available.
- Windows– On selecting windows, Windows authentication will be taken and an impersonation checkbox appears. Enable checkbox if Impersonation required.
- SQL– On Selection SQL, SQL authentication will be selected, Username, User Password and Confirm Password fields will appear. Fill in the details.
Database – The Database name should be given in this field.
Time Out– Enter the Timeout value. By Default, it will be 6000.
Retry count – In case of a datasource connection failure, the number of retry attempts can be configured here, with a limit between 0 and 3.
Make it Public – Enable this checkbox to make these data sources available across all the tenants.
URL – This field is displayed for Webservice, RESTful WebService, and External SharePoint data sources. You need to provide the URL associated with the respective DataSource.
Disable Logging– This checkbox is available for WebService and RESTful WebService data sources. Use it to enable or disable the transaction log.
Is Azure API– This checkbox is shown for RESTful WebService data sources. When enabled, it reveals the Azure Identifier URL field, where the corresponding URL must be entered.
For Azure Table, Account Name and Account Key field appears where Azure Account name and Account Key should be given.
There are four buttons available.
- Save – Click the Save button to save the DataSource configuration.
- Clear – Click the Clear button to reset all fields in the DataSource settings.
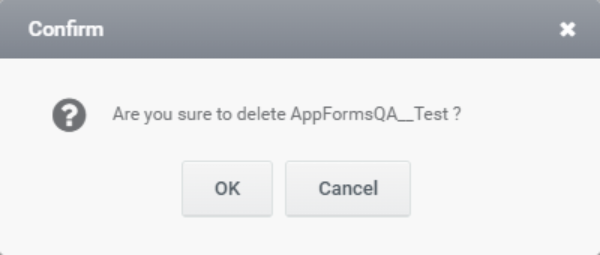
- Delete – Click the Delete button to remove the DataSource. A confirmation dialog box appears as shown in the image below. Click Ok.
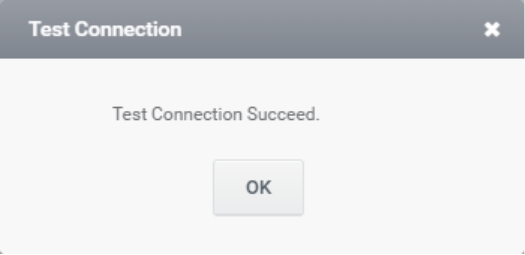
- Test SQL – Click Test SQL to test the database connection. Test Connection success dialog box appears as shown below. Click Ok.
After saving the DataSource configuration, it will appear in the list on the right side.
The grid displays the title, description, and type of the DataSource.
As shown in the image below, the data sources in the grid can be filtered by title and type.

To edit the DataSource settings, click the Edit icon at the end of the DataSource entry as shown in the image below. The details will then appear on the left side, allowing you to modify the necessary information of the DataSource.
