AppForms Settings
The AppForms Settings are used to configure Email services, Active Directory (AD) integration for user import, Captcha for authentication, and to publish the latest custom files to users.
Let’s explore this in detail.
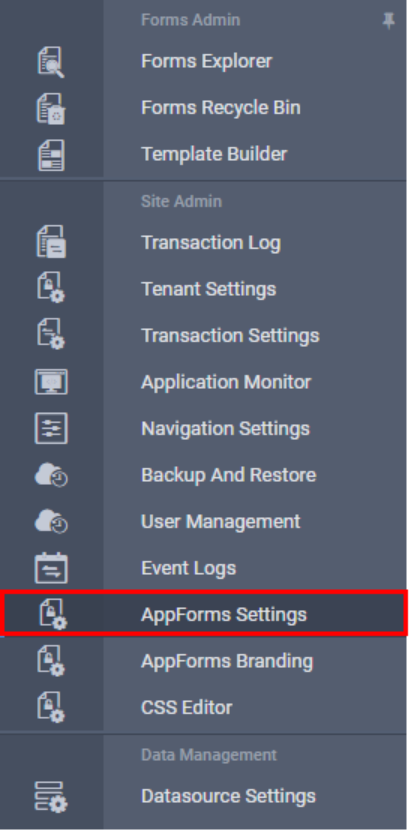
The AppForms Settings link can be found in the left navigation menu, as shown below.
The AppForms Settings page appears as illustrated below.
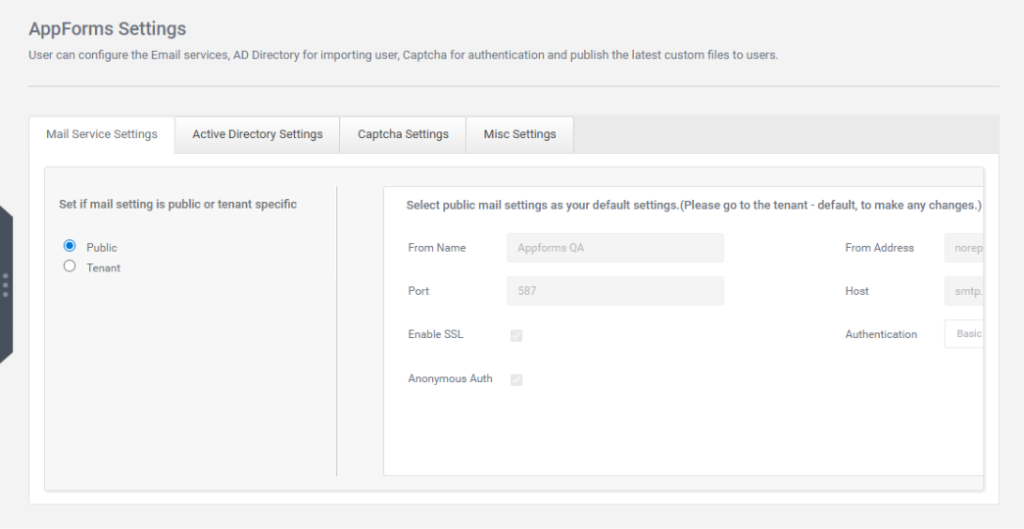
The AppForms Settings section includes four tabs:
- Mail Service Settings
- Active Directory Settings
- Captcha Settings
- Misc Settings
1. Mail Service Settings
The Mail Service Settings section allows you to configure the email functionality within AppForms. This includes setting up the SMTP server, authentication details, and sender information to enable the system to send notifications, alerts, and other automated emails. Proper configuration ensures reliable email communication between the application and its users.
Mail settings have two options.
- Public
- Tenant
Select “Public” to configure mail settings that apply to all tenants across the site. Choose “Tenant” to set mail settings specific to a particular tenant.
Mail service settings page appears as shown below.
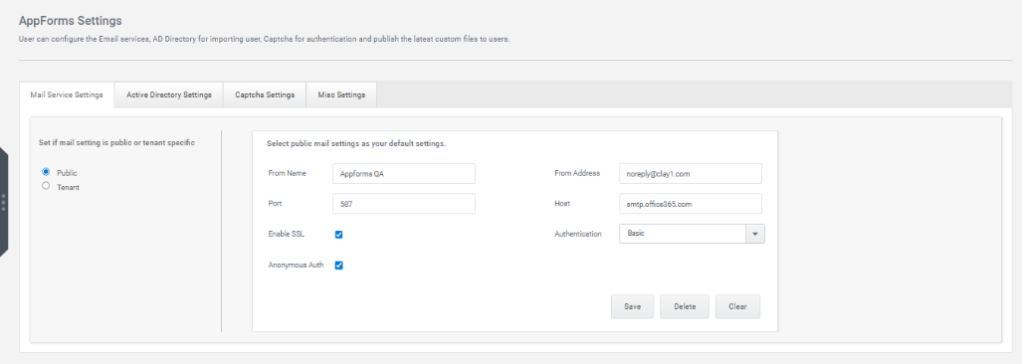
From Name: This refers to the “From Name” that will appear as the sender of the email message.
From Address: This refers to the email address that the message is sent from.
Port: This refers to the network port number used, if auth is OAuth2, it will be the redirect URI or the server hosting the application that handles the OAuth 2.0 flow.
Host: This refers to the server domain or base URL of the mail service and in the case of OAuth2 the domain that provides the OAuth2 authentication or authorization endpoint.
Enable SSL: Enabling SSL (Secure Sockets Layer) in OAuth 2.0 is important to ensure secure communication between clients, authorization servers, and resource servers during the OAuth 2.0 flow.
Authentication: If the selected authentication mode is Basic, the user must provide a Username and Password. If the mode is Anonymous, simply check the Is Anonymous checkbox.
For Azure authentication, select the OAuth2 authentication type. Once OAuth2 is enabled, the Client ID, Client Secret, and Azure Tenant ID fields will become available.
ClientID: This serves as a unique identifier for a client (an application) that requests access to a user’s resources.
Client Secret: Client Secret is a crucial part of the authentication and authorization process, especially for confidential clients (applications that can securely store secrets). It works alongside the Client ID to verify the identity of the application making a request for access to resources on behalf of a user.
Azure Tenant ID: The Azure Tenant ID is a unique identifier for an Azure AD tenant. An Azure AD tenant represents an instance of Azure Active Directory and is associated with an organization’s identity and access management.
Once the mail settings are configured, any email sent from the form will be delivered according to the settings specified in the Mail Service Settings tab.
There are two additional buttons in the Mail Service Settings tab.
Clear: This button clears all the fields.
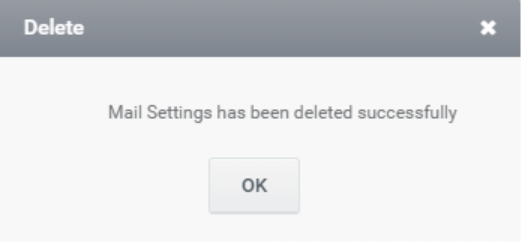
Delete: This button is used to delete the configured mail settings. When clicked, a confirmation message box will appear, as shown in the image below. Click Ok to delete the settings.
2. Active Directory Settings
This option is available for configuration in Active Directory Settings.
The Active Directory Page is shown below.
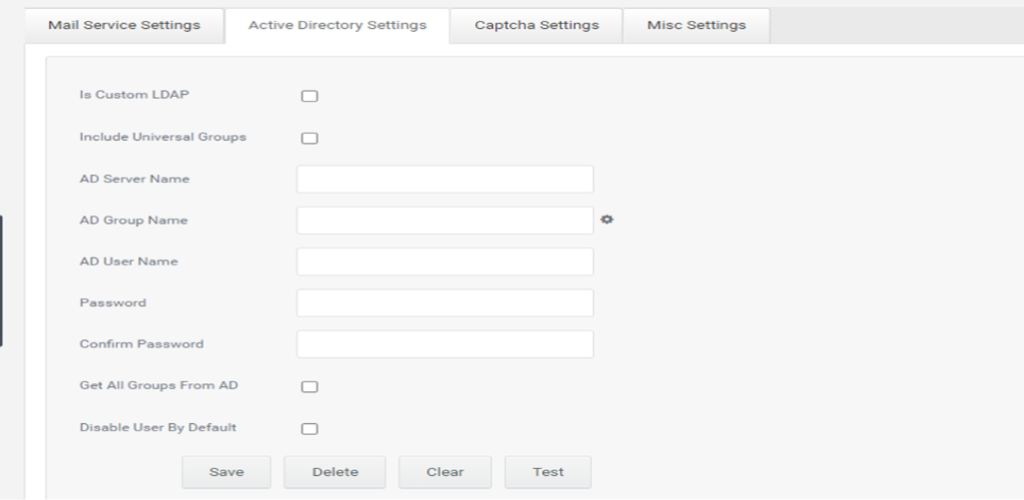
- Is Custom LDAP: This is a checkbox option that allows the user to specify whether the LDAP (Lightweight Directory Access Protocol) configuration is custom or not. If checked, it indicates a custom LDAP setup.
- Include Universal Groups: When this option is selected, it indicates that universal groups should be included in the Active Directory settings. Universal groups are a type of group in Active Directory that can contain users, groups, and computers from any domain within the Active Directory Forest.
- AD Server Name: This is a text box where the user can enter the name or address of the Active Directory server. This is the server that hosts the Active Directory service.
- AD Group Name: A text box where the user can specify the name of the Active Directory group they want to work with. This could be a group used for specific permissions or access control within the Active Directory.
- AD Username: Here, the user can input the username or ID used to authenticate and connect to the Active Directory server. This is typically an administrative or privileged account.
- Password: A password field where the user enters the corresponding password for the AD user specified above. This password is used for authentication when connecting to the Active Directory server.
- Confirm Password: Another password field where the user re-enters the password to ensure its correctly entered and matches the one provided in the previous field.
- Get All Groups From AD: A checkbox that, when selected, indicates that all groups from the Active Directory should be retrieved. This can be useful for applications that need access to all groups for certain operations or configurations.
- Disable User by Default: This checkbox option allows the user to set a default state for newly added users in the Active Directory. When checked, it implies that new users will be disabled (i.e., their accounts will be inactive) by default until explicitly enabled.
3. Captcha Settings
The Captcha Settings section is used to enable and configure Captcha for the login page. It helps prevent automated login attempts by requiring users to enter a code shown in an image, adding an extra layer of security.
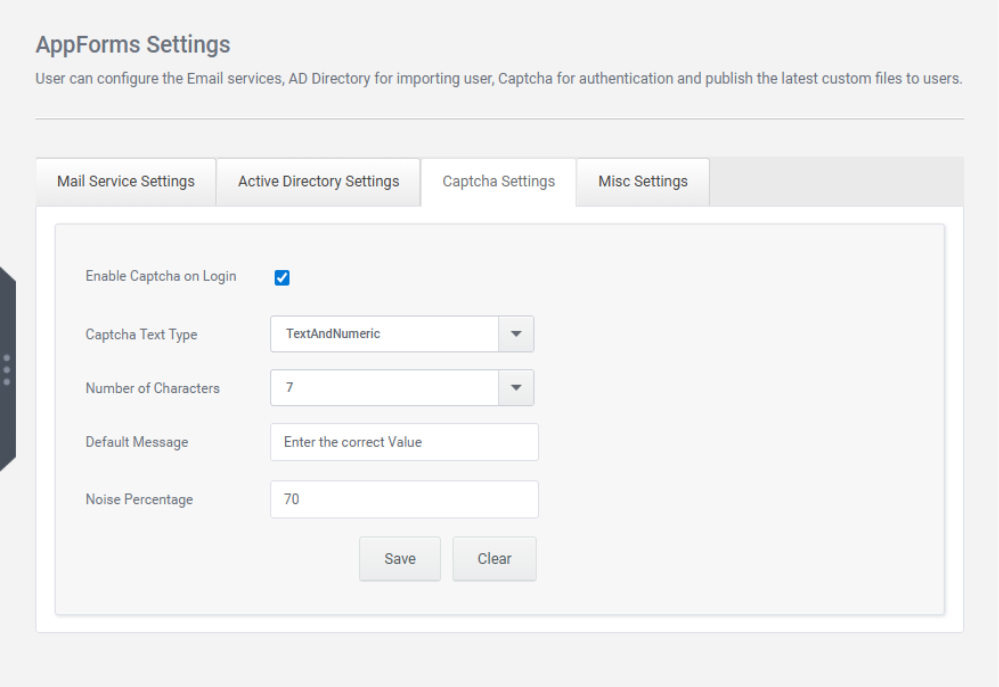
Clicking captcha Settings Tab, captcha settings page displayed as shown below.

When the “Enable Captcha on Login” option is activated, the other fields will become accessible.
Captcha Text Type has various options such as Text Only, Numeric Only, Text and Numeric, Text Upper case and Text Lower case.
No of Characters- This field allows the user to specify the number of characters required in the Captcha control. The number of characters starts from 4 to 10.
Default Message: This field allows the user to enter the default message to be shown.
Noise Percentage: Noise Percentage refers to the amount of visual distortion (such as random lines or dots) added to the Captcha image to make it more difficult for bots to interpret, while remaining readable to human users. This helps enhance security by preventing automated systems from bypassing the Captcha.
The sample captcha settings are shown below.
Click the save button.
Additionally, there is a clear button which clears all the fields.
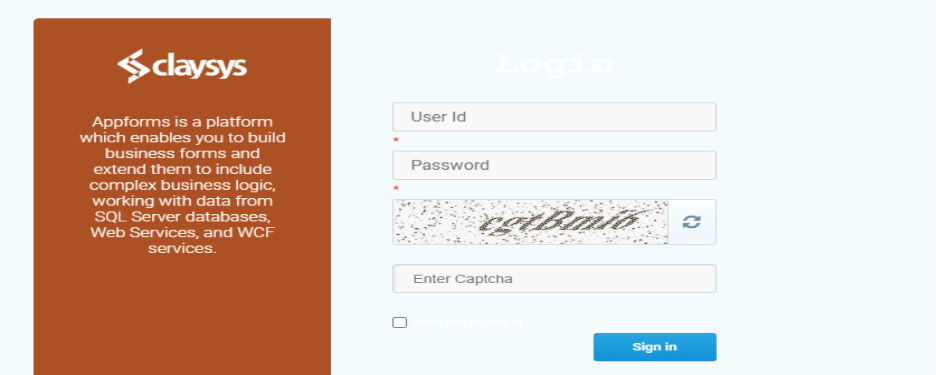
The login page appears as shown below.
4. Misc Settings
Misc settings are used to publish the latest custom files to users.
On clicking Misc settings, Misc settings page appears as shown below.
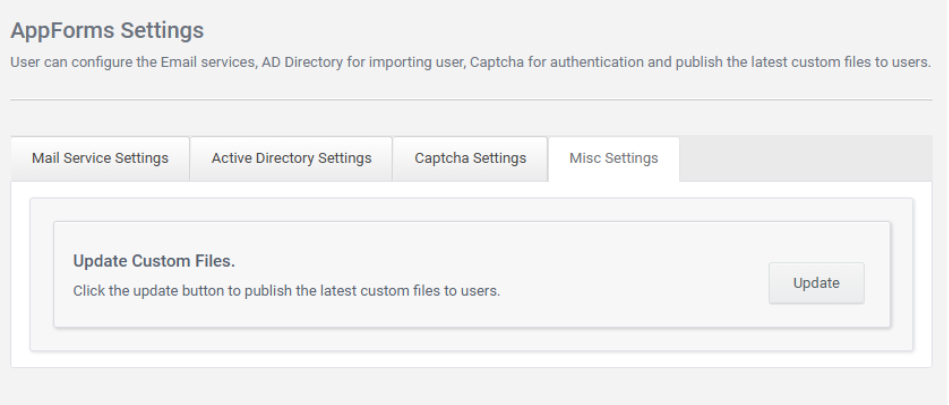
Click the update button to publish the latest custom files to users.