Add Rules in AppForms
In ClaySys AppForms, rules play a crucial role in defining the behavior of an application. They are used to execute various actions within a form and can consist of actions, decision points, and sub-rules grouped under a main rule. All rules can be created, edited, and managed through the Rules Editor in the AppForms Designer.
Create Rules:
Let’s explore the various methods for creating rules in AppForms.
1. Creating rule using Rules Picker
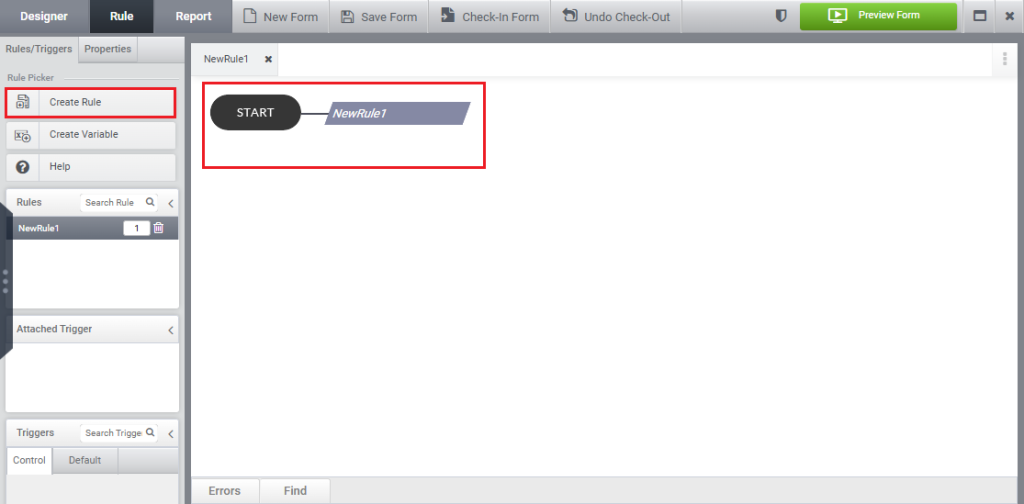
Click the Create Rule option from the Rules tab to generate a new rule in the Rules Editor, as shown in the image below.
2. Creating a rule in the trigger of control
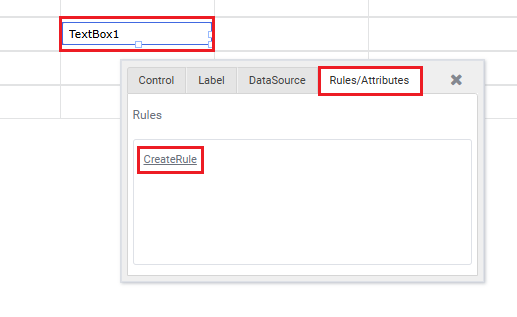
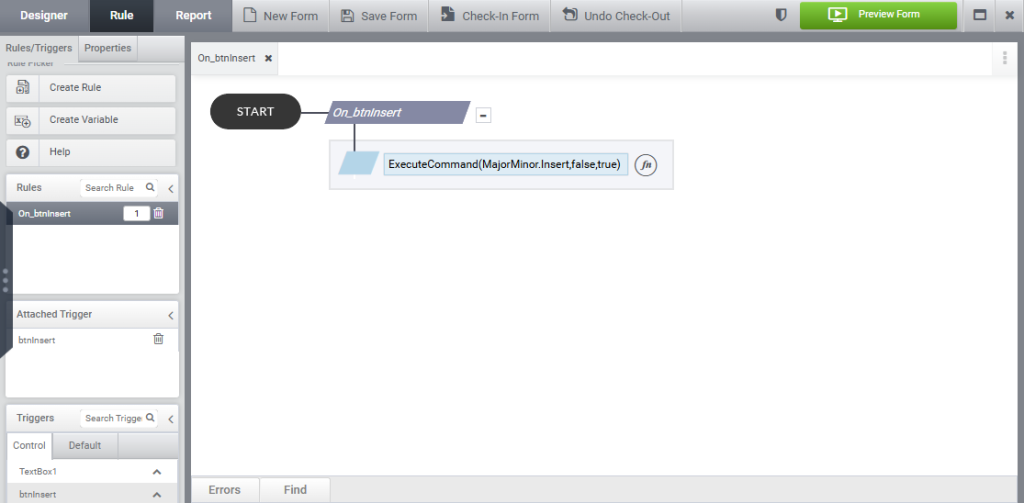
All actions to be triggered can be defined under the control’s trigger. To do this, drag and drop the required control onto the form, then click on the Create Rules link from the Rules/Attributes tab, as shown in the image below.
3. Creating rule using Rules Panel
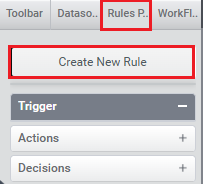
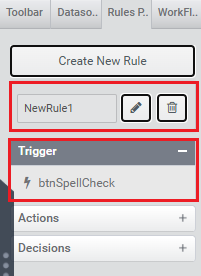
Select the control that needs to be set as the trigger, then choose the Create New Rule option from the Rule Panel, as shown in the image below.
A new rule will be created, and the selected control will appear in the Trigger section, as shown in the image below. By default, the rule will be named NewRule1. You can edit this name by clicking on the Edit icon.
4. Automatic Rule creation on adding trigger in Datasource configuration
Rules are automatically generated once a trigger is added in the data source configuration, as shown in the image below.
Edit Rules in Appforms
Rules play a vital role in configuring application behavior. This section demonstrates the process of modifying and updating rules.
Step 1:
Begin by dragging and dropping a TextBox control and a Button control onto the form.
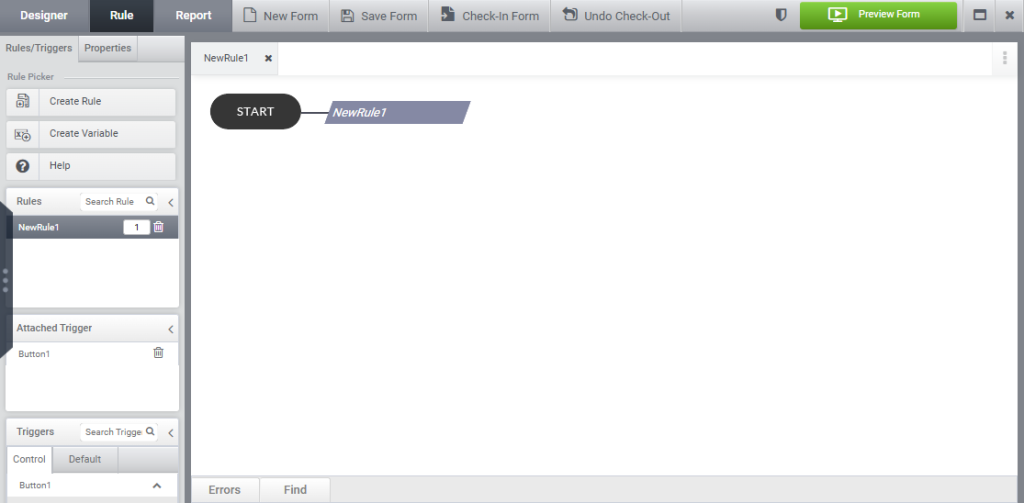
Select the button as the trigger and click Create Rule; a new rule named NewRule1 will be created, as illustrated in the image below.
A prompt box will appear upon right-click. Select “Add Decision” to insert a new decision.
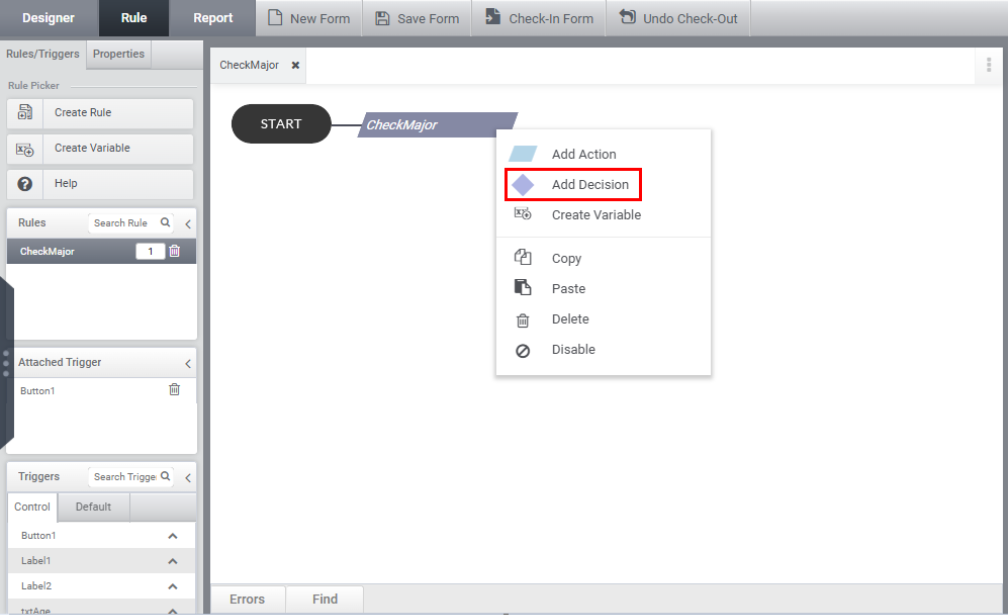
Enter the decision into the decision box.
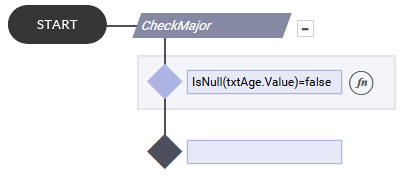
Step 2: Creating Sub-Rules
Sub-rules are rules nested within a main rule and must be defined inside a Decision block.
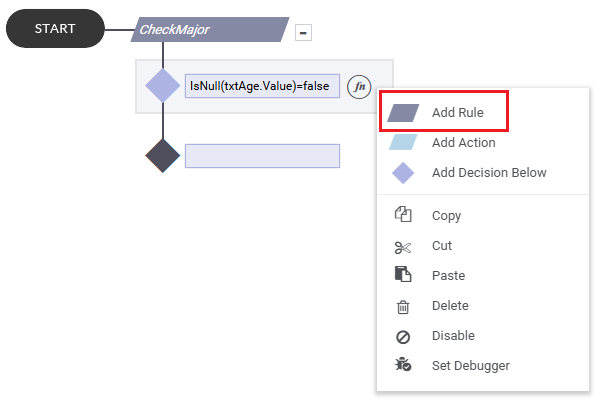
To add a sub-rule, right-click on the decision box and select “Add Rule” from the context menu that appears.
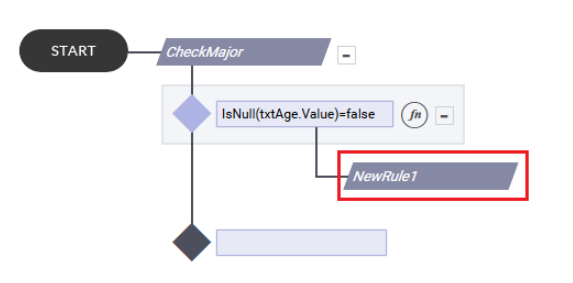
New Rule is created as shown in the image below.
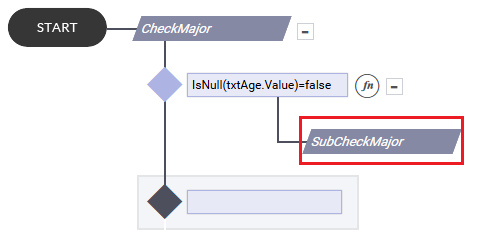
Name of the subrule can be changed as shown in the image below.
Within a sub-rule, you can add actions and decisions as needed based on user requirements as illustrated in the image below.
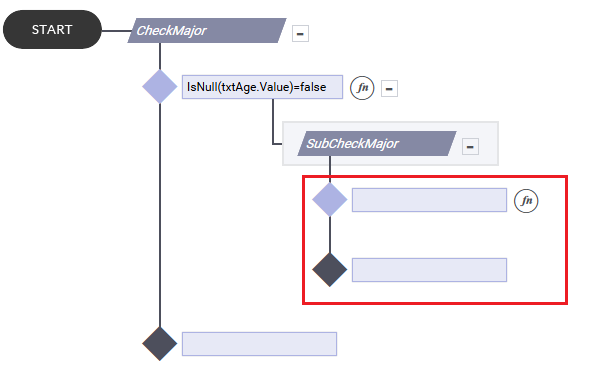
Right-click the decision box and choose “Add Action” from the prompt to insert a new action.
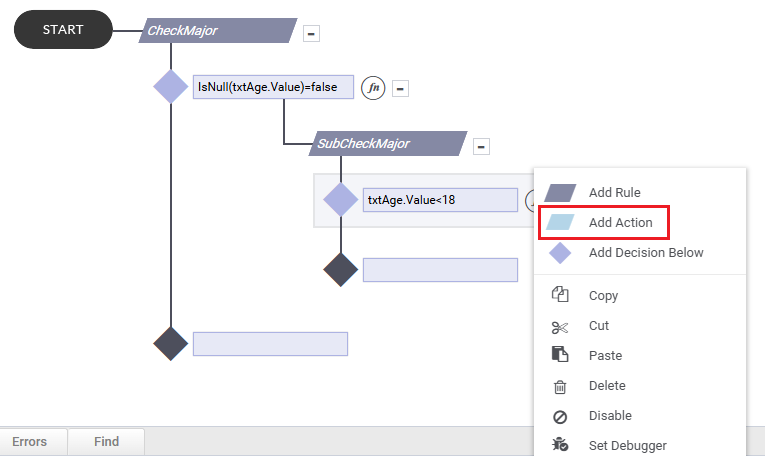
The user can then proceed to add actions in the Actions tab. The resulting rule will be displayed as shown below.
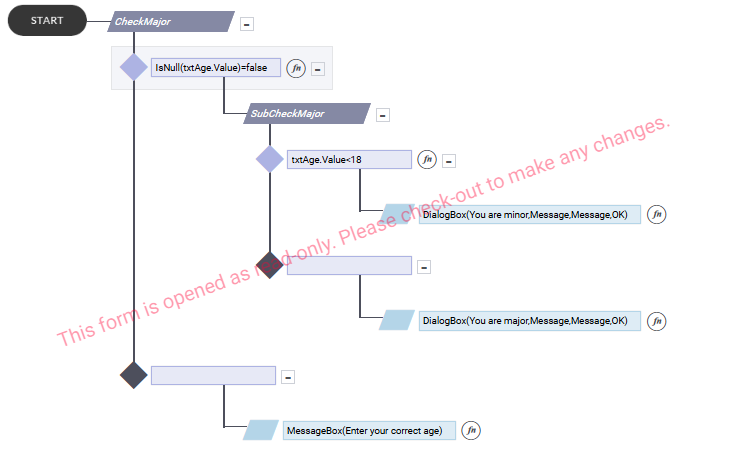
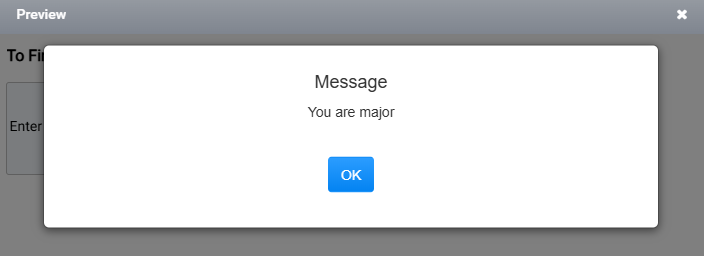
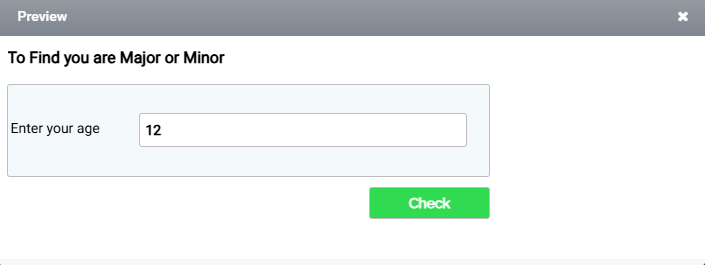
In this scenario, we are using a sub-rule to evaluate an age criterion. A TextBox is provided for the user to enter their age, and a Button is used to trigger the rule. When the button is clicked, a message will be displayed based on the entered age.
Designer:
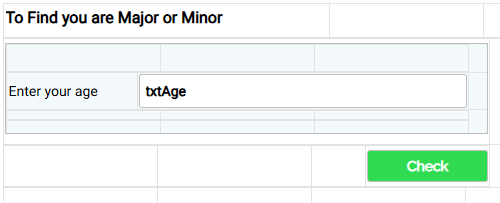
In Form Preview, enter your age in the textbox and click the Check button as shown in the image below.
When the Check button is clicked, the message box shown below appears.
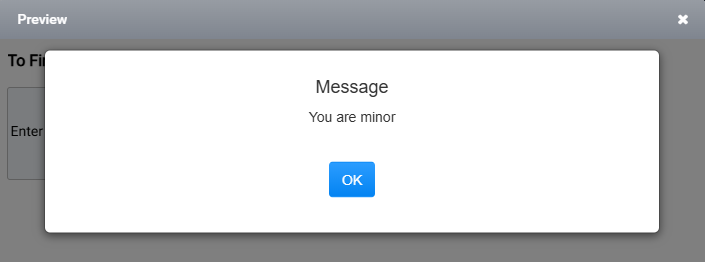
If the age entered is above 18, a message box will appear as shown in the image below.