Dynamic grid with RESTful Web-Service
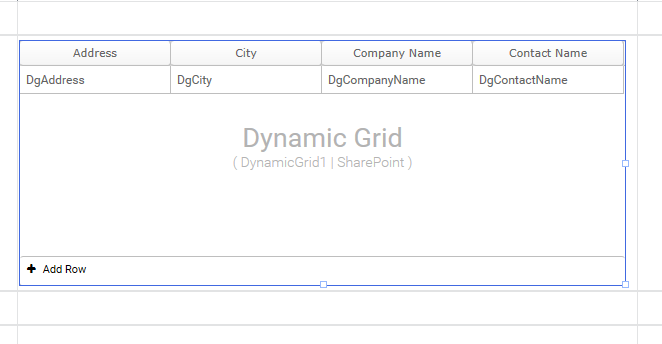
Step 1: Create a form with a dynamic grid as shown in the below figure 1
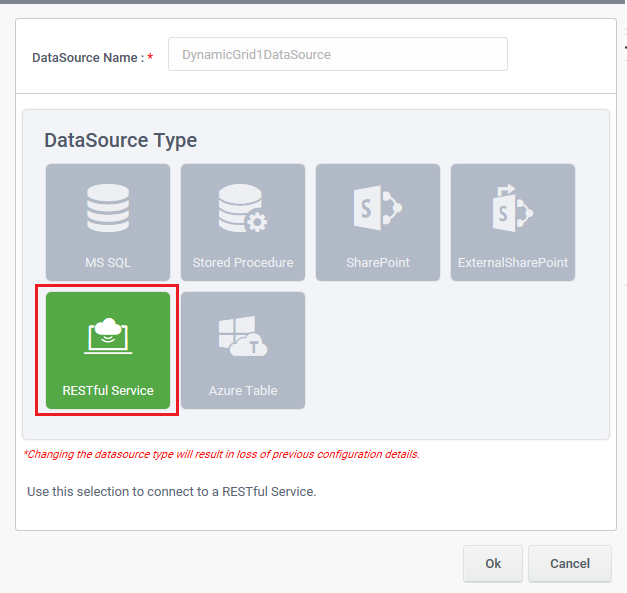
Step 2: Configure data-source on the dynamic grid by clicking on the dynamic grid control and then click on ‘New DataSource Configuration’.

Step 3: Select the data-source type as ‘RESTful Service’.
Step 4: Add the Required columns. And then click Next button.

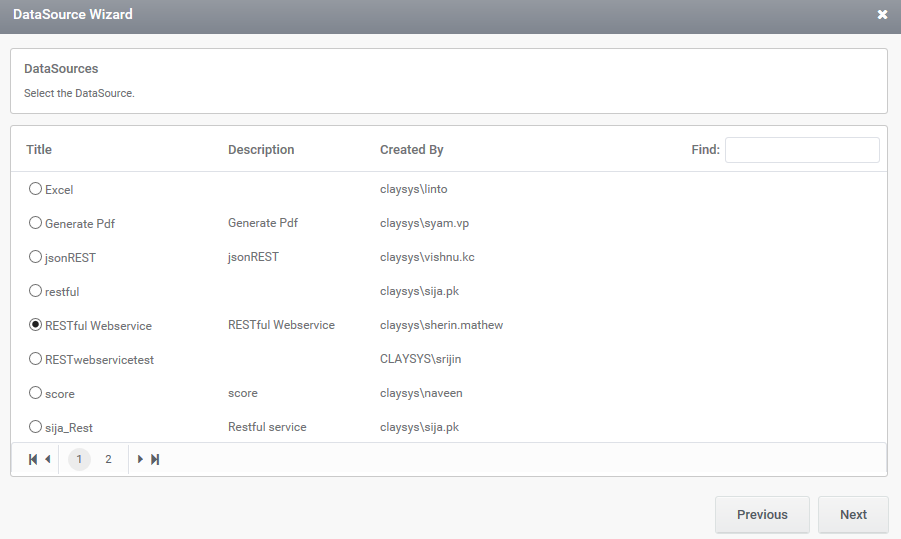
Step 5: Select the DataSource . For example here ‘ClaySys Test Service’ is selected. and click Next button.
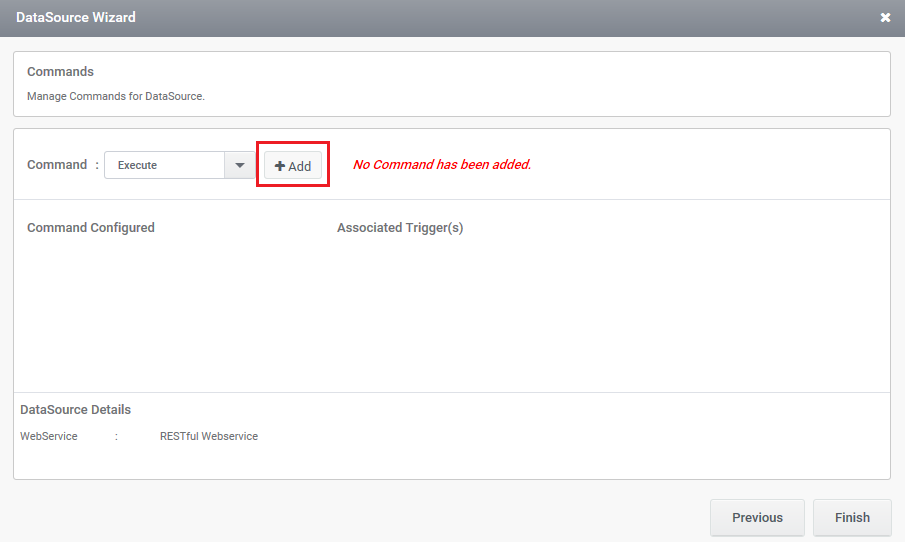
Step 6: Click on Add button.
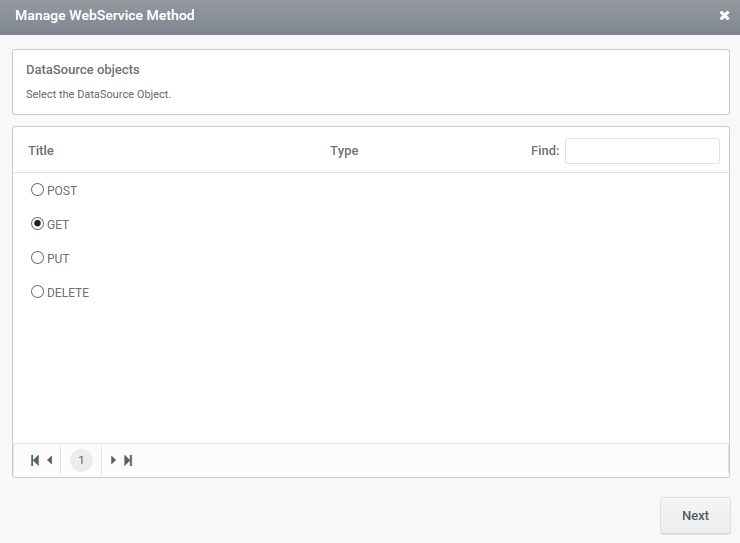
Step 7: Select the RESTful Method. And click Next button. The RESTful methods available are
- POST
A POST request is used to send data to the server, for example, customer information, file upload, etc. using HTML forms.
- GET
The GET method is used to retrieve information from the given server using a given URI. Requests using GET should only retrieve data and should have no other effect on the data.
- PUT
Replaces all current representations of the target resource with the uploaded content.
- DELETE
Removes all current representations of the target resource given by a URI.
Step 8: You may map RESTful Service URI and Query string if required and Click Next button. For example here we have done a static URI mapping and Query string mapping is done on a text-box control.


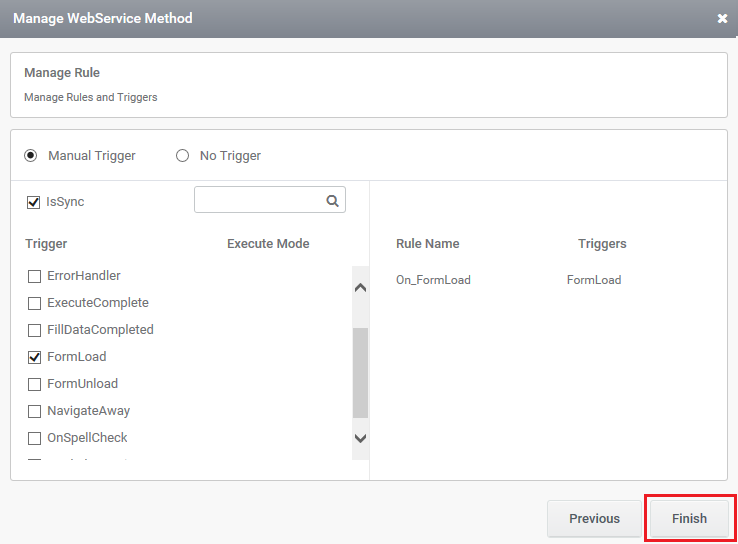
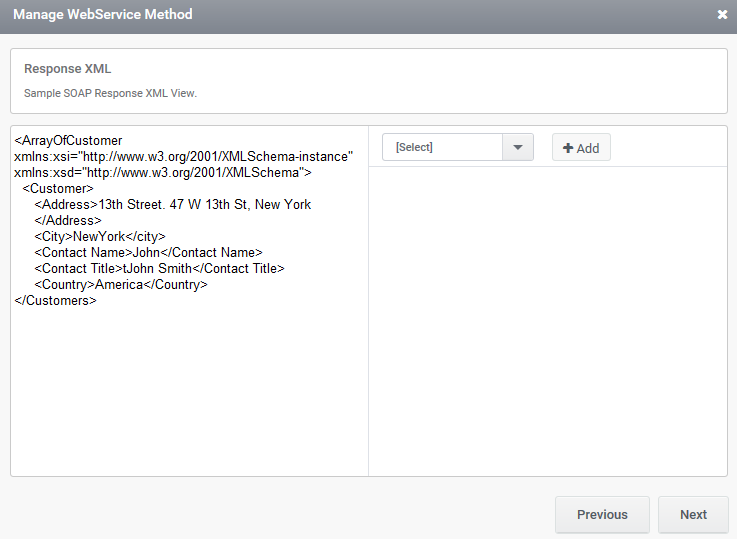
Click Next Button .Then Manage Web service Method Popup will open.

Click GetResponse link. Then another Popup will open.
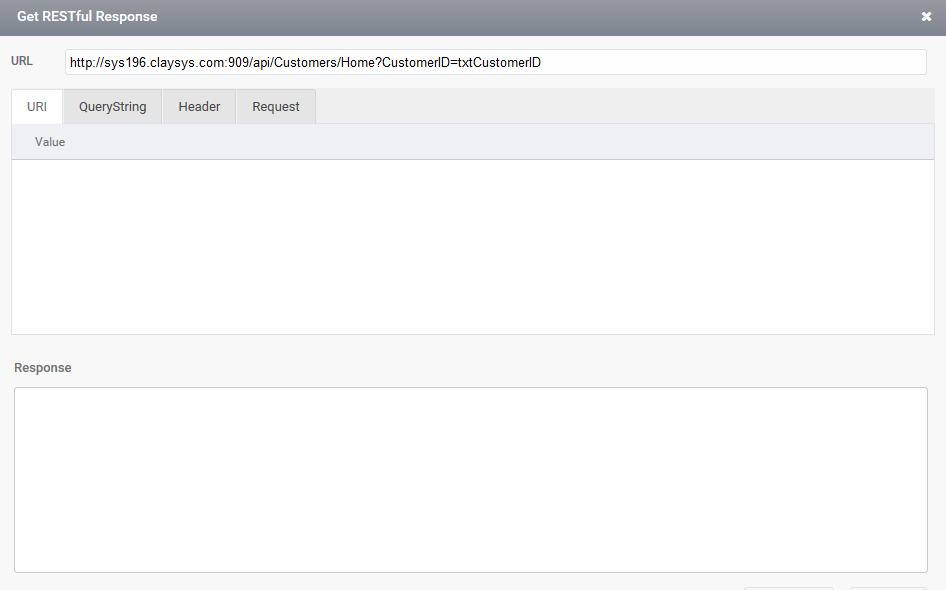
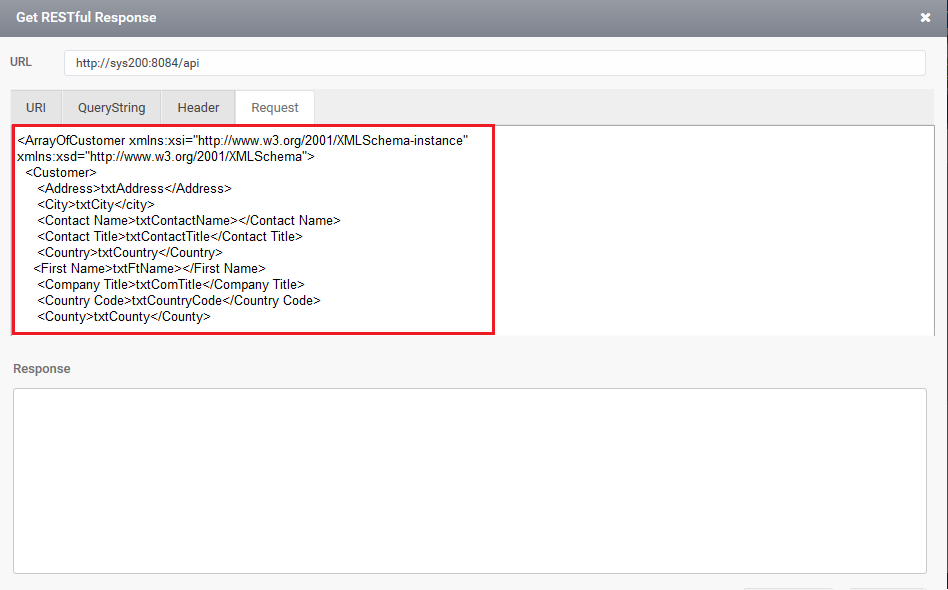
Step 9: Enter Sample Request . And click Execute button. For ‘Get’ method Sample request is not required. Then response will be available.
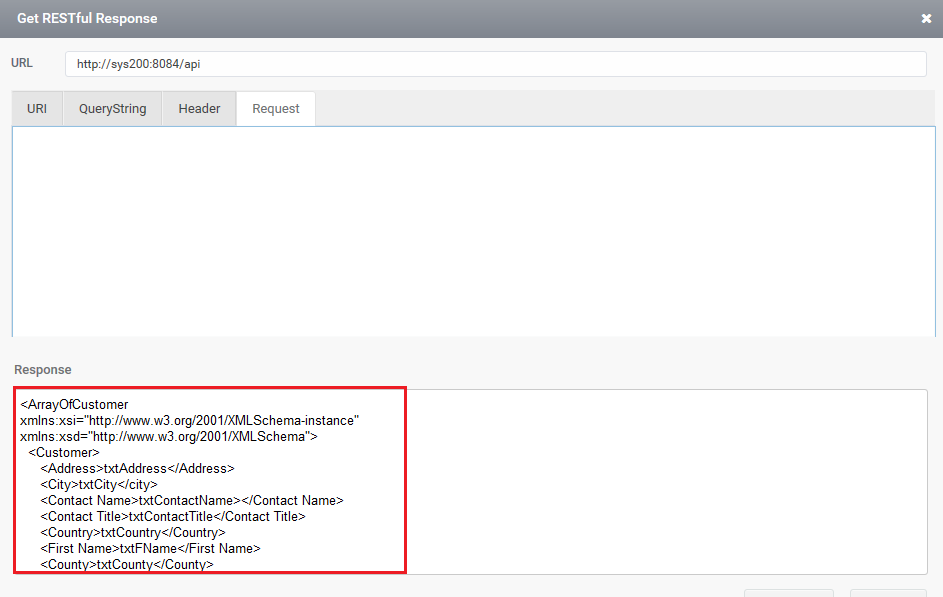
If you have a sample Response you may Paste it and Click Execute button or you can get the Sample Response by clicking on ‘Get Response’ button.
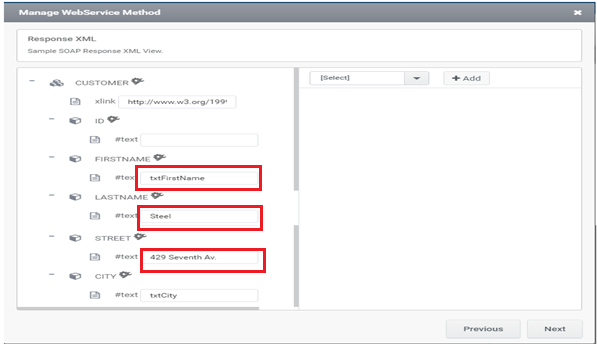
Step 10: Map the controls in the sample Request view. And click Next button.
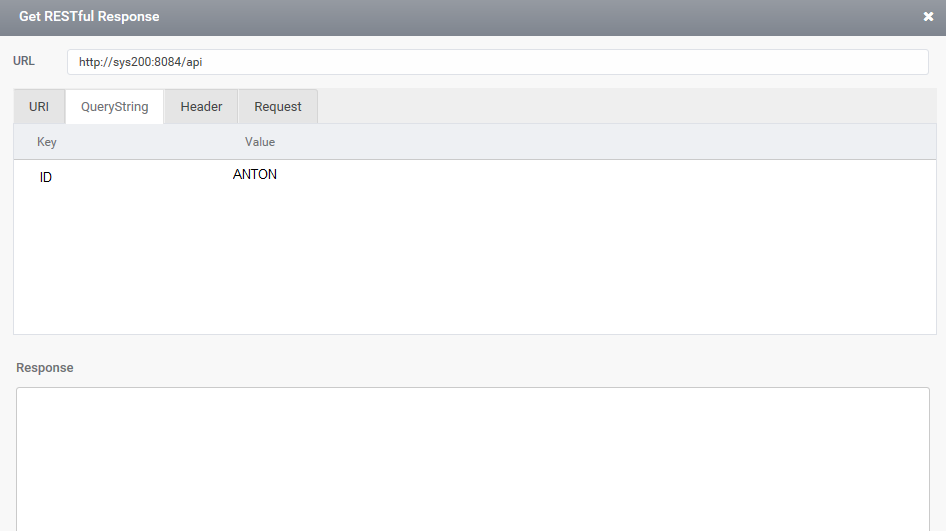
Step 11 : Enter the real time value in Query string mapping for example here ‘ANTON’ is a real-time value. And click on ‘Execute’ button. A sample response will be generated. Take copy of the response and click ‘Close’ button.
Step 12 : Paste the sample response and click Next button.
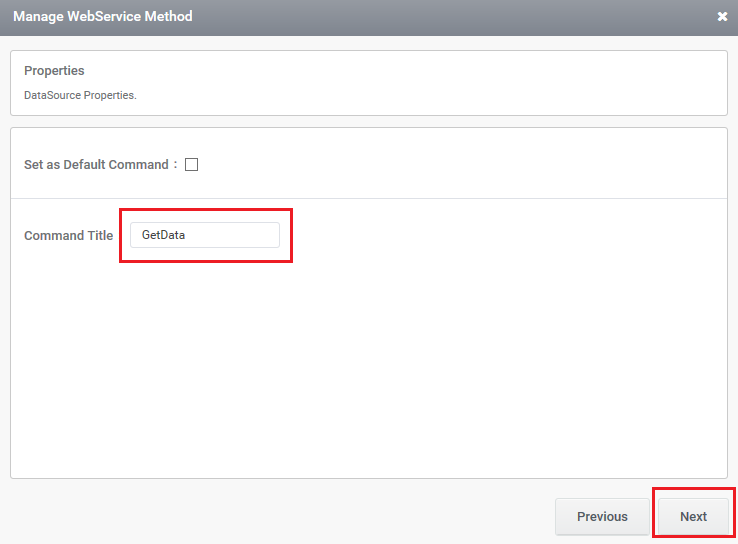
Step 13 : Enter the command title and click on Finish button.