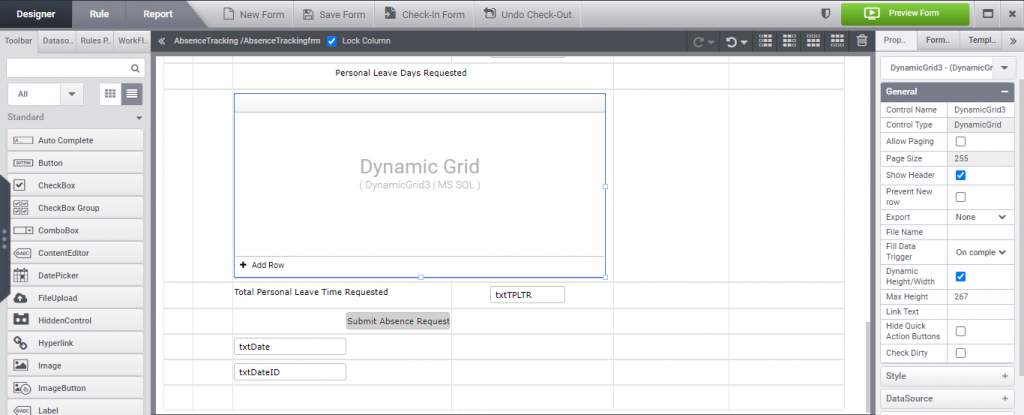
Personal Leave Days Requested
Step 1 – Click on the1DynamicGrid for the “Personal Leave Days Requested” section and launch the configuration wizard by clicking on the Columns properties button.
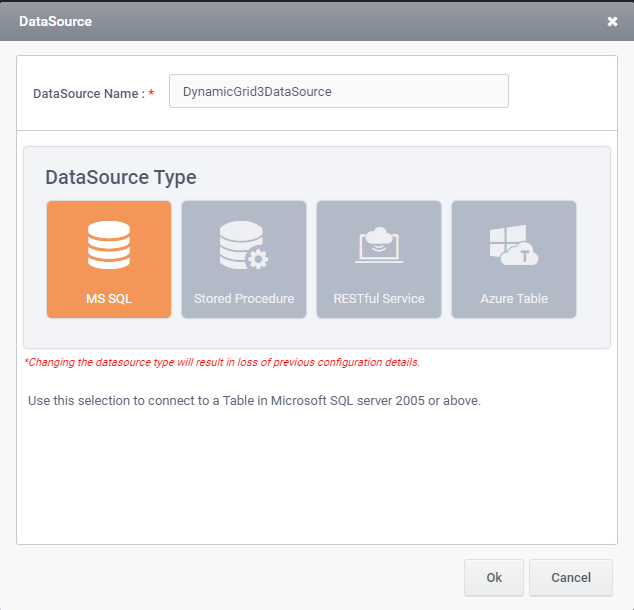
Step 2- This will launch the following wizard step. Select MS SQL as the DataSource type and click OK button to continue.
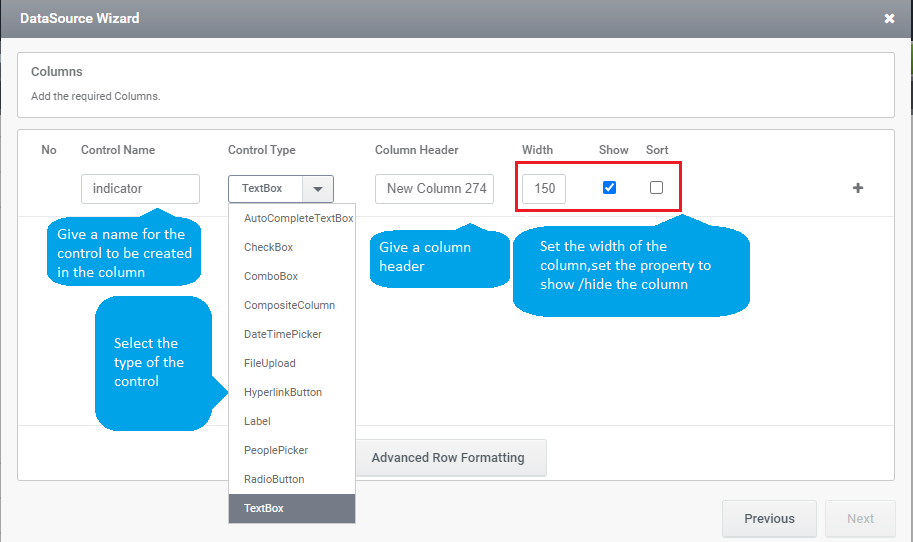
Step 3 – The next step is to configure the required columns for the Dynamic Grid control.
Step 4 – Add the following columns and column type.
| SlNo | Control Name | Control Type | Column Header | Description | Width |
| 1 | Indicator | This column will be used as a indicator to show if the user has entered a correct date. a. When Status column Value is 0 then invalid date, so it will display the column as a Red Label. a. When Status column Value is 1 then valid date, so it will display the column as a Green Label. a. When Status column Value is greater than 1 then there is no date entered, so it will display the column as a white Label | 20 | ||
| 2 | dtDates | DateTimePicker | Dates | DateTimePicker will allow the user to select a Date | 190 |
| 3 | txtHour | TextBox | Hour Value | TextBox will enable the user to enter the required hours | 190 |
| 4 | txtStatus | TextBox | Status | We will be using rule to set a value to this column based on the date selected by the user | 0 |
Step 5 – The next step is to select/create the required columns for the Dynamic Grid control..
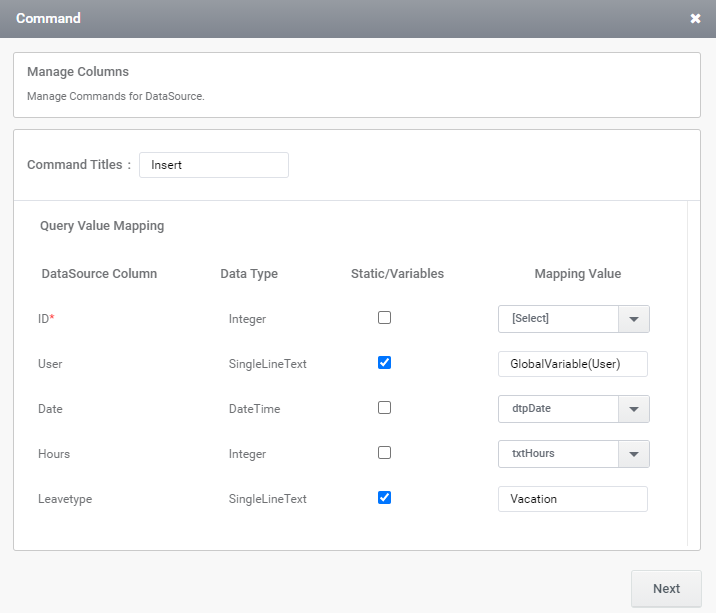
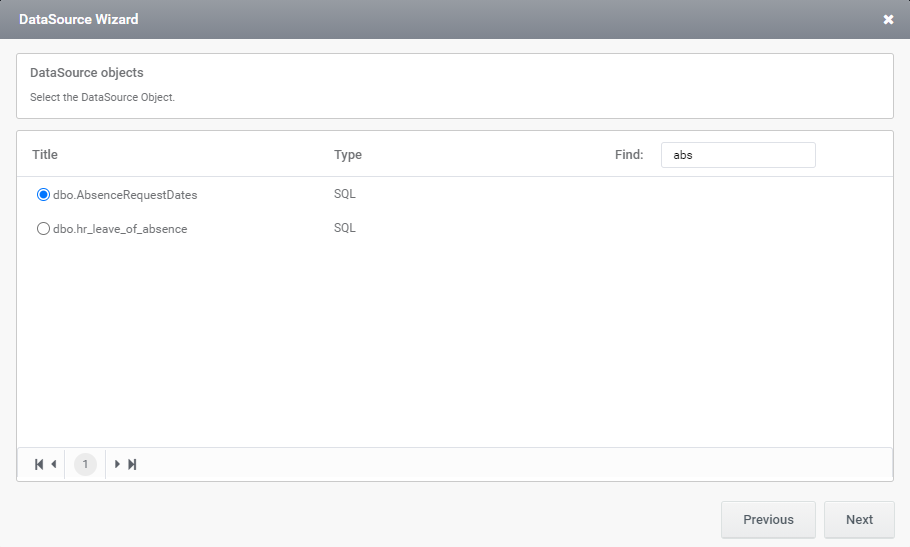
Step 6 – Now we will have to go through the DataSource wizard to configure the grid to insert to the table named “AbsenceRequestDates”. Map the controls to the database columns.
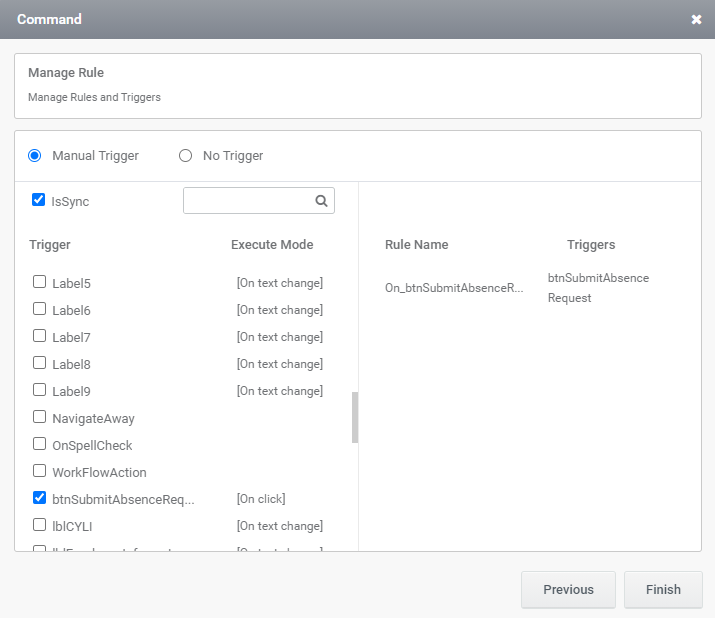
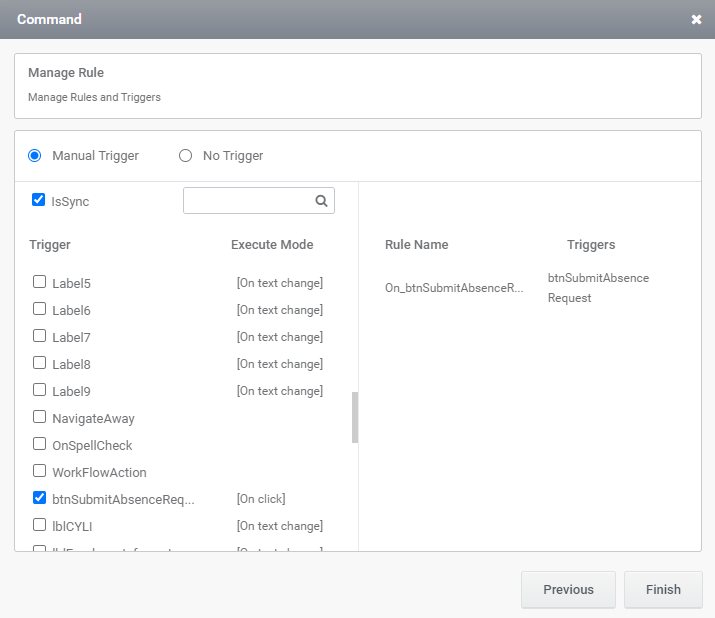
Step 7- Now add a execute command trigger and click on Finish button.
