Example of SendEmailAdvanced in SharePoint
Introduction
SendEmailAdvanced functionality in AppForms allows you to send an email along with\without attachments to as many receivers as u want. The SendEmailAdvanced has the additional options to add CC/Bcc.The receiver will receive that email as soon as the button is triggered.
Prerequisite: SMTP should be configured in SharePoint Central Admin.
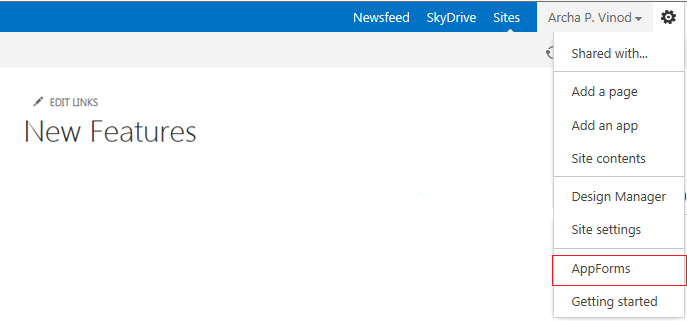
1. Select the Feature AppForms as shown in Figure 1.
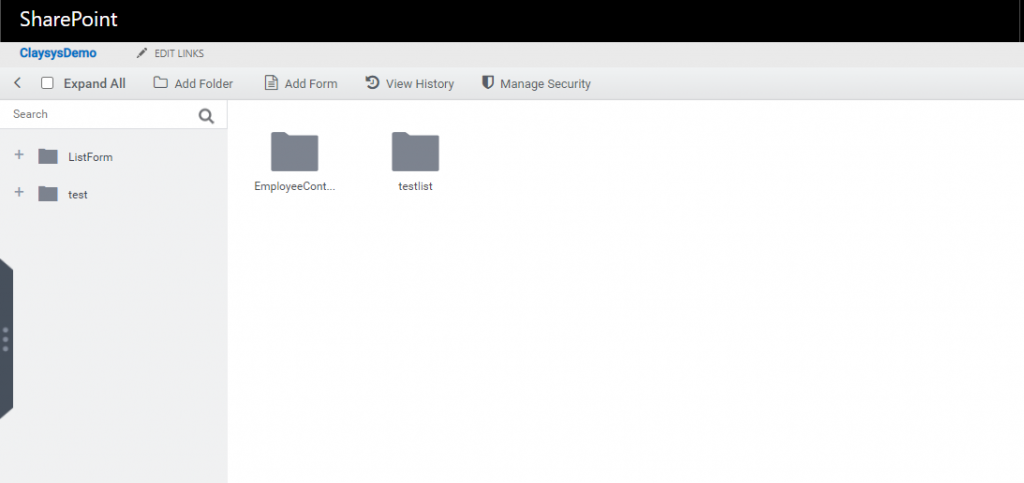
2. Create a New Folder and within that folder create a New Form.
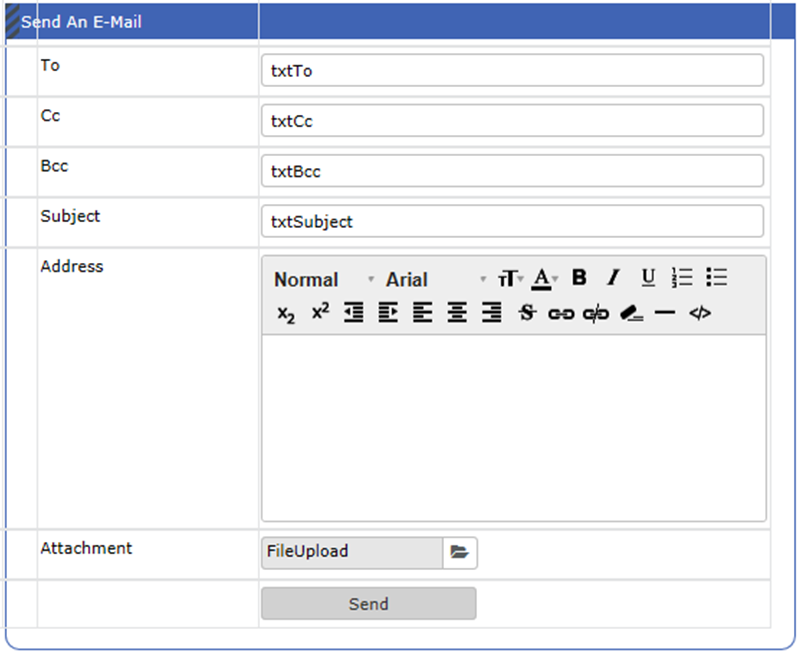
3. Open the form and drag the controls like ‘TextBox’, ‘Label’, ‘Rich Text Box’, ‘Button’ and ‘Border’ to design the form as shown in Figure 3.
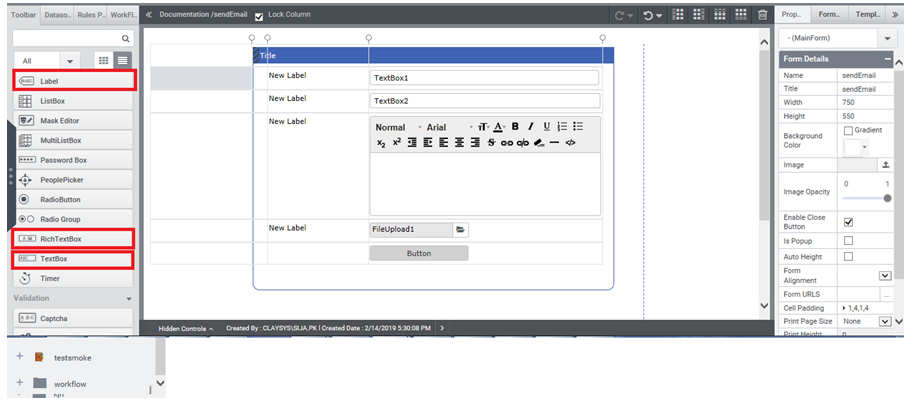
4. Rename the controls as per the necessity, so that the finalized form will look like the one below.
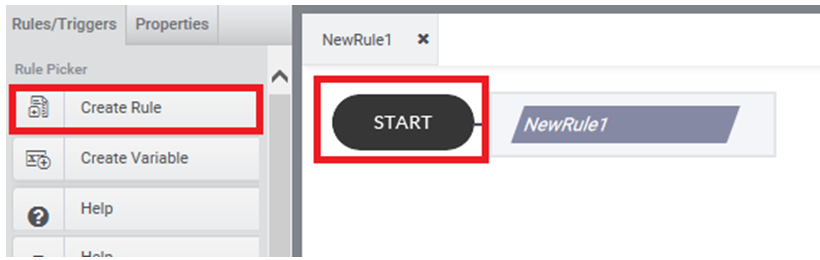
5. Navigate to Rule tab and click ‘start’ to create a new rule and add an action.
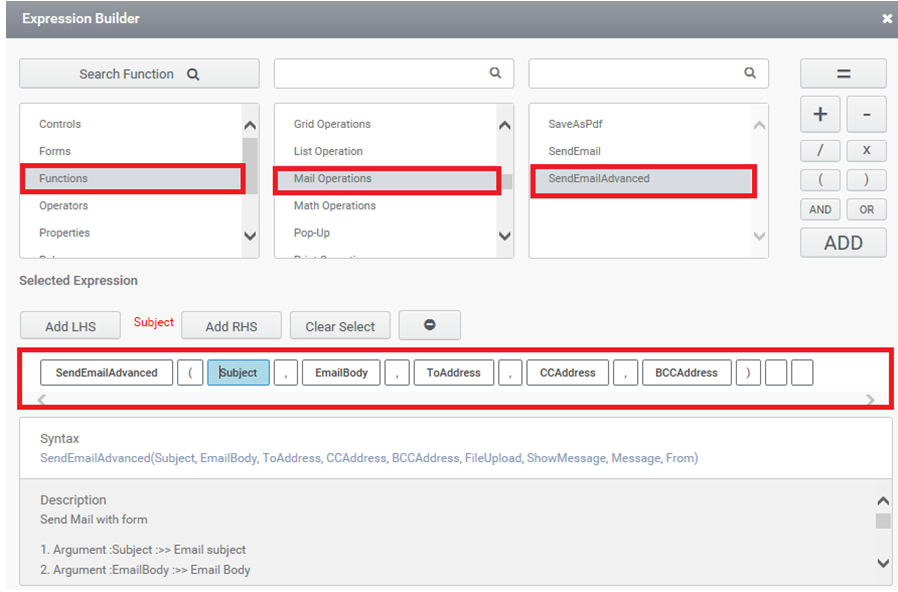
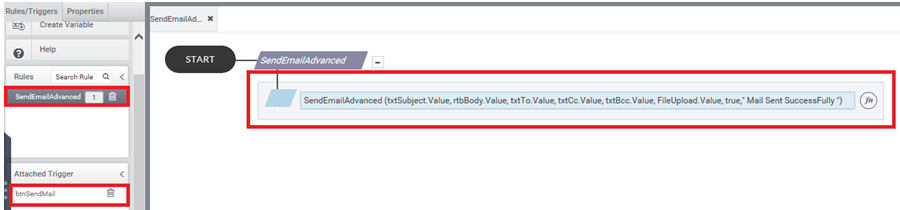
6. Using ‘Expression builder’ generate the sendemail rule as per the below mentioned syntax and set a trigger to activate the rule.
Syntax:
SendEmailAdvanced (Subject, EmailBody, ToAddress, CcAddress, BccAddress, Fileupload, ShowMessage, Message)
Description
- Argument: Subject à Email subject
- Argument: EmailBody à Email Body
- Argument: ToAddress à to email address
- Optional Argument: CcAddressà Carbon Copy email address
- Optional Argument: BccAddressà Blank Carbon Copy email address
- Optional Argument Attachments à File attachment
- Optional Argument: Show MessageàSet true to display custom message and false to disable the custom message.
- Optional Argument: MessageàMessage to be displayed after sending the email.
Example:
SendEmailAdvanced (txtSubject.Value, rtbBody.Value, txtTo.Value, txtCc.Value, txtBcc.Value, FileUpload.Value, true,” Mail Sent SuccessFully “)
OR
SendEmailAdvanced (“Form for Approval”, rtbBody.Value, George.p@gmail.com”, txtCc.Value, txtBcc.Value, FileUpload.Value, true, “Mail Sent SuccessFully”)

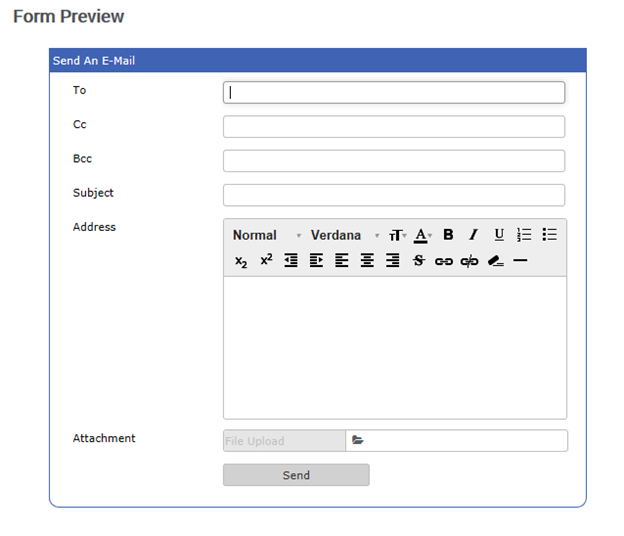
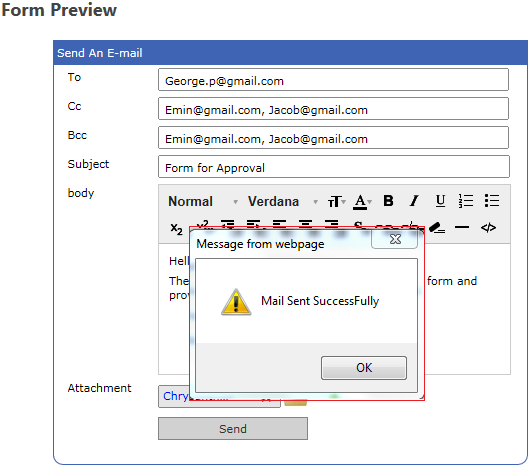
7. Once the rule is set, check the preview and thereby clicking “Send“ button, which is set as a trigger, the email is sent to the corresponding recipients.
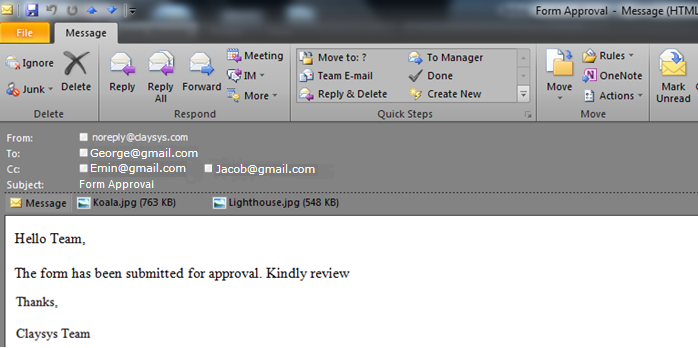
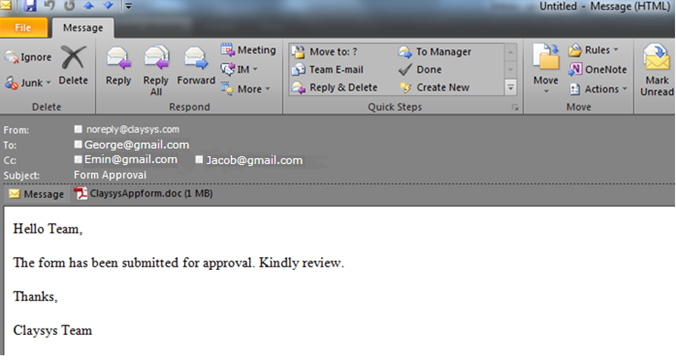
8. On checking the recipient’s inbox, the email can be viewed.
Send an Email with files that are uploaded to the File upload control
In the ‘Send an Email’ property, the email can be send by attaching multiple files with the mail and send to the corresponding recipients.
It can be achieved by adding\configuring a file upload control into the form.
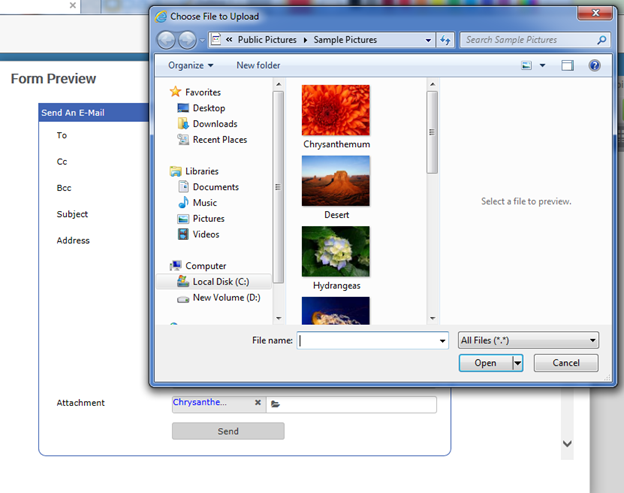
9. In the properties of the ‘File Upload’ control, click the checkbox of ‘Allow Multiple File’.

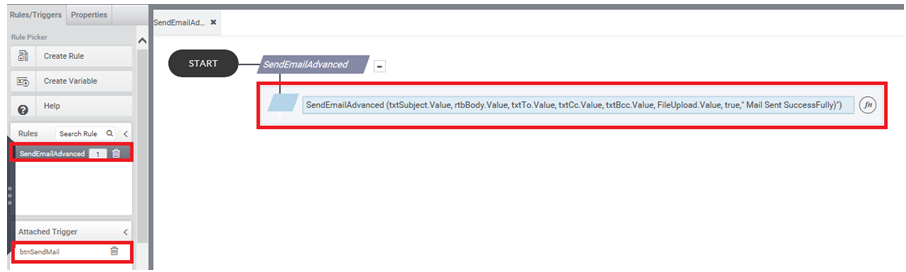
10. The rule is set as shown in Figure 13
Example: SendEmailAdvanced (txtSubject.Value, rtbBody.Value, txtTo.Value, txtCc.Value, txtBcc.Value, FileUpload.Value, true,” Mail Sent SuccessFully “)

11. Check the ‘Preview’ and enter the values and upload the files into file upload control, as shown in figure below. And click ‘Send’.
12. On checking the recipient’s inbox, the email can be viewed like the one below.