Initiate AD Sync
Active Directory provides this capability enabling the end user to authenticate seamlessly and securely via online or on premise. Said offering creates an easier way for people at an organization to utilize a single sign on authenticator to take advantage of online productivity. In the active directory the user can add groups and authenticate. While initiating AD Sync the users that are authenticated in the Active directory will also be added.
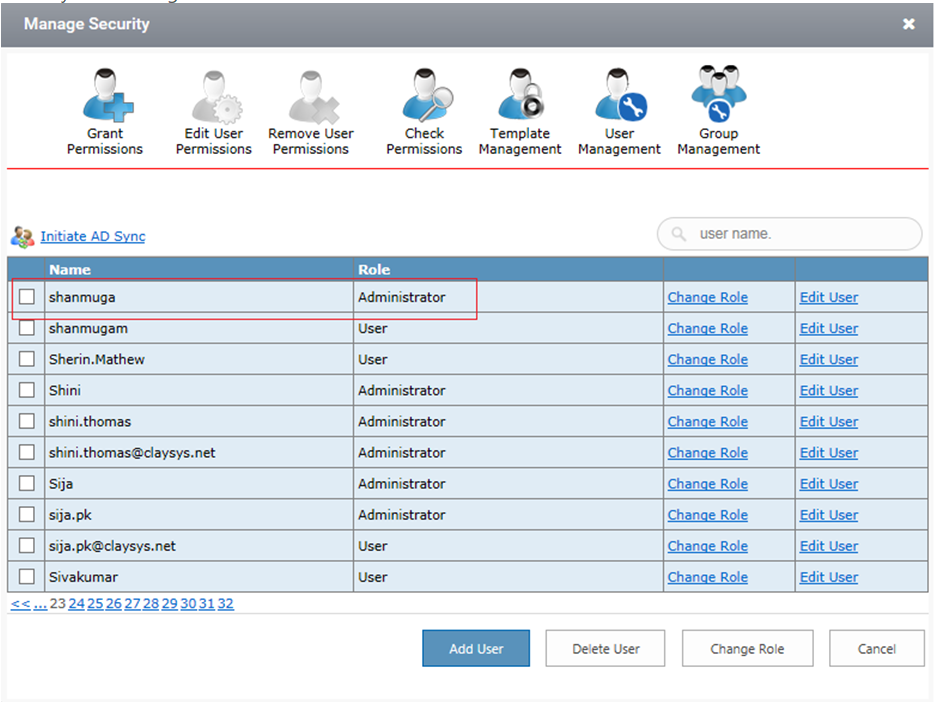
- Take the User management before Initiating AD Sync. Here below you can see that only Admin was added. Follow steps again from 19. 17 & 18 are only for reference and if you did not provide AD details while installing the package AD Sync will not work.
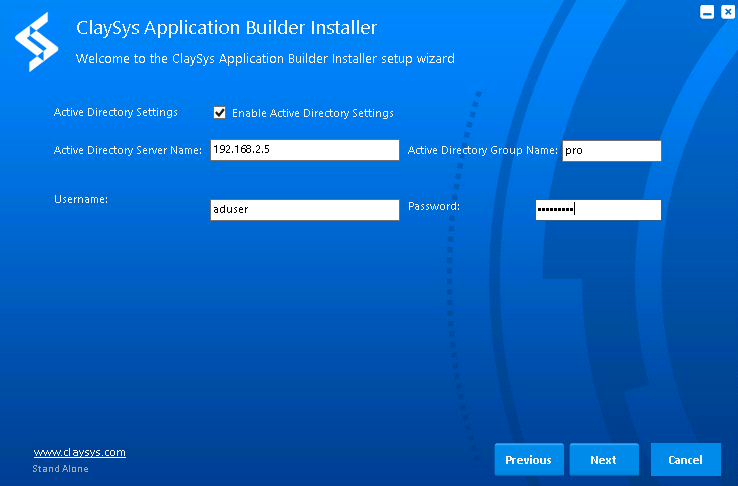
2. While installing the Package, enable active directory settings.

3. Provide the details for the items shown. The active directory server name should be provided and the Active directory group name should be provided so that while initiating the AD Sync, the users that are authenticated to the Particular group will be added.
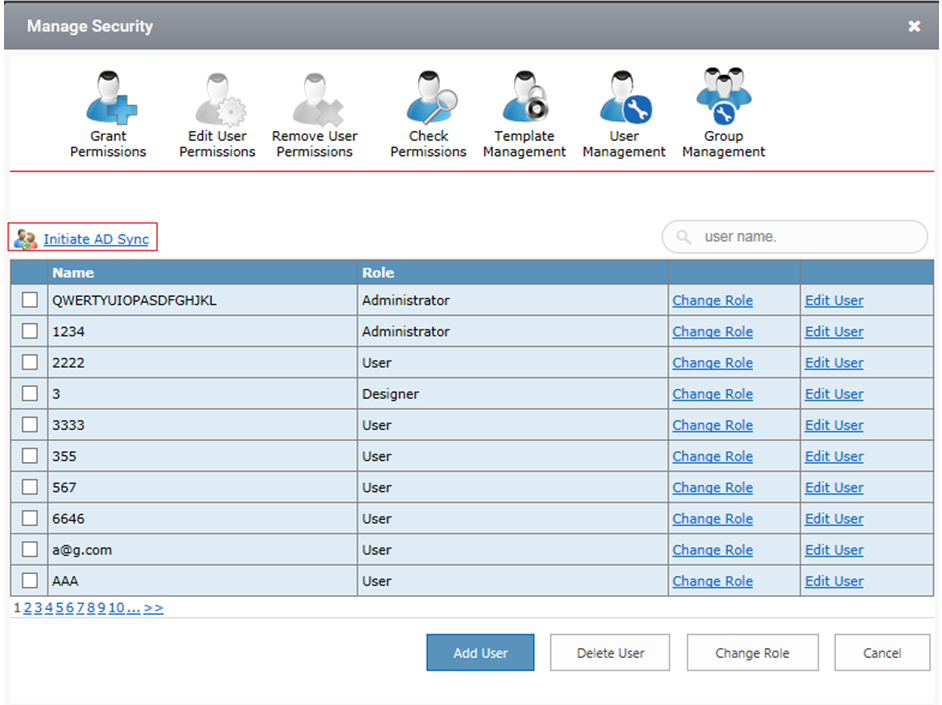
4. Click on the Initiate AD Sync button.
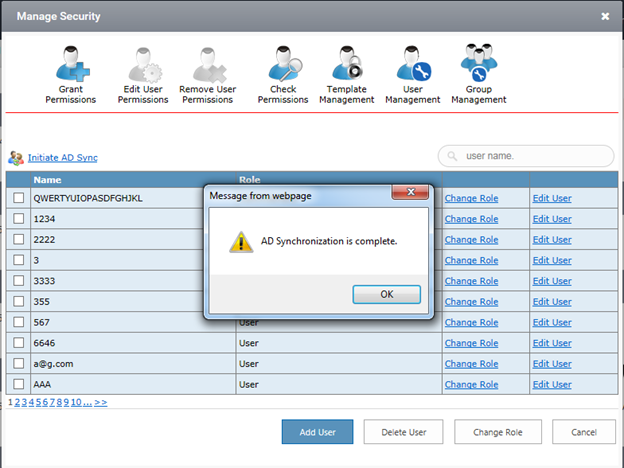
5. After clicking the Initiate AD Sync button the “AD Synchronization is Complete” message is displayed and all the users are displayed from AD.
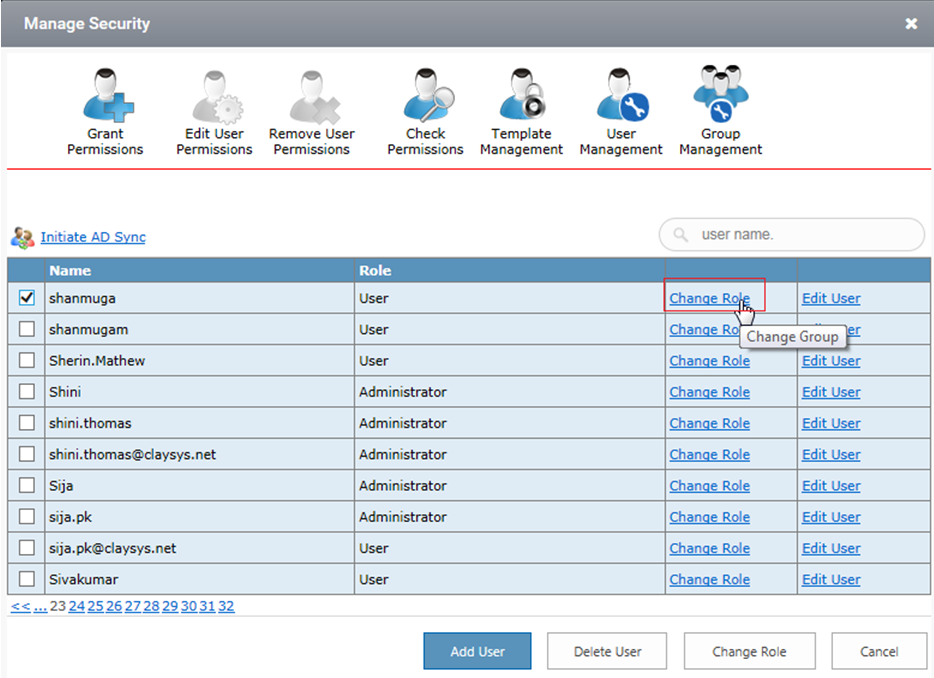
6. Select the user and click “Change Group” to change the permission from “User” to “Administrator”.
7. After changing the permission, click “Update”.
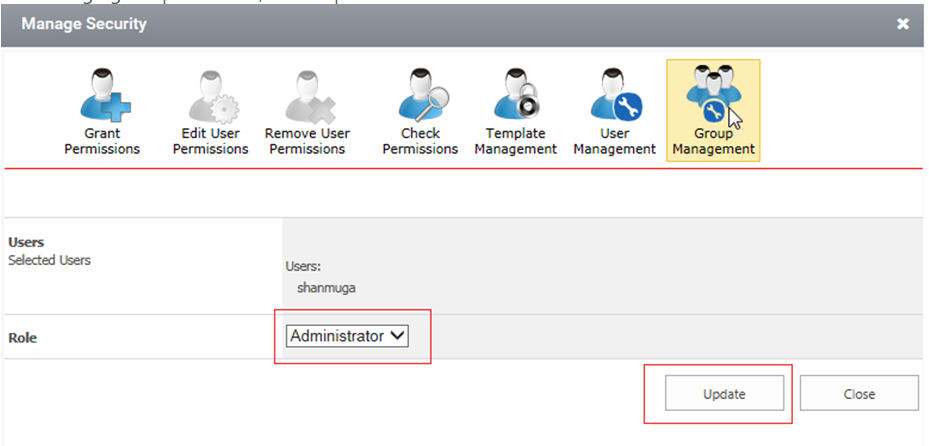
8. You can see the update below and the user has administrator privilege can access “Manage Security” and “designer”.