Managing List Forms in SharePoint
The SharePoint Lists has its own forms to View, Edit and Create new entries. AppForms allows you to replace these default forms with the form you created using AppForms. The AppForms also allow you to auto generate the forms for any list or library in the SharePoint site.
The instructions to auto generate the list forms using AppForms are as following.
- Creation of List Forms.
- Selecting ‘ClaySys AppForms’.
- Select ‘List’ from List tools.
- Select ‘Manage List Forms’ from drop down.
2. Now the user will be automatically redirected to designer.
- A list form will be automatically generated in the designer in reference to the new list (‘Employee Contact’) that was created earlier.
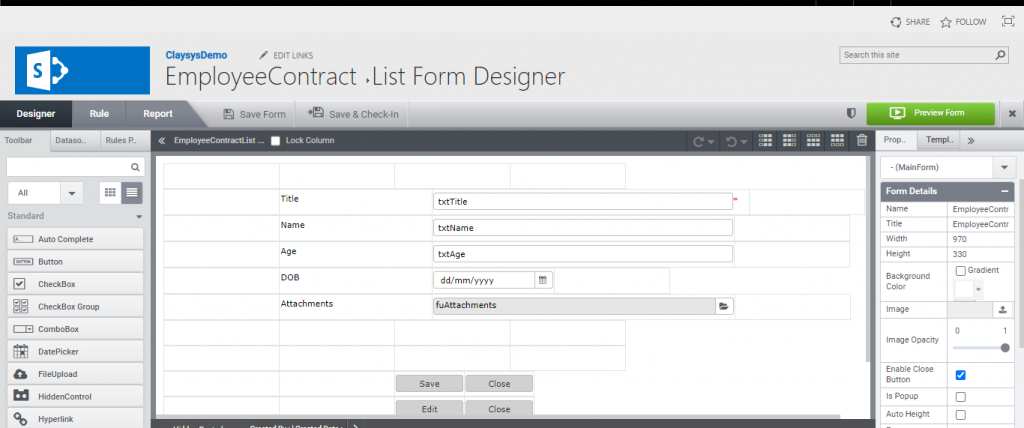
3.Edit List Form.
- Edit the list form as per the user requirements.
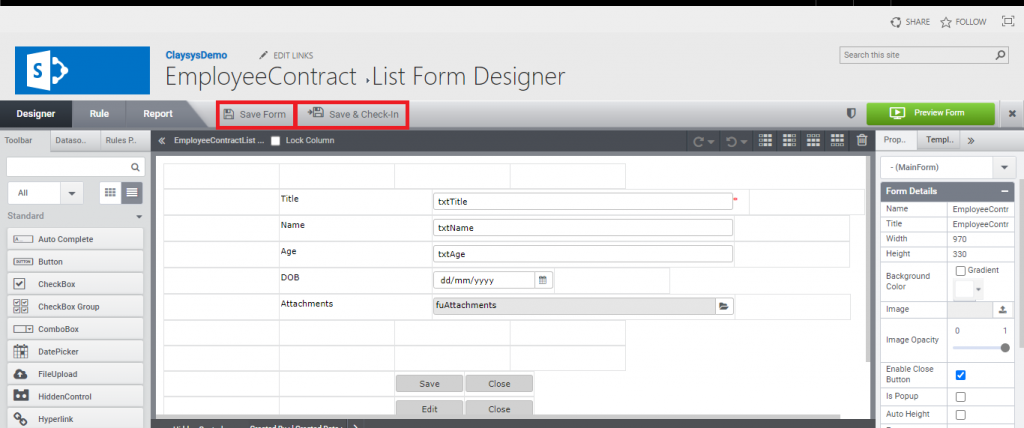
- Save the list form using the button ‘Save Form’.
- Check-in the form using the button ‘Check-In Form’.
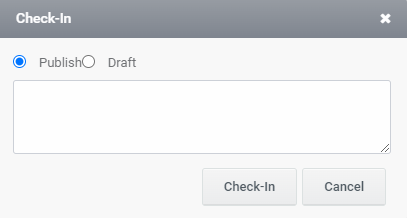
4. A ‘Check In’ window will pop up.
- Publish the form or save the form as ‘Draft’.
- Add the comments if required.
- Click on ‘Check-In’ button.
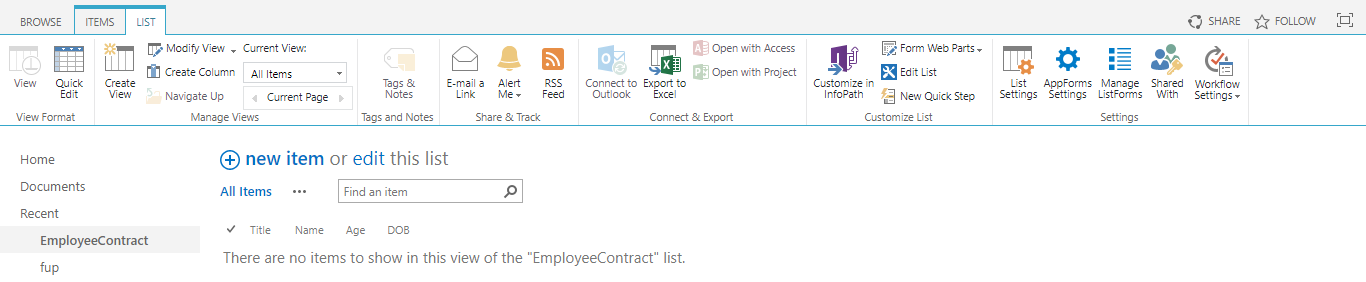
- On clicking ‘Check-In’ button, the user will be automatically redirected back to the list.
Once the form is published, it will take you back to the List where you can add/edit/view list records. Now you will notice that the default forms has been replaced with the form you created using AppForms.
If you go back to the AppForms workspace, you will see that the list form is saved inside a folder named ‘List Form’. You can manage this form either from the AppForms workspace or from the list.
