UserProfile SharePoint WebService
DataSource Settings for UserProfile SharePoint WebService
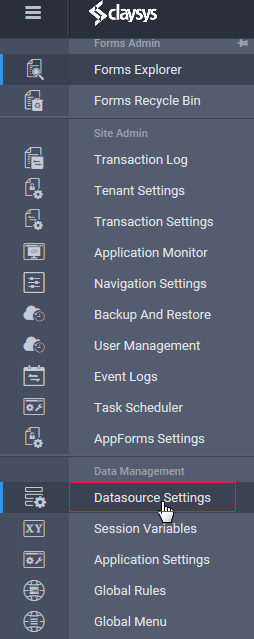
DataSource Settings Navigation
- The link to manage DataSource Settings is available in the left navigation.
- Select the option ‘DataSource Settings’ under the group ‘Data management’ and click.
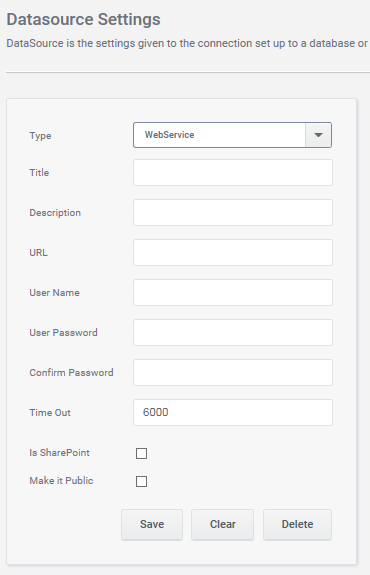
Create a new WebService DataSource.
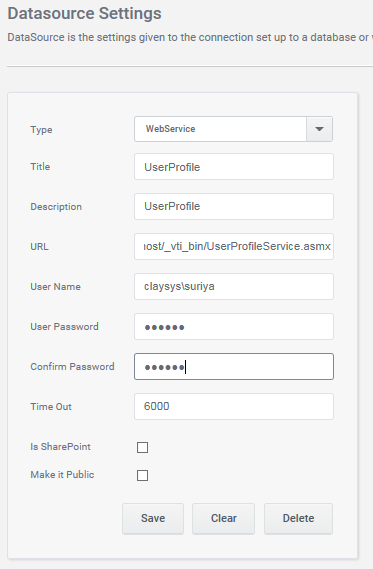
In the DataSource wizard, select the DataSource Type as WebService.
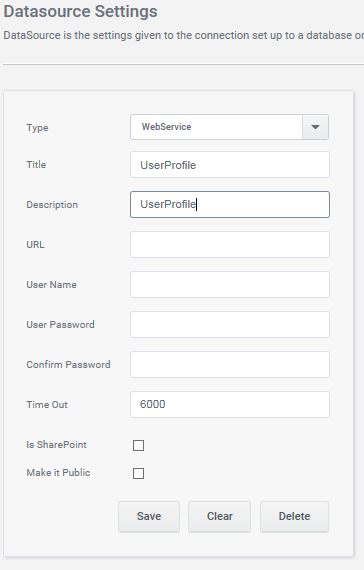
- Enter the Title& Description for WebService DataSource.
- Enter URL for the UserProfile SharePoint WebService ( Source server for the DataSource ) Example URL: http://localhost/_vti_bin/UserProfileService.asmx
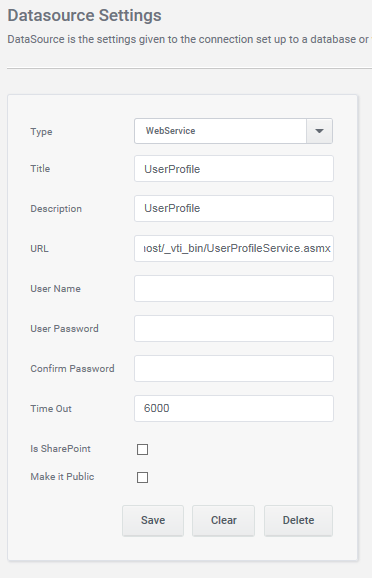
- Add User Name and User Password for authenticating the DataSource connection.
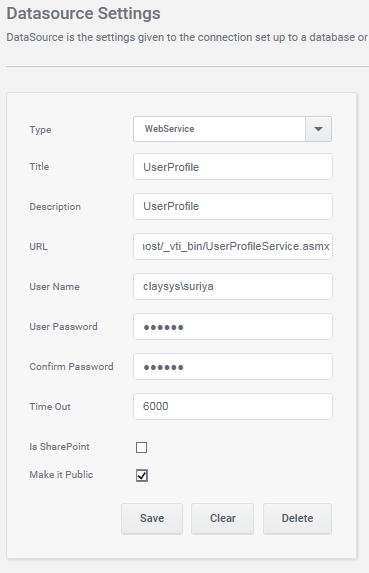
- Select ‘Make it Public’ for the availability of created DataSource across all the sites.
- Select ‘Is SharePoint ‘for the UserProfile SharePoint WebService.
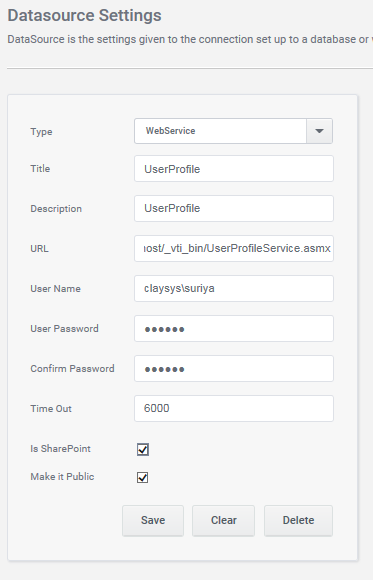
- Click on the Save button to insert or update the DataSource.
- A message will pop up indicating the successful insertion.
DataSource deletion
- Click on the Delete button to delete DataSource.
- A message will pop up indicating the deletion.
- Click on the Clear button to clear the fields.
Example:
UserProfile SharePoint WebService Configuration with Search
- Open up the ClaySys central admin and create a new form.
- Drag a search control, TextBox, ComboBox and Button into the form.
- Select the ‘webservice’ datasource from properties tab and click the browse button.
- Datasource configuration wizard with all the WebServices datasource mapped will be populated.
- Select the “UserProfile” SharePoint WebServices and click ‘Next’.
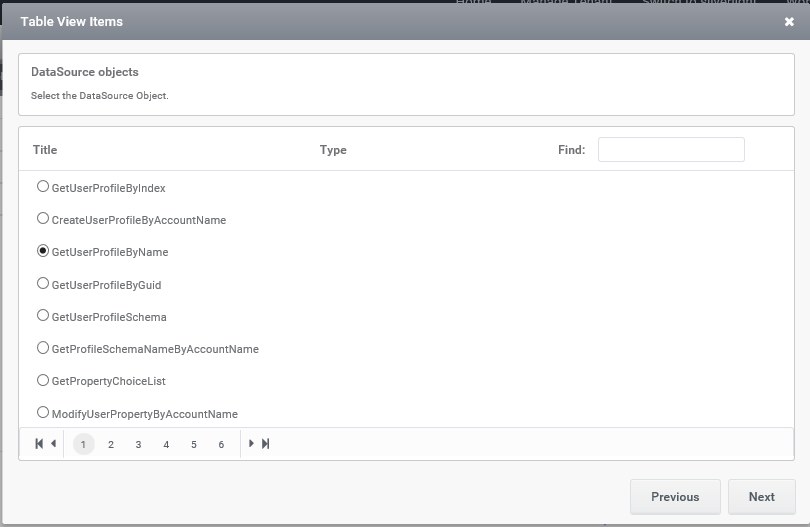
- Select GetUserProfileByName as DataSource object and click ‘Next’.
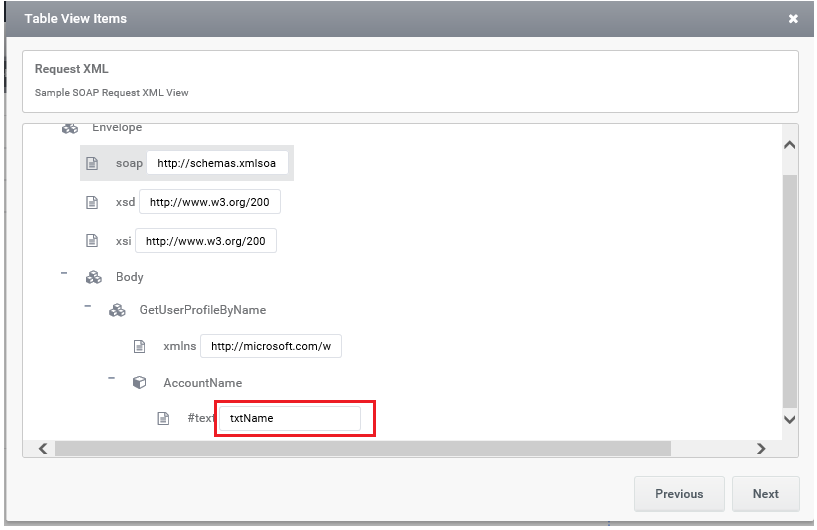
7.Enter the control name for the selected DataSource object for XML request and click ‘Next’.
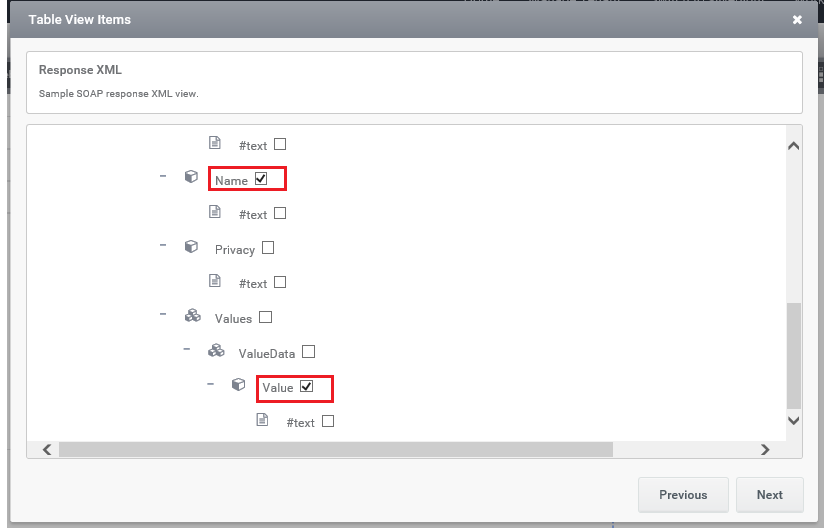
8.Select Name and Value in response XML and click ‘Next’.
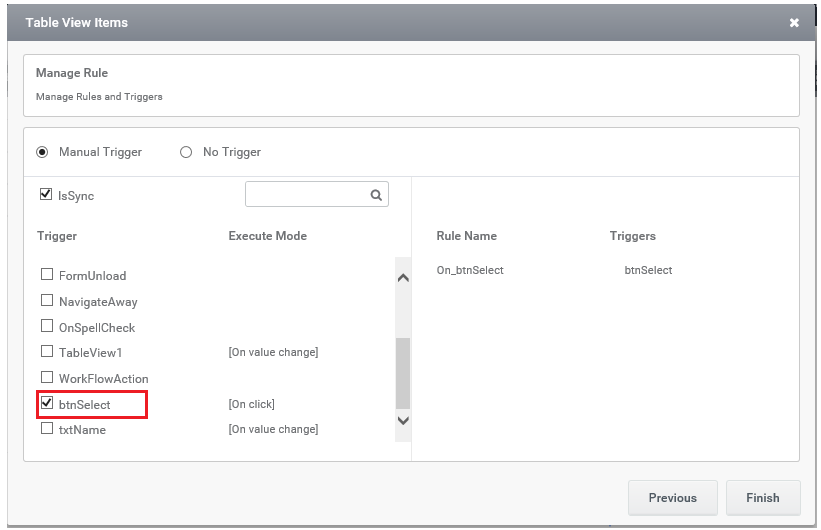
9.Add trigger by checking the desired trigger , here select Button control and click Finish
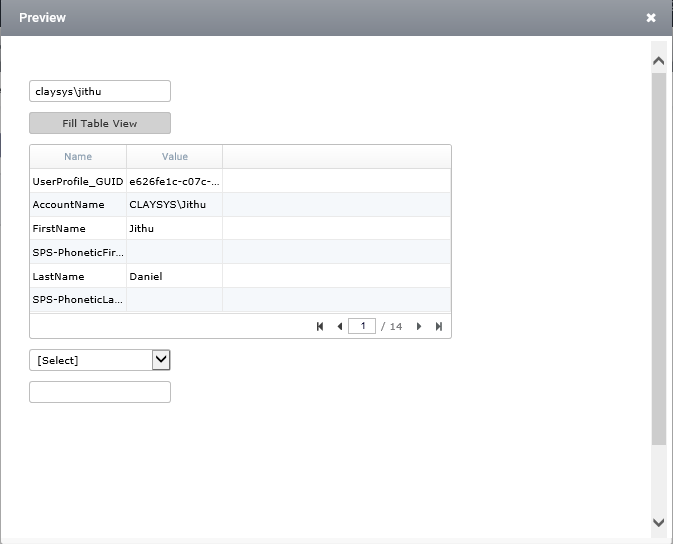
10.In preview, enter any user name in TextBox and click Button to fill the search.
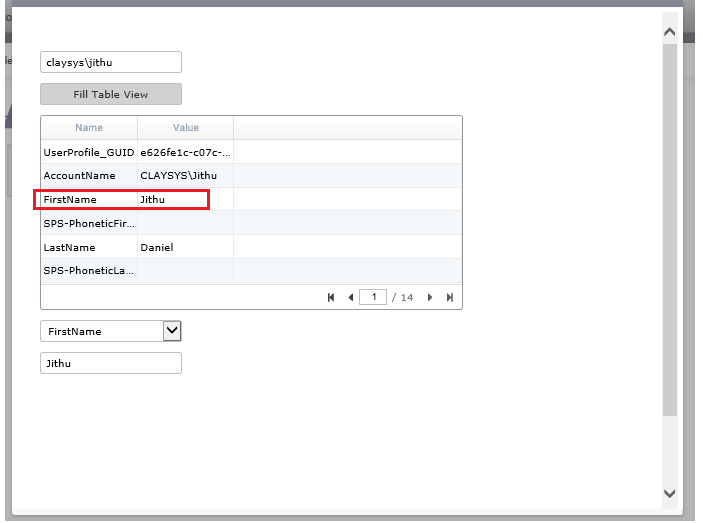
11.Select any Name from ComboBox then the corresponding value will display in the TextBox.
UserProfile SharePoint WebService Configuration with ComboBox
1.Select the ‘webservice’ datasource from properties tab and click the browse button.
2.Datasource configuration wizard with all the WebServices datasource mapped will be populated.
3.Select the “UserProfile” SharePoint WebServices and click ‘Next’.
4.Select GetUserProfileByName as DataSource object and click ‘Next’.
5.Enter the control name for the selected DataSource object for XML request and click ‘Next’.
6.Enter response/output parameters. Select DisplayMember as Name, ValueMember as Value and click ‘Finish’.

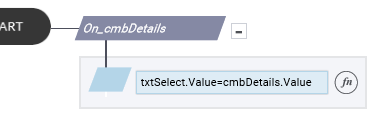
7.In rule window, create rule, right click and add action. Add trigger as ComboBox.
8.Create another rule and add action. Add trigger as Button.

About User Profile in SharePoint:
The User Profile service application stores information about users in a central location. Social computing features use this information to enable productive interactions so that users can collaborate efficiently. User Profile contains detailed information about people in an organization. A user profile organizes and displays all of the properties related to each user, together with social tags, documents, and other items related to that user.
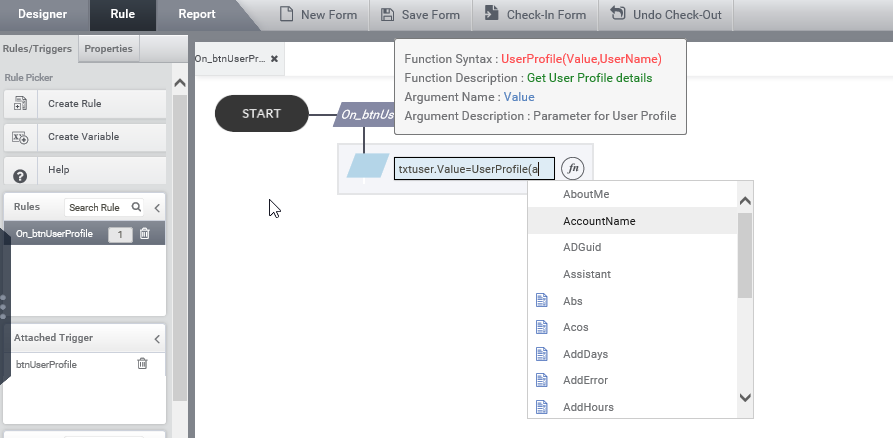
‘UserProfile’ rule in ClaySys AppForms:
User Profile rule is used to fetch the user details from SharePoint Central Admin to AppForms.
Syntax: UserProfile(Value,UserName)
Example:
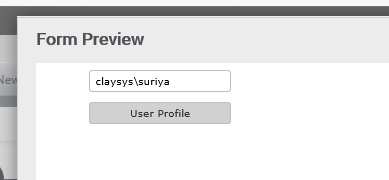
1.Create a form and drag a textbox into it.
2.On a button trigger add a new rule to get the ‘UserProfile’ details in to the textbox.
3.In rules tab, type in the “UserProfile” or use “Expression Builder” and select “UserProfile(AccountName)” to fetch the account name details.
4.In a preview, trigger the button to see the UserProfile(AccountName).
5.Similar way the others values from the intelligence can be used to get the different kinds of UserProfile details.