Add Trigger for a rule
Triggers are used to invoke rules configured within AppForms. When a rule is associated with a specific trigger, it executes automatically based on the defined event.
For example:
- If a rule is created under the Form Load trigger, it will execute when the form loads.
- If the selected control is a Button, the rule will execute when the end user clicks the button.
- For other data entry controls, the rule will execute when the control’s value changes.
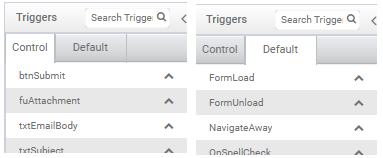
AppForms supports two types of triggers:
- Control-based triggers
- Default triggers
You can view the list of available triggers in the left pane of the Rules Editor window in the designer.
1. Set a Trigger for a Rule
When you create a new rule, you must assign a trigger to define when it should execute.
Steps:
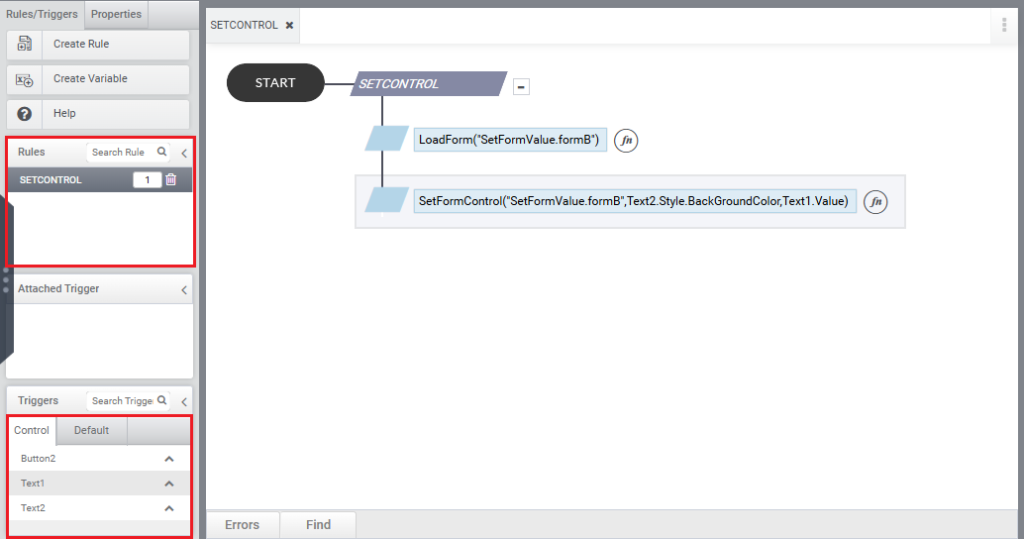
- In the Rules Editor, select the rule from the Rules section in the left pane.
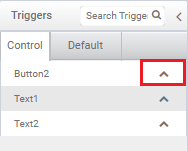
- Navigate to the Triggers section.
- You will see a list of available default triggers and control-based triggers.
- Select the desired trigger.
- Click the top arrow button to set the selected trigger for the rule.
2. Create a Rule Associated with a Control
(Automatic Trigger Assignment)
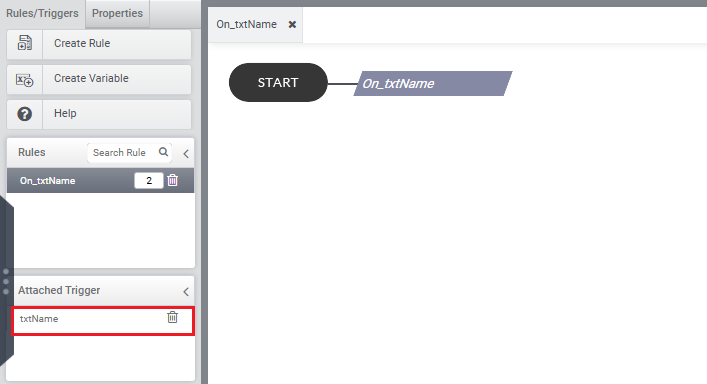
You can also create rules directly associated with a specific control. In this case, the selected control is automatically set as the trigger.
Steps:
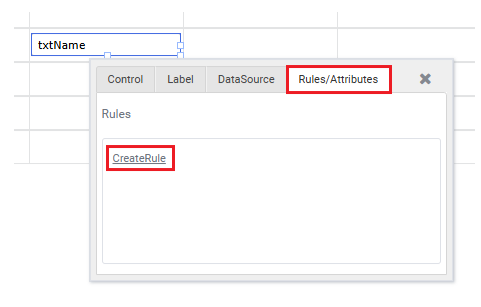
- Select the control in the form.
- In the popup Properties window, navigate to the Rules/Attributes section.
- Click Create Rule.
Once the rule is created, the selected control is automatically assigned as the trigger for that rule.