Import Tenant
The Import Tenant feature allows you to upload and restore an entire tenant into the environment. This includes all associated configurations, settings, forms, and templates, ensuring that the tenant is fully replicated in the new environment without the need for manual setup. This is especially useful for migrating tenants between environments or restoring from a backup.
Let’s explore this in detail.
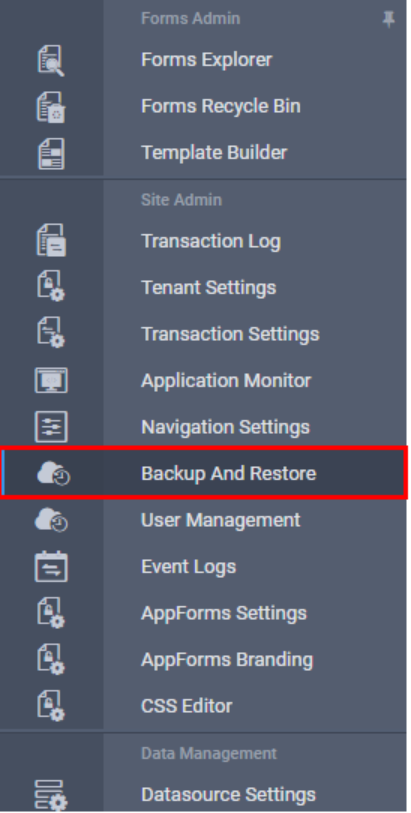
Step 1: Click on Backup and Restore option from the left navigation link as shown in the image below.
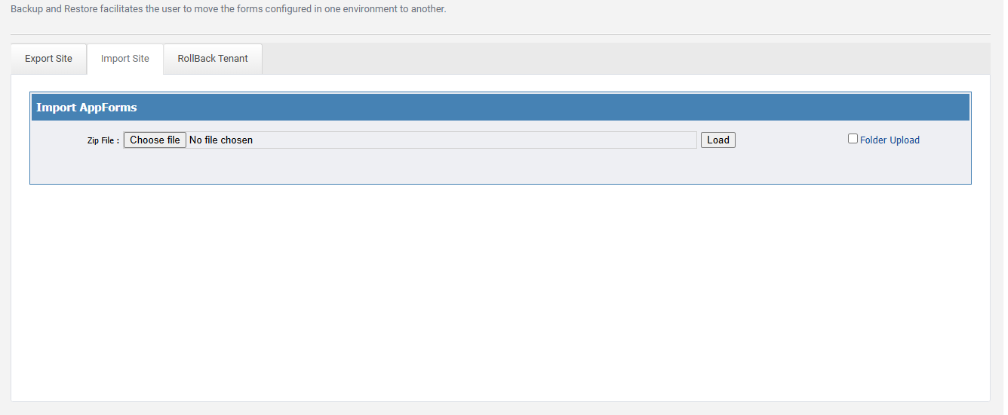
Step 2: Backup and Restore Page appear. Click on the Import Site tab as shown in the image below.
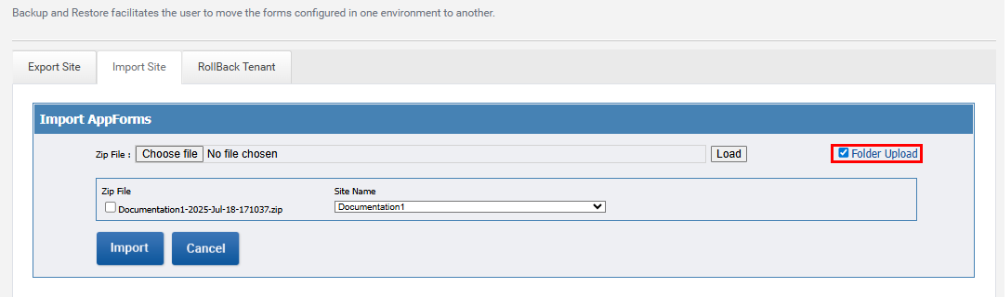
Step 3: An option called “Folder Upload” will be available as shown in the image below. When this option is enabled during import, the folders in the current tenant will be retained within the same site. If the option is not selected, the folders present in the current form will not be retained when importing the form from another tenant.
Step 4: Click the Choose File button to open the file selection window, as shown in the image below. Then, select the backup file that was previously saved from the source site.
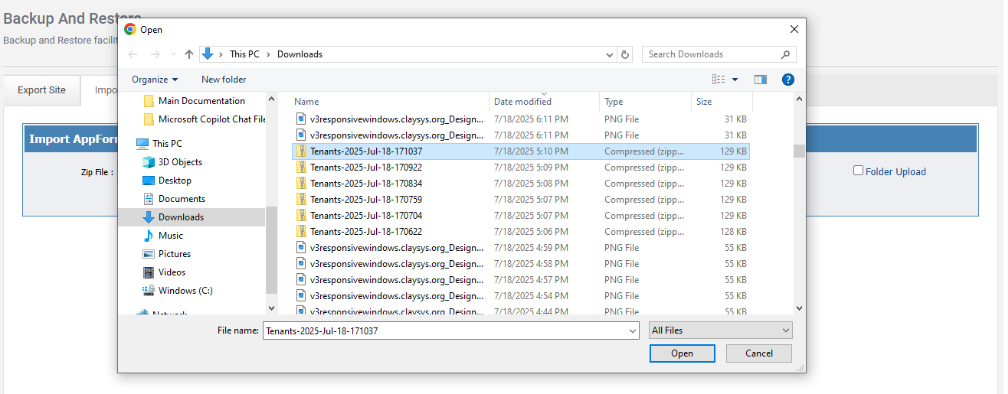
Step 5: Click the Load button as shown in the image below.
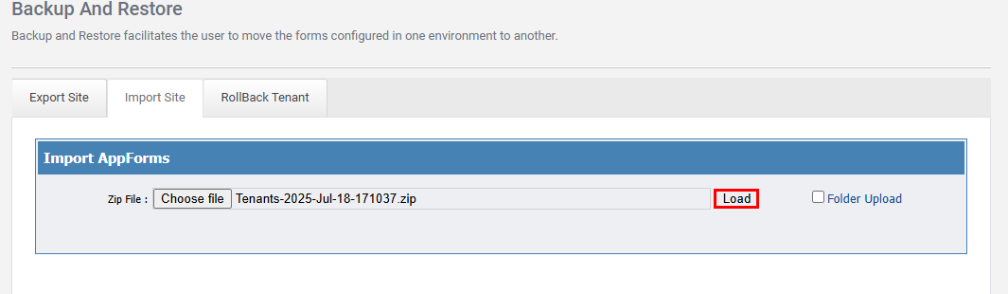
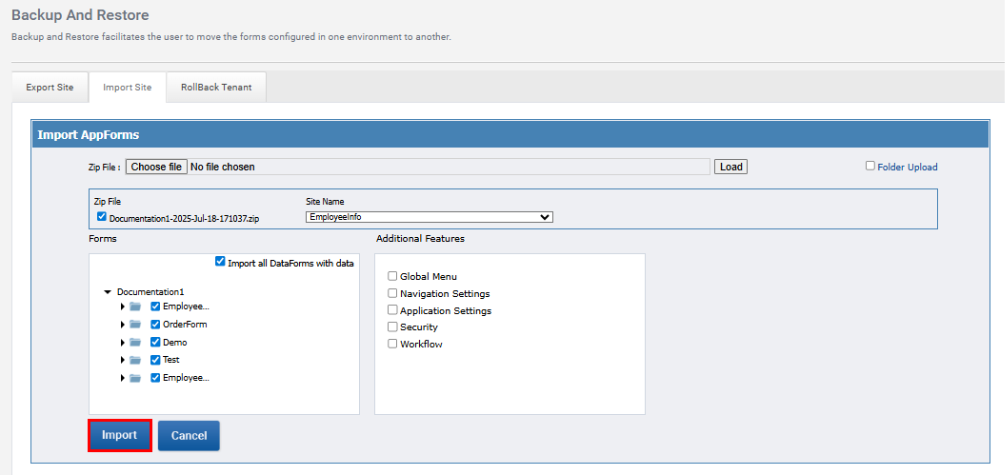
Step 6: Select the zip file and choose the site name, the list of folders and additional features available in the tenant appears as shown in the image below.
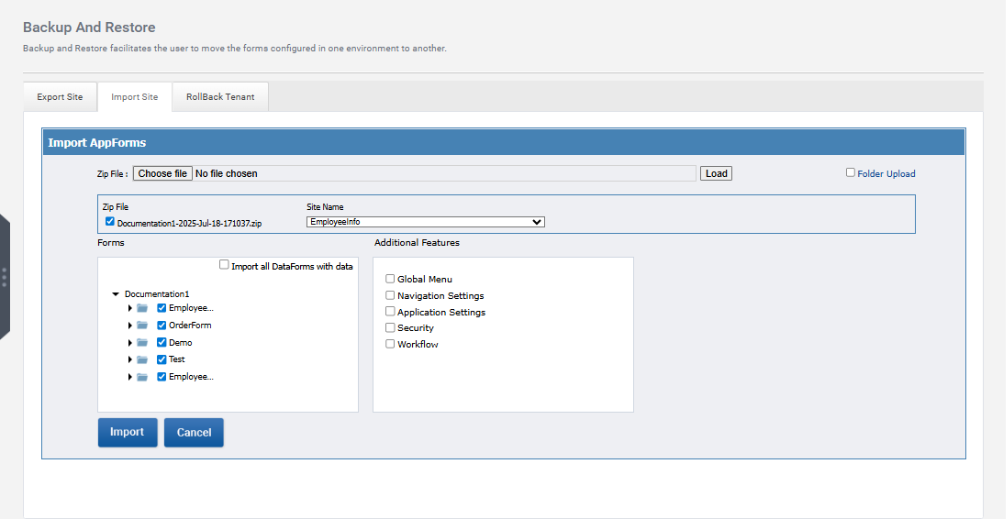
Step 7: By default, all folders will be selected. Users can deselect any folders they do not wish to import. Additionally, select additional features if required. To import all DataForms along with their data, enable the Import all DataForms with data option, as shown in the image below.
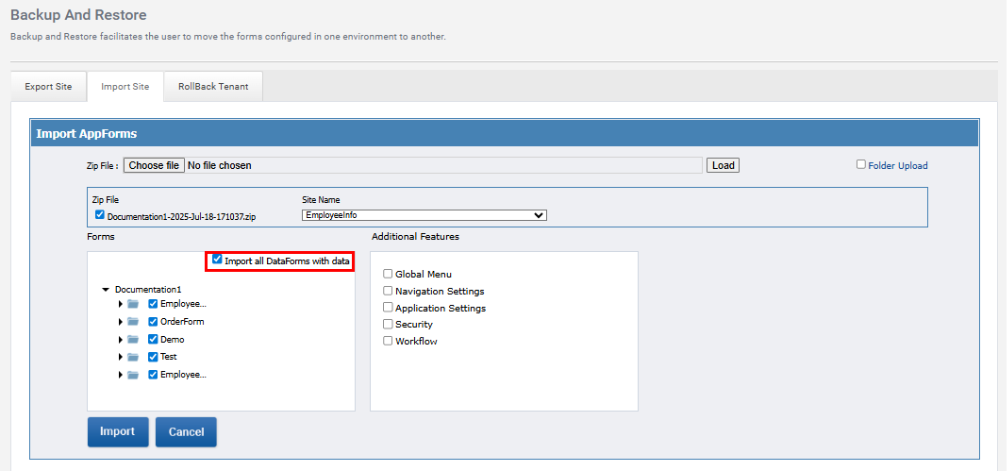
Step 8: Click the Import button as shown in the image below.
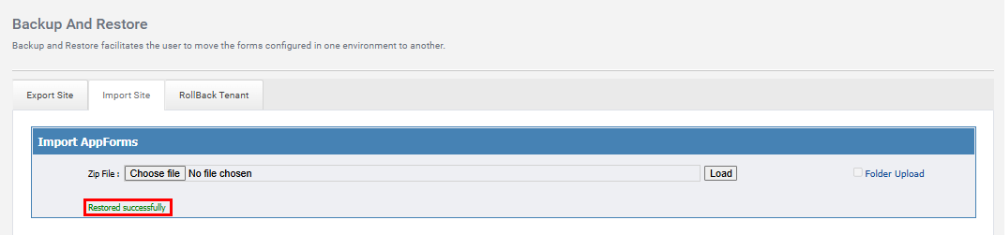
Step 9: Restored successfully message appears as shown in the image below.