How to create a SQL Server DataSource?
Creating a SQL Server DataSource
- Creating the DataSource
The below image gives the navigation links for the Admin user to reach different sections of the ClaySys AppForms.
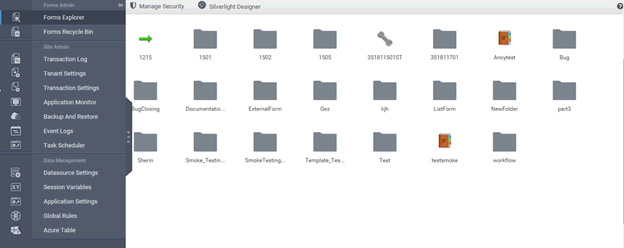
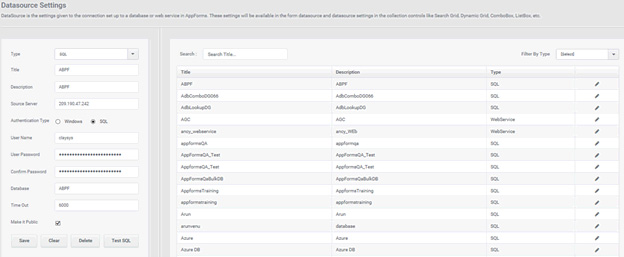
In the section Data Management, we have a link to go to the DataSource Settings, where we can create the different DataSources.
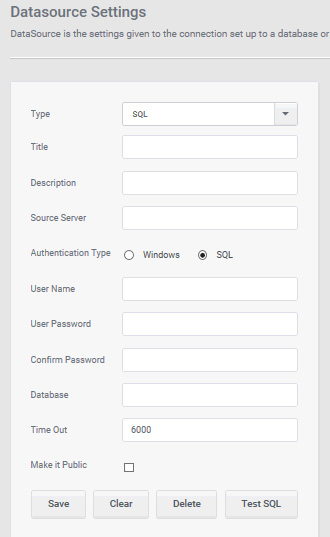
The type of the data source that needs to be created can be selected from the ‘Type’ drop down. Also we have two options for the Authentication Type: Windows and SQL.
For using the impersonation we need to select the Authentication Type as windows. On selecting this Authentication Type, a check box to select impersonation will be visible. Select the impersonation check box and the below given UI will be visible. Fill the details of the database to be connected and give the user name and password for the impersonated user in the fields. Test the connection by clicking on the test connection icon (4th icon). If we select the ‘Make it public’ check box this Data source will be available across all sites.
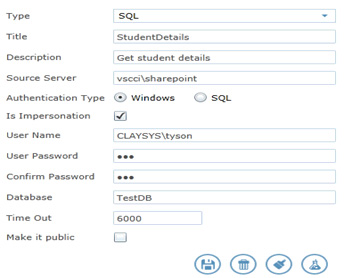
Once the “test connection is succeeded” notification is shown, we can save the DataSource and that will be available to use in the right pane. These DataSources will be available in the form to connect to the respective DataSource.
2.Connecting to the DataSource
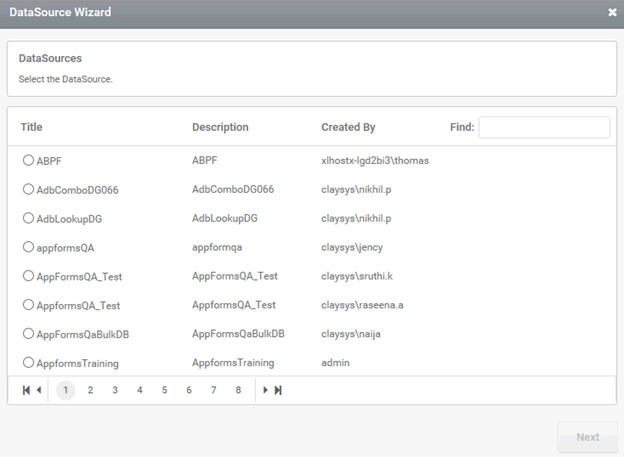
Create a DataSource: Click on DataSources and then on ‘Create DataSource’ to Create/Add a data source to a form.
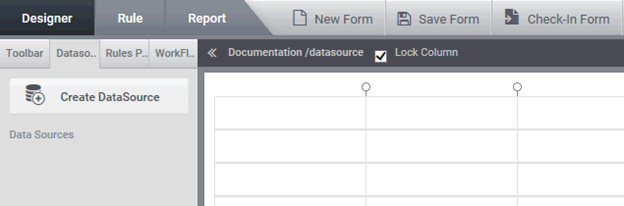
On clicking ‘Create DataSource’ a pop up comes up to select the type of DataSource being used.
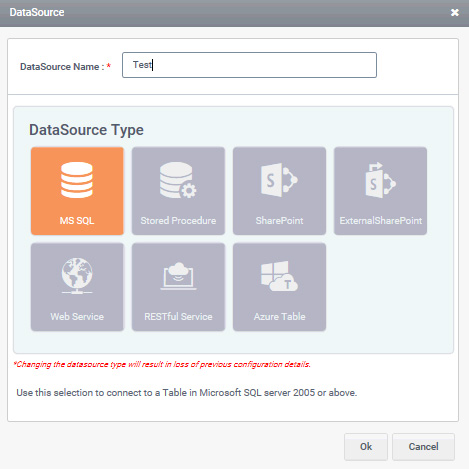
On selecting MS SQL, a list of all the available databases in the site is displayed. On selecting a data base and clicking Next button, all tables available in the corresponding database will be displayed from which a table can be selected.