How can I use the Search grid control with a webservice?
SEARCH CONTROL WITH WEBSERVICE (ASMX) AS DATASOURCE
Configure Search Control with Web Service:
- Drag and drop a Search control from the toolbox.
- Select the data source for Search control either through ‘Quick Menu’ or ‘Properties’ window.
- Select the data source as ‘Web Service’ from the drop down ‘Data Source Type’ and click on ‘Items’ from Properties window in order to proceed with the configuration.
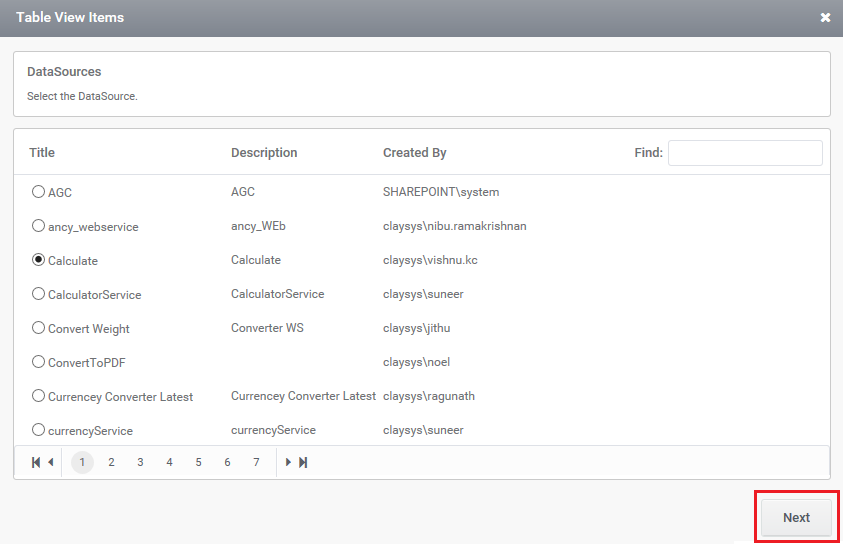
2,‘Table View Items’ window.
- Select a web service data source from ‘Data Source’ wizard.
- Click on the ‘Next’ button in order to continue with the wizard.
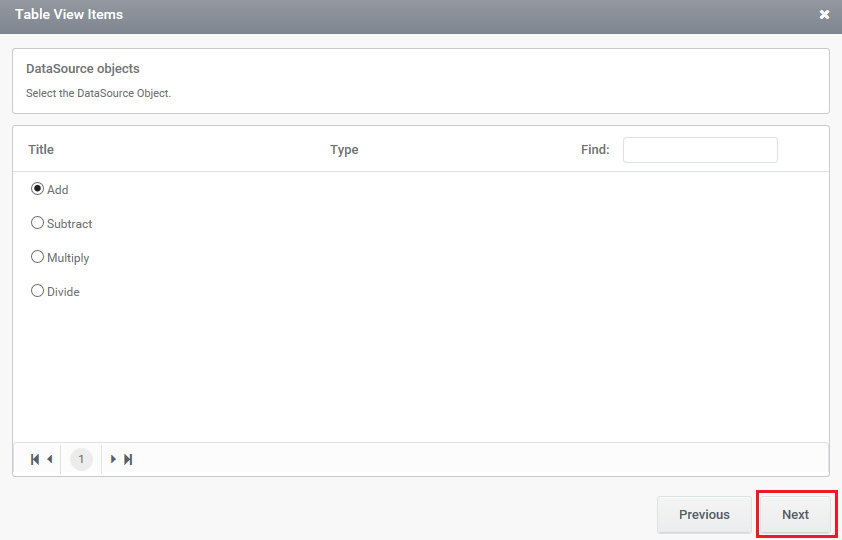
3, ‘Data Source objects’ wizard.
- This window lists out all the web service methods from which any one of the method can be selected that have to be configured with the TableView control.
- Click on the ‘Next’ button to proceed.
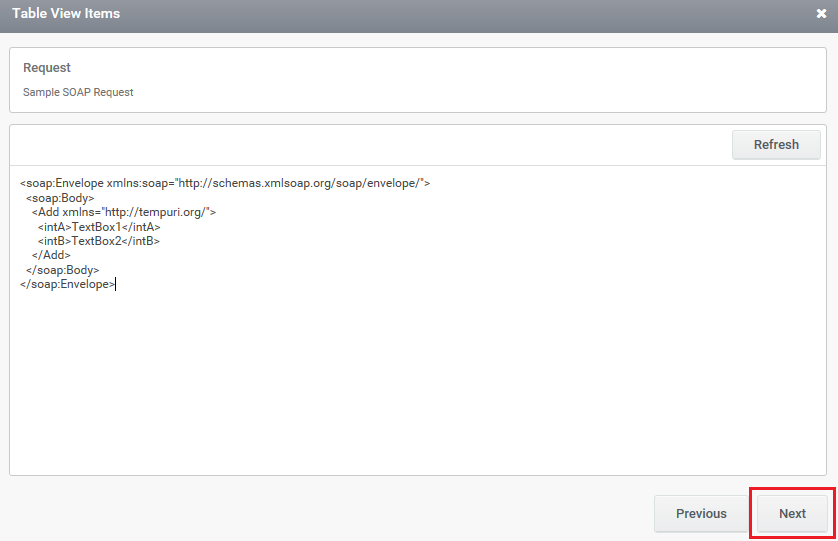
4, ‘Request XML’ wizard will be shown
- The Request XML for the web service will be displayed. User can view the Request XML displayed.
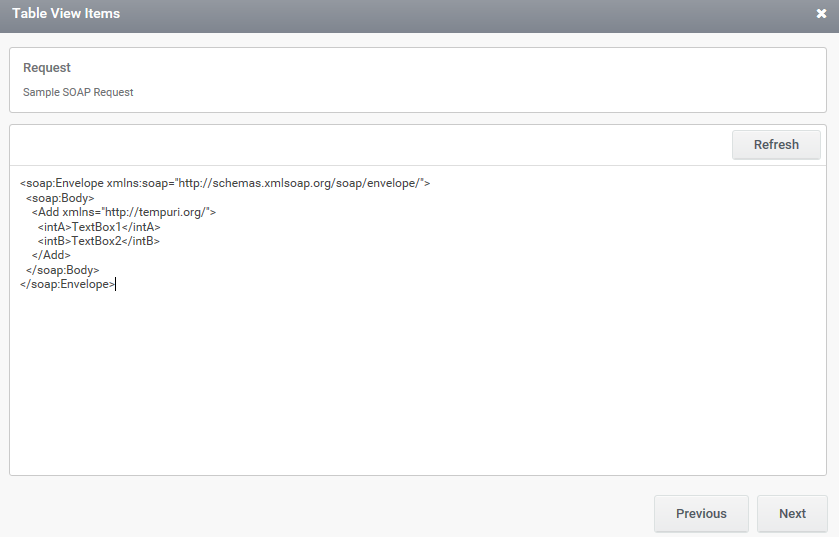
5, Click on ‘Next’ button to proceed with the configuration wizard.
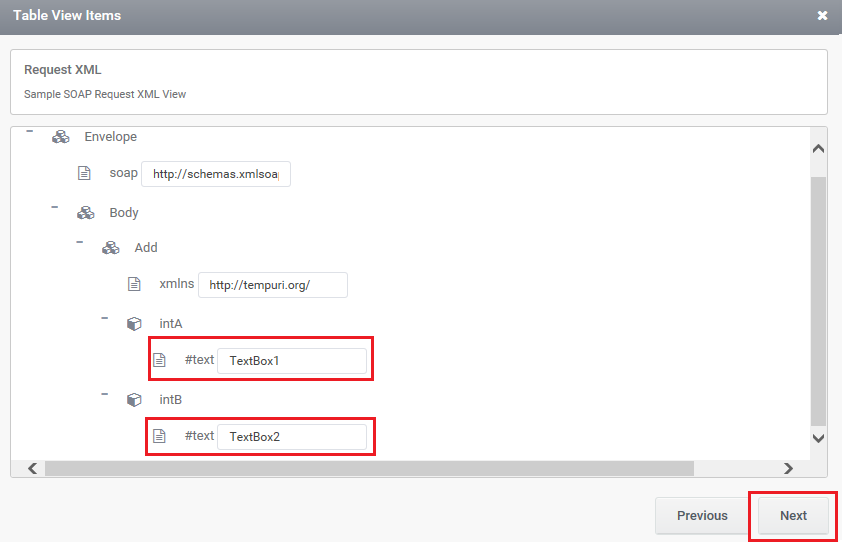
- User can configure the input nodes either with static values or with the controls configured in the form.
- These configured input nodes will get transmitted along with the request.
- Click next Button.
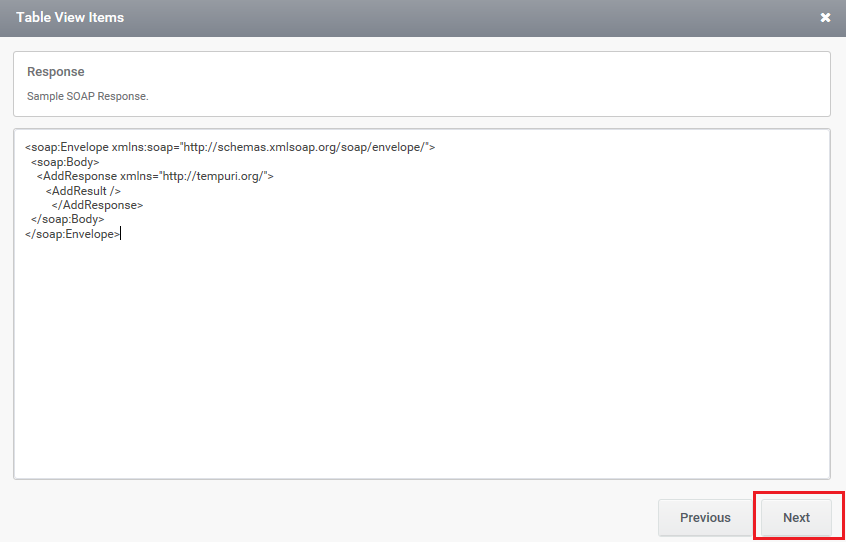
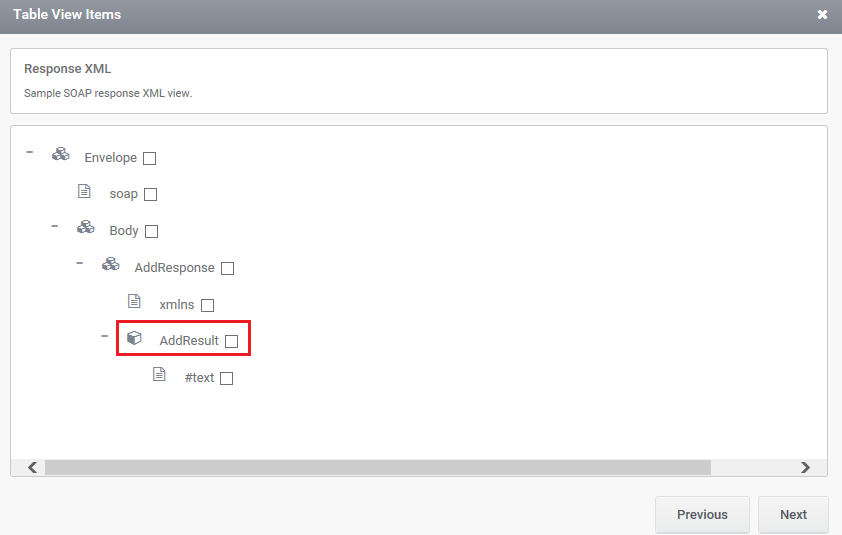
6‘Response XML’ wizard will be shown.
- User can select the output nodes that have to be appeared as the resultant columns in Search control.
- By default, starter will be set to be root note of the ‘Response XML’ (For the below shown Response XML, the root node will be set as ‘Envelope’.).
If there are multiple resultant nodes in Response XML that has to be displayed as different rows in Search control as shown below ( Here the node named ‘AddResult’ will be considered as one of the resultant row in Search. Likewise each ‘AddResult’’ node will be considered as each row in Search control).
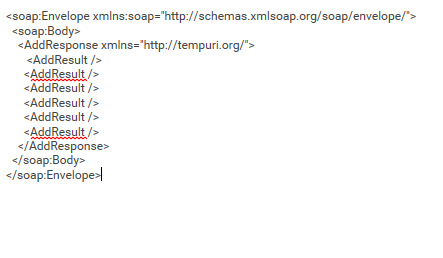
When Search control is loaded with multiple rows, user has to manually change the starter as the parent node of the selected resultant nodes (Here starter node will be ‘AddResult’).
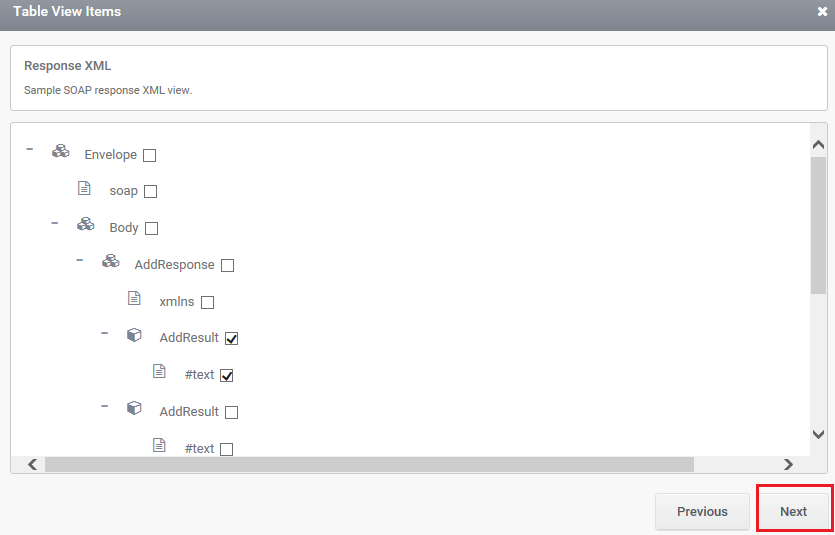
Click on ‘Next’ button to continue.
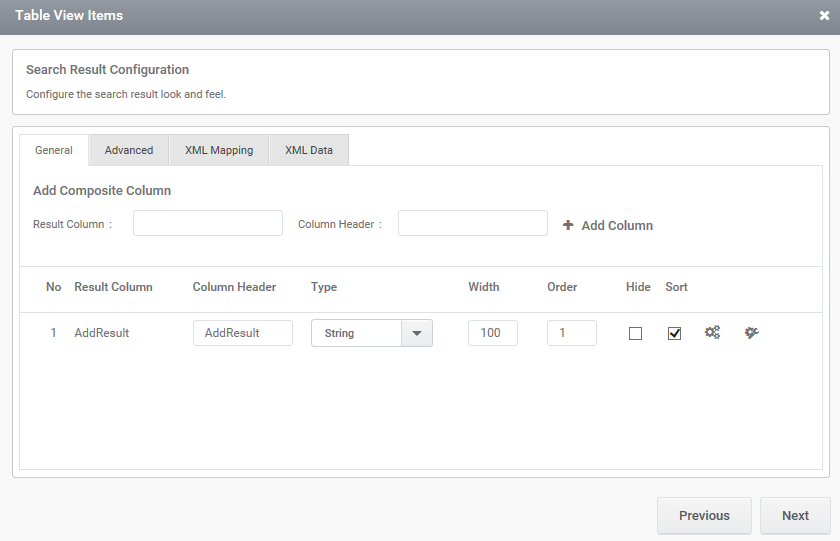
7 ‘Search Result Configuration’ wizard gets open up.
Look and feel of the resultant columns for Search control can be managed in this wizard.
- General Tab
- All the output nodes selected can be viewed as the resultant columns.
- User can change the look and feel of these columns.
- Trigger to fill the control can also be managed here using ‘Add Trigger’ button.
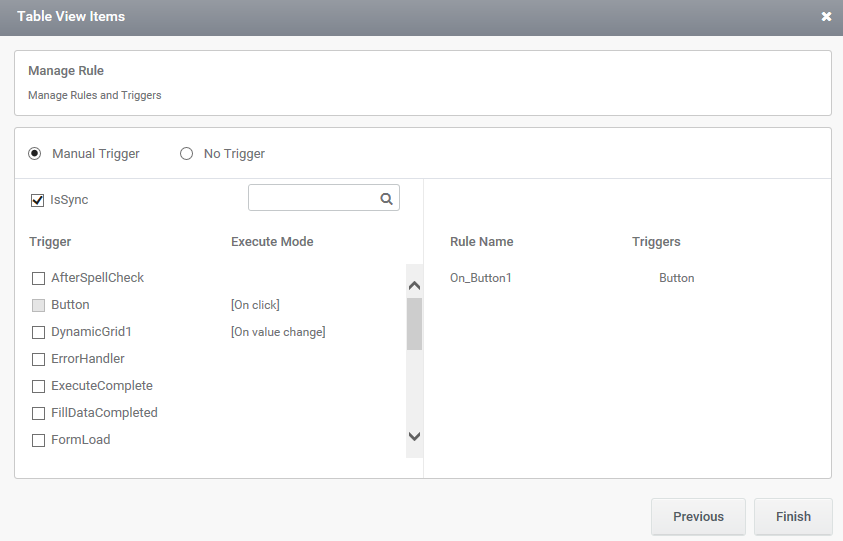
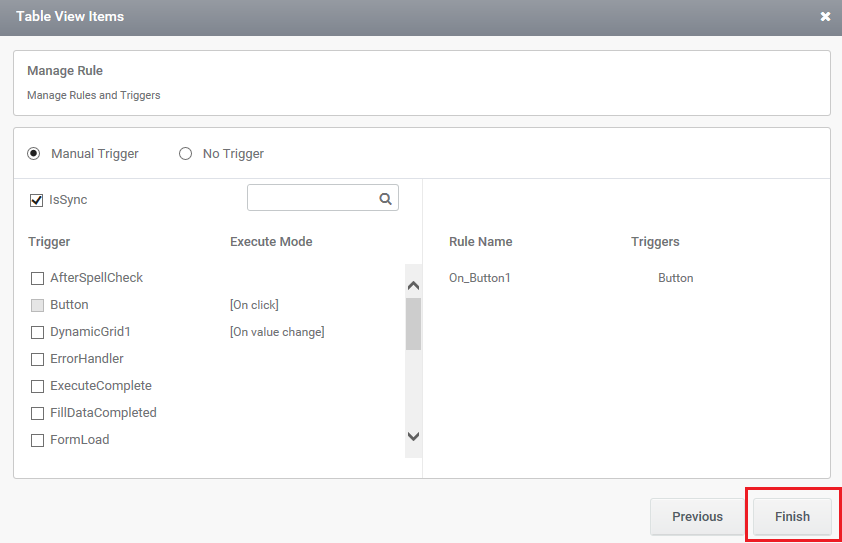
- On clicking ‘Next’ button, a ‘Manage Rule’ window will Open.
- Manage the FillData command as ‘Sync’ and ‘A-sync’.
- Manage the trigger on which the control has to be loaded in preview.
- View the FillData commands associated with the same control under section ‘Associated Rules’.
- Now a rule to fill the control will be automatically generated in Rules Engine under the selected trigger.
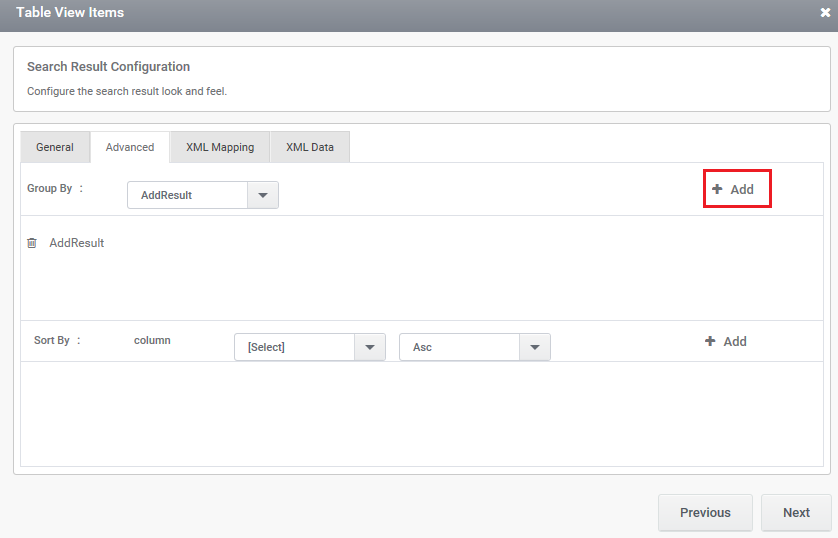
2 Advanced Tab
- Sort order of the resultant columns can be managed.
- Select the column name from the drop down ‘Column’ based on which the sorting has to be done.
- The ‘Ascending’ or ‘Descending’ order can be selected from the nearby drop down.
- Click on button ‘Add’.
- Now the selected column will get added.

- Group order for the resultant columns can be also managed in this tab.
- Select the column name from the drop down ‘Column’ based on which the grouping has to be done.
- Click on button ‘Add’.
- Now the selected column will be added.
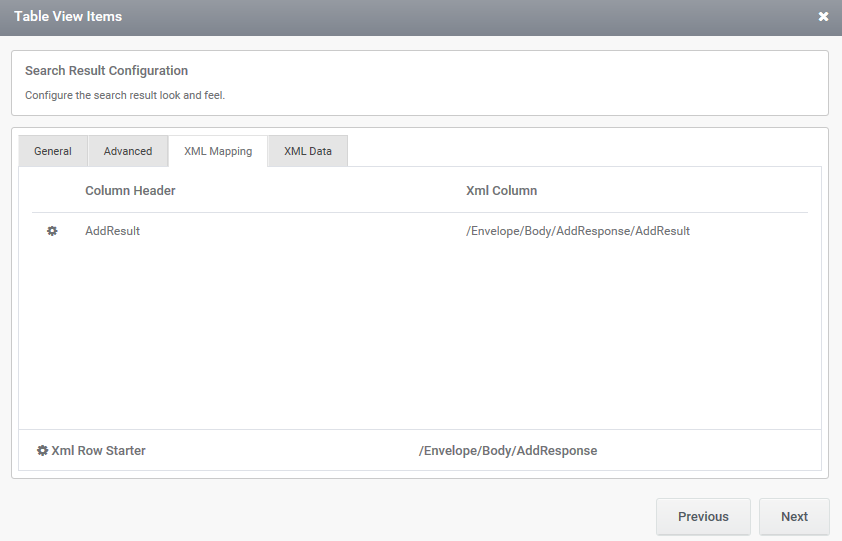
3 XML Mapping
The resultant columns of the Search control gets mapped to the XML nodes automatically.
- XML Row Starter
- Click on
 button in the wizard ‘Search Result Configuration’ to change the XML Row Starter.
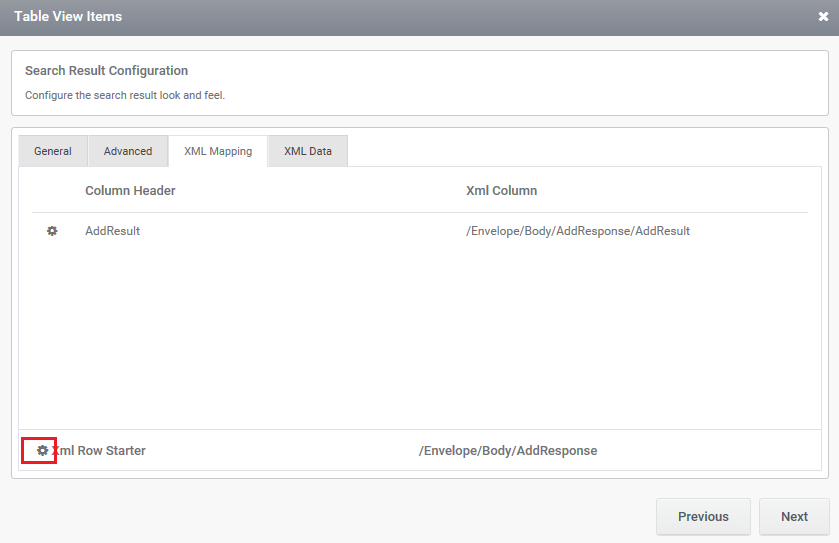
- A window ‘ConfigureXMLWindow’ gets pop up.
- By default, XML Row Starter will be set to the root node of the Response XML which is displayed in ‘XMLPath’.

- In order to populate the Search control with multiple rows, the ‘XML Row Starter ‘has to be set as the parent node of the resultant nodes (Here ‘AddResult’ will be the parent node).
- Now the ‘XMLPath’ will be automatically changed to the path of the newly selected starter node.
- Click on button ‘OK’ to proceed.
4, XML Data
Response XML for selected web service method can be viewed.
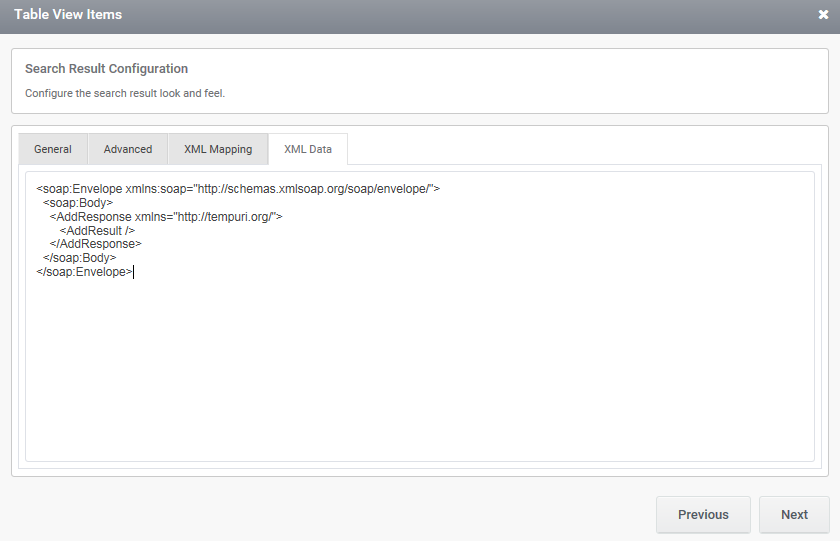
5, Click on ‘Finish’ button to save the configuration of Search control with web service.
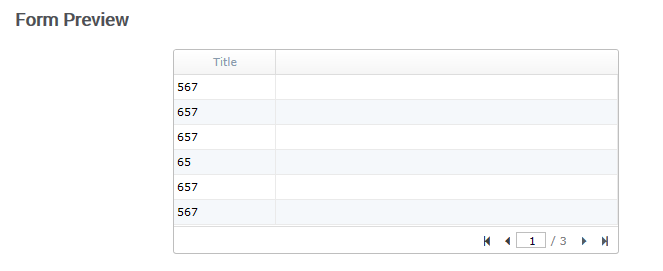
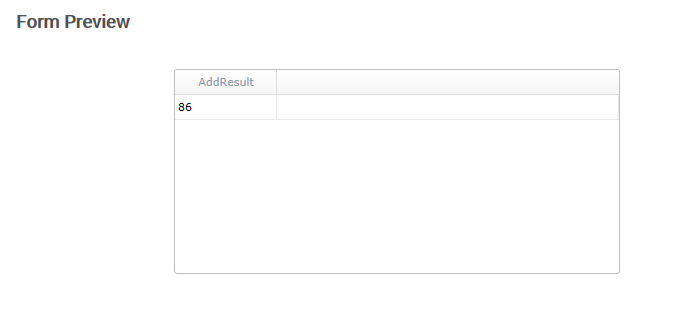
In Preview,
Search control gets populated with single row based on the Response XML.
Search control gets populated with multiple rows based on the Response XML.