Steps to Check In a Process
Whenever a user finishes modifying a particular project or process, the changes can be Checked-in, making it available for other users to check out and continue working on the same. This approach assists in managing several concurrent development projects, keeping track of version history, and avoiding data loss or overwriting of changes made by different team members.
There are two ways to access the Source Control –
- By clicking the source control icon on the right-hand side of the designer panel.
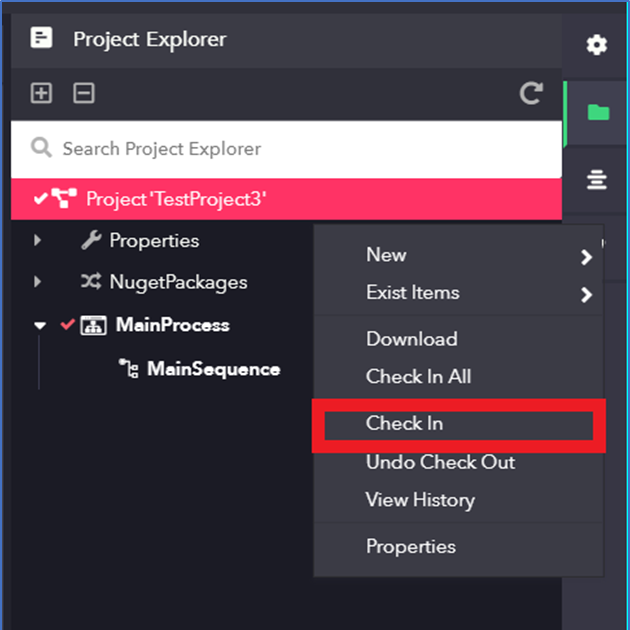
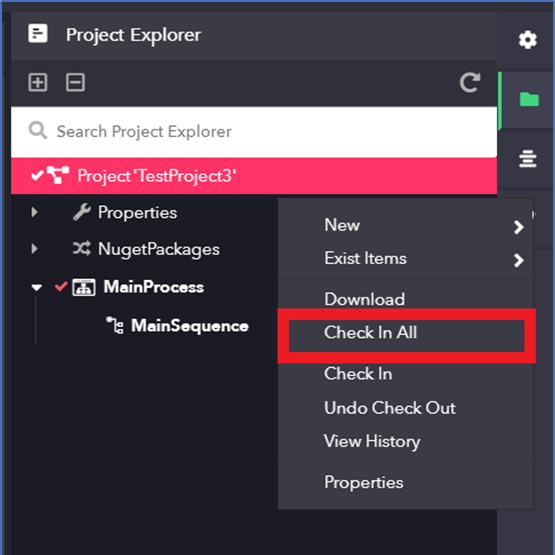
- Right-click either on a particular Process and select the Check-In option Or Right-click on a Project and select the Check-In All option.
Note: The Check-In option is used for a particular Process while the Check-In All option is used to check-in all the processes that come under the project. It is not only applicable for the process but also for the UI window, Folder and File.
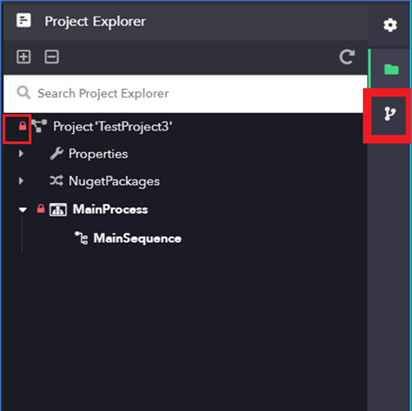
- In the “Project Explorer”, a lock symbol will appear beside the process that had been checked-in as shown in the above image.
- On accessing the Source Control panel, a list will be shown consisting of a project, processes, folders, files, UIWindows or a combination of all depending on what the user has created or modified.
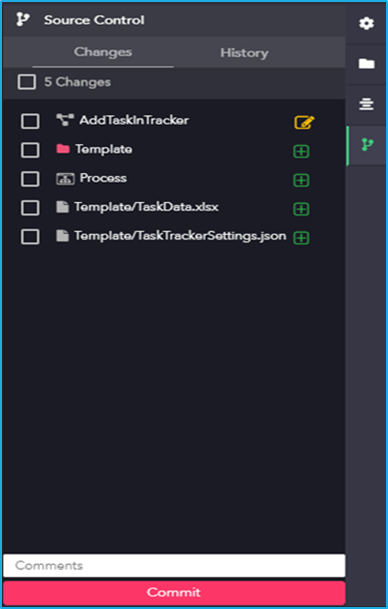
- Suppose the list has only processes within it, then either a single process or multiple processes can be selected depending on the requirement.
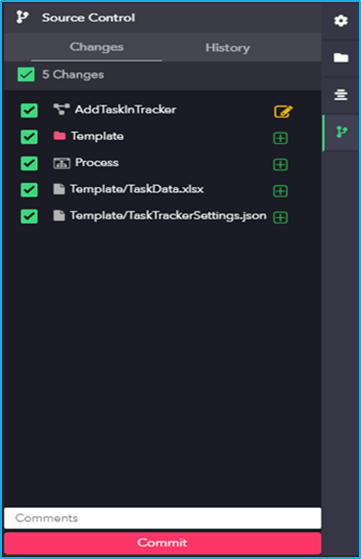
- Add a comment in the comments field and then ‘Commit’ button can be clicked finally to Check-In the selected processes.