Queue Scheduler
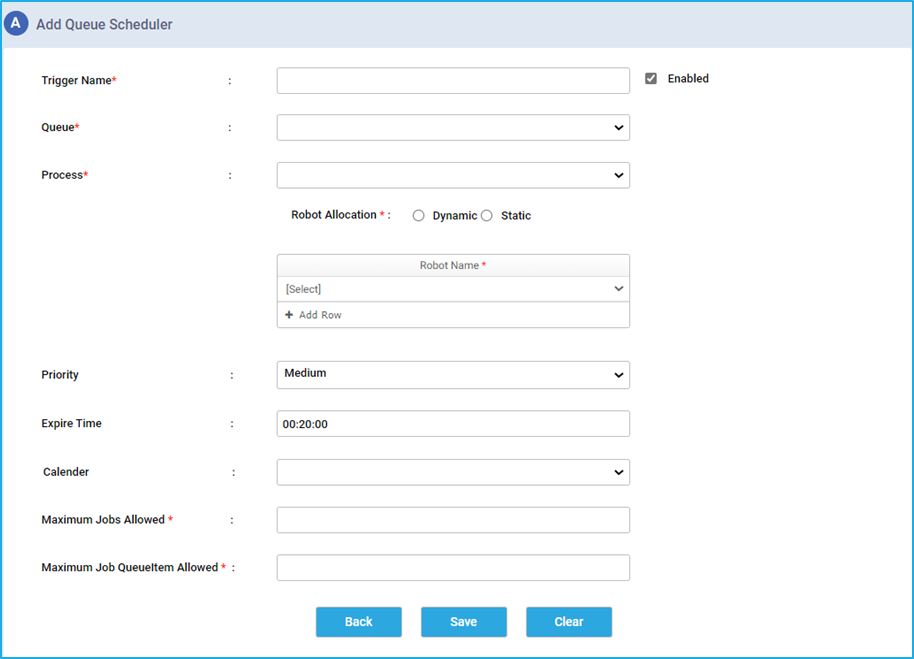
Queue scheduler can be used if a user needs to trigger a process when items are added to a particular Queue. On clicking the ‘Queue Scheduler’ option, it takes the user to a window where they need to fill out the necessary details as follows:
- Trigger Name: Provide a name for the trigger that is to be created.
- Queue: Using the drop-down, select the queue in which new queue items will be added.
- Process: Using the drop-down, select the process that needs to be triggered once the queue item(s) gets added to the queue.
- Robot Allocation: In the Robot Allocation, there are two options:
- Dynamic: On selecting the dynamic option, then the process will be triggered based on the availability of the bots.
- Static: On selecting the static option, specify one or more robots that will be used to trigger the process using the dropdown.
- Priority: Using the drop-down, set the priority of the job to either High, Medium or Low.
- Expire Time: This field is used to terminate the Job which is not running and is in the Scheduled State after the specified time.
- Calendar: Select any holidays that were created previously. The Calendar field can be used to manage the trigger on the selected holidays.
- Maximum Jobs Allowed: Specify the maximum number of jobs that will be created when a certain number of queue items are added to the queue.
- Maximum Job QueueItem Allowed: Specify the number of Queue Items that should be allowed in order to create a particular job.