How to Configure a YES or NO MessageBox using pop up form?
How to Configure a YES or NO MessageBox using pop up form
In Claysys AppForms a user can add a message box with two types of button, either OK or OK/CANCEL.
In rare cases there may be needs for users to add buttons with other values.
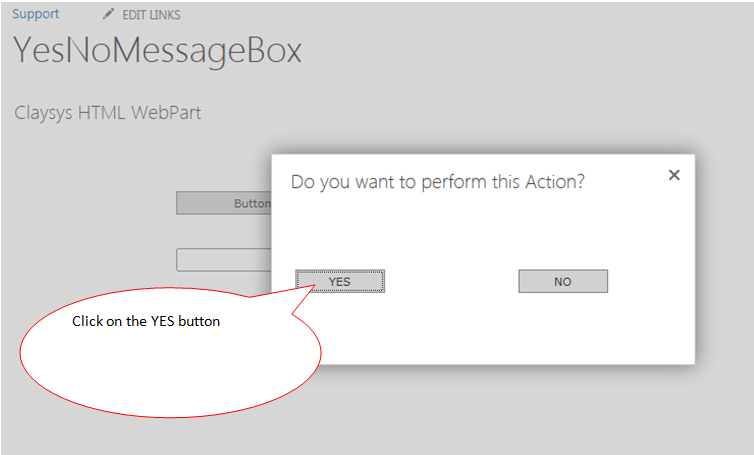
Here we are demonstrating how you can add a message box with Yes or No Buttons using pop up forms.
Step 1
- Create a Form. Name it as ParentForm.
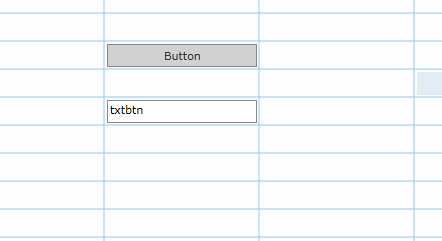
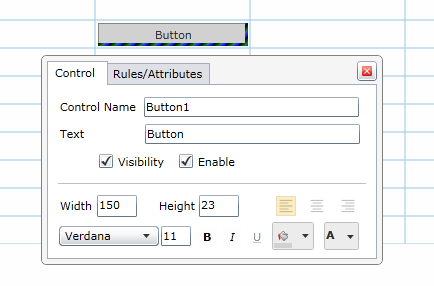
- Drag and drop a Button control and Textbox Control.
Step2
For the time being save and checkin the current form.
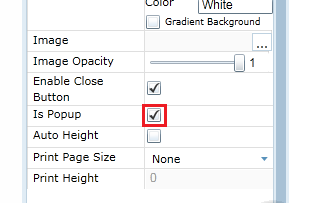
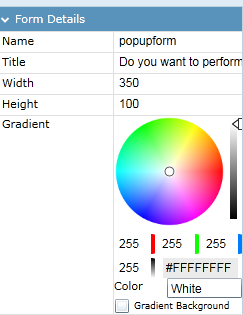
- Create another Form. Name it as pop up form.
- In the property window of the new form check the Is Pop up Property to set this new form as a pop up form. Save and checkin the pop up form.
Step3
- Load the ParentForm.
- Click on the button control.
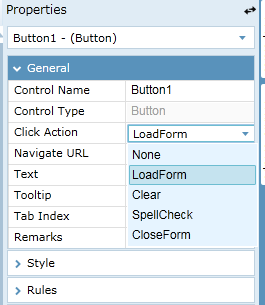
- In the Property window of the button control, Click on the Click action drop down menu and select “LoadForm” option.
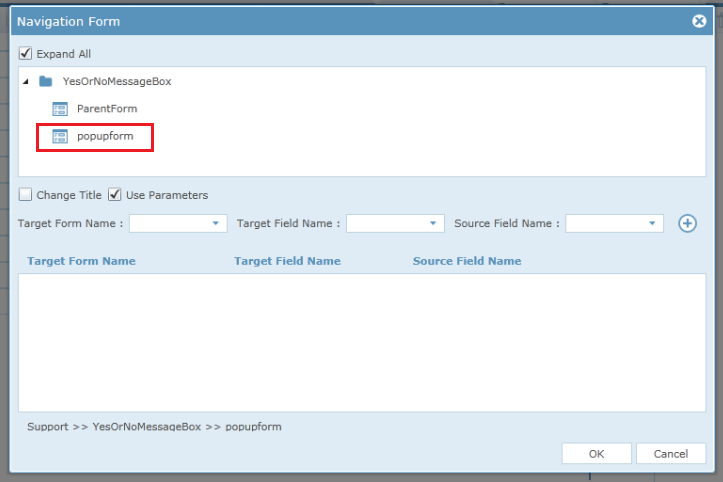
- Click on the Navigate URL menu which is just beneath Click Action menu .
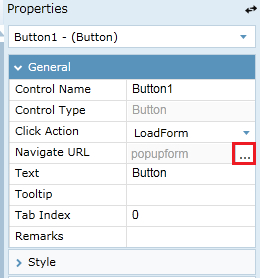
A Pop up window will open prompting the user to select the form to load after the button click. In this scenario we need the pop up form to be loaded. So select the pop up form and click OK.
Step4
- Load the pop up form.
- Configure the height and width of the pop up form so that it appears to be a message box .
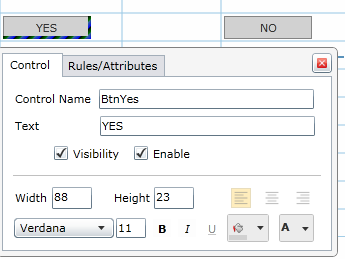
- Add two buttons in the designer and give the default values as Yes and No.

Step5
- Set the rules and actions for the button control.
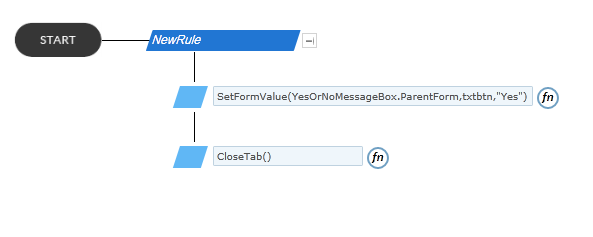
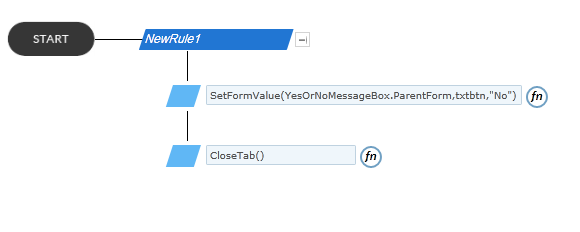
- On the trigger of the YES button write a rule like this
- On the trigger of the NO button write a rule like this
- The syntax of the function SetFormValue() is
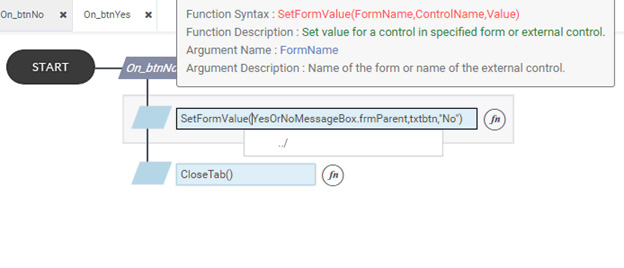
By calling the SetFormValue() function we are passing a value from a form to another form on a trigger, like a button or a value change.
In this scenario, the function SetFormValue() carries three arguments
1.Name of the form, to which the value is being passed.
Here it is “YesOrNoMessageBox.ParentForm”.
2.Name of the control to which the value is being passed.
Here it is “txtbtn”.
3. The value to be passed. It can either be a string or control value.
Here we are passing the string value “Yes” / “No”
We also included a CloseTab() function as we are configuring a pop up form to a message box functionality .So once the user click on the ‘YES’ button the pop up form will be force closed. Same way for the ‘NO’ button. Save and checkin the form.
Step6
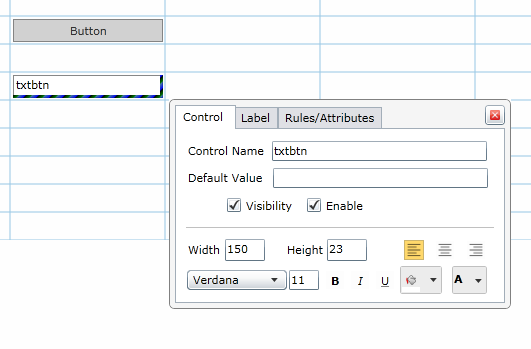
- Load the parent form.
- We have to check whether the Values Yes and No is being passed, for that we are adding a textbox control.
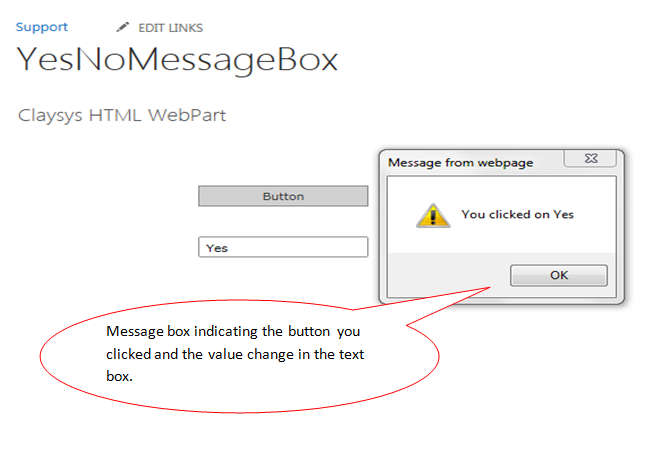
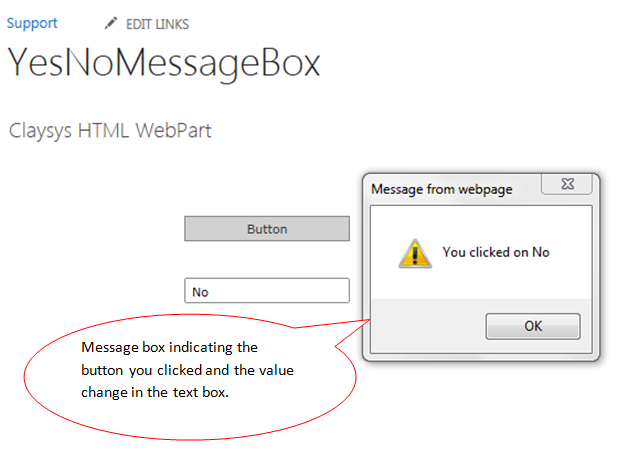
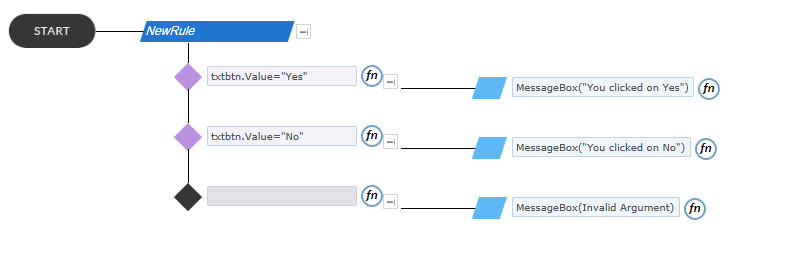
- On the trigger of the textbox control create the rule to display what value is being passed to the form by using a MessageBox.
Note: The SetFormValue() will only work on WebPart. So to get the desired output add the forms to the web part and preview the output.
The desired outputs are attached below