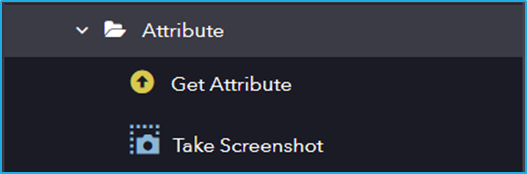
The Attribute subfolder under UI Automation contains activities related to extracting properties of UI elements. It includes actions like Get Attribute (retrieves a specific attribute) and Take Screenshot (captures an image of the UI element).
The Attribute category has the following sub activities:
Get Attribute: This activity retrieves the value of a specific attribute of a UI element.
Input Properties:
AttributeName: Name of the attribute that is to be retrieved.
Output Properties:
Value: String variable that stores the retrieved value.
Take Screenshot: This activity is used to capture the screenshot of a specified UI element.
Output Properties:
Image: Image variable of the resultant screenshot.
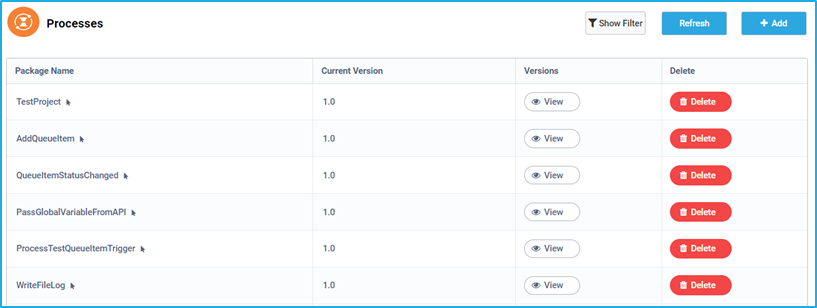
A Process can be defined as a package version of a project. Once a project is published through RPA Genie Studio, it will be uploaded to the BOT Manager in the form of a package. To incorporate a package as a process, select the desired package name and version. It will then be displayed in the ‘Processes’ tab, where the process name and its current version will be visible. Additionally, the newly added process will appear in the RPA Genie agent/co-pilot tray, ensuring easy access.
Furthermore, Processes can be executed at a scheduled time, by using the Job scheduler feature in the Triggers. This enables us to trigger the required process based on a predefined date, time and frequency without running the process manually. However, if it is a queue-based process, then we can execute that process using the Queue scheduler feature. In this case, each time a new queue item(s) gets added to the queue, the selected process will be executed accordingly.
In the Processes tab, the first column displays all the names of the published projects in Studio, also known as packages. The next column displays the current version of a particular process. It is followed by the versions column where users can view the different versions of a particular process.
Note: Separate versions for a single process will only be available if the corresponding project gets republished each time after making necessary changes to it in Studio.
The ‘View’ button can be used to manage the version of a process i.e. update or roll back the process by changing the version. Last is the ‘Delete’ column where the user can delete a particular process.
Steps to download a NuGet package from the Bot Manager:
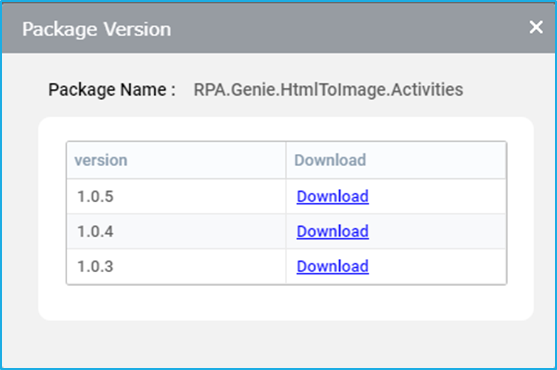
Click on the ‘View’ button in the ‘Details’ column against the NuGet package that is to be downloaded
The ‘Package Version’ window will appear displaying the NuGet package name along with its available versions and a link for downloading the specific version of the NuGet Package.
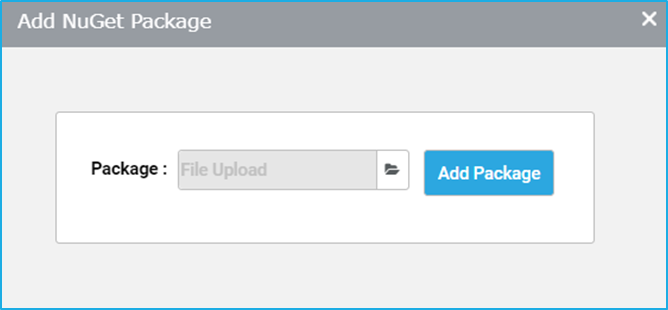
In the NuGet Packages tab, click on the ‘Add Package’ button.
The ‘Add NuGet Package’ window will appear where the user can provide the file path or select the file from the browser window by clicking on the ‘Browse’ button.
Click on the ‘Add Package’ button to upload the NuGet package.
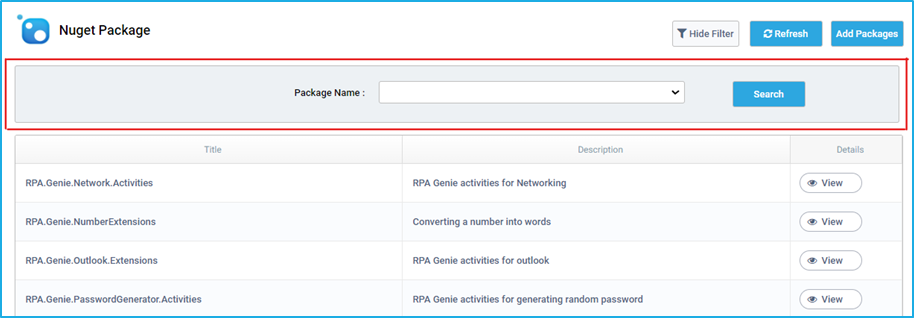
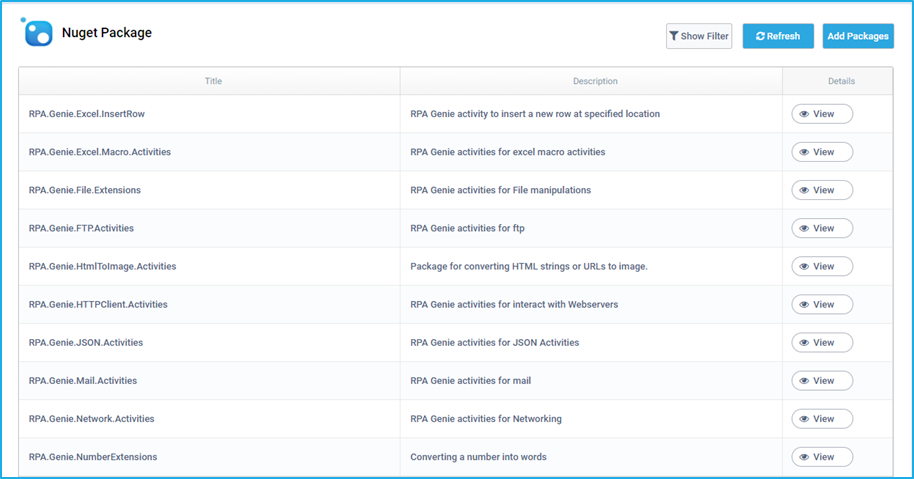
The packages tab consists of a sub-section called the NuGet-package which is a package manager designed to enable developers to write and share NuGet files containing reusable activities, which can then be accessed from Genie Studio for running an automation. For certain automation, users may have specific requirements while developing the projects in Studio. Therefore, to make use of the additional custom activities users can navigate to the NuGet Packages window in Genie Studio.
Note:The extension of a NuGet package is “.nupkg”
The NuGet packages tab can be used to add NuGet files that can be accessed later from the Genie studio. This tab lists the names of the NuGet packages with their descriptions and versions. It also provides the filter, download and upload options.
Note: Once a library project has been created and published through Studio, it is reflected in the NuGet Packages tab. This library project can be used within any other project by downloading from the NuGet Packages window in Studio. Similar to packages, users can also directly download any version of a particular NuGet package by clicking on the ‘view’ button.
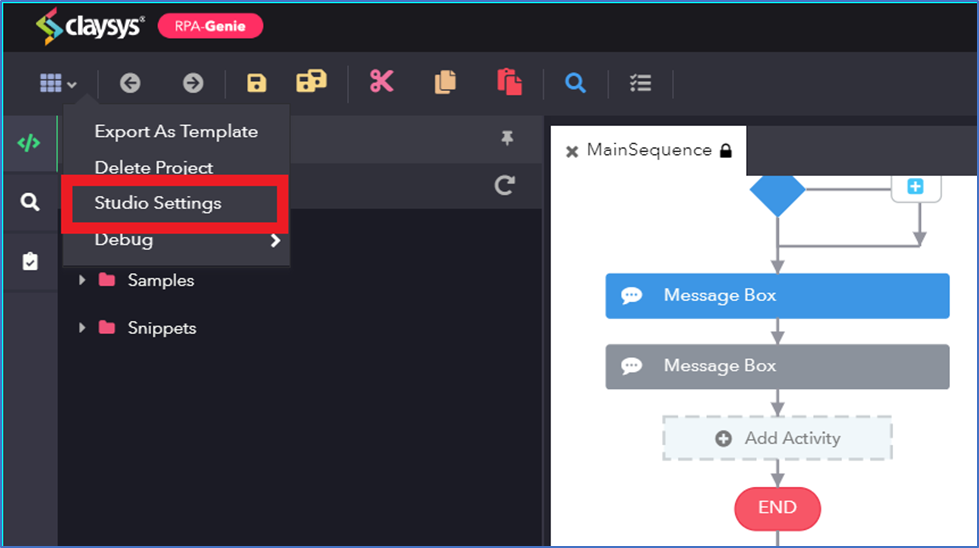
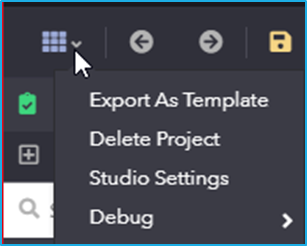
Studio settings have options that can be tweaked in a project. Select the ‘Studio Settings’ by clicking on options in the Options menu at the top left to access it.
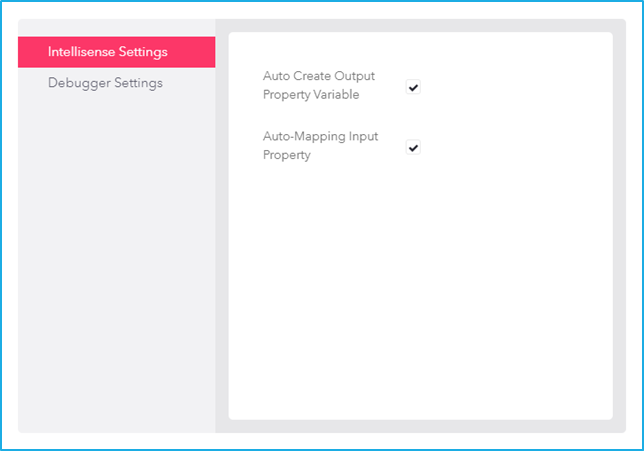
Studio settings window will appears on the designer panel where the user can change the settings for IntelliSense and Debugger.
IntelliSense Settings
IntelliSense Settings consists of fundamental features that are recommended to perform particular actions during the design stage of an automation project at the activity level. It includes:
Auto Create Output Property Variable – If this checkbox is selected, it indicates that the output variable needs to be generated automatically.
Auto-Mapping Input Property – If this checkbox is selected, it indicates that the output needs to be auto-populated from the previous activity.
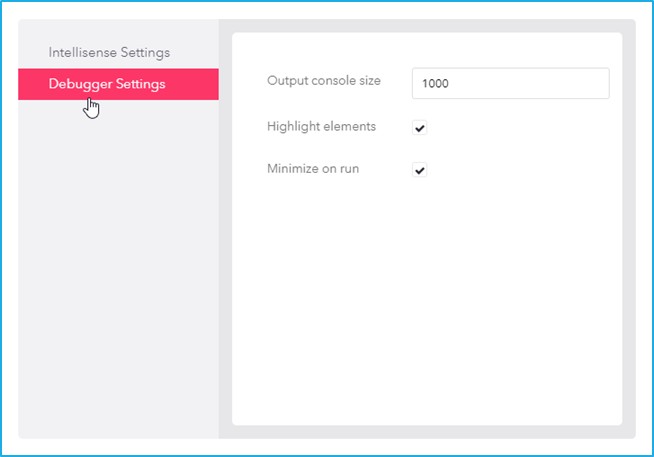
Debugger Settings
Debugger Settings contains global settings that are applicable to all projects opened in this version of studio. It includes:
Output console size – The output console is a panel that displays as soon as the process execution begins which will log each activity that is being performed. The output panel can display a maximum of 9,999 lines. The default value is 1000 lines.
Highlight elements – If this check box is selected, it will highlight those UI elements that were indicated during the configuration of UI activities while the process is being executed.
Minimize on run – If this check box is selected, the studio will be minimized while executing a project. After the execution of the project, the studio will be maximized.
Project templates can help to speed up the design process. Users can also design and publish custom templates that can be used in their future projects.
Exporting a Project as a Template
A test automation project can be exported as a Template, which will be available in the template tab. The Export as Template option in the project menu can be used to export a project as a template which will include all the process lists, NuGet packages etc.
Note: Unsaved changes are not reflected while creating templates.
To create a template:
Select Export as Template by clicking on options at the top left.
Give a template name and a description to identify the templates.
Click on the Save button to create the Template. After saving, a new template gets created and will be available in the template list tab.
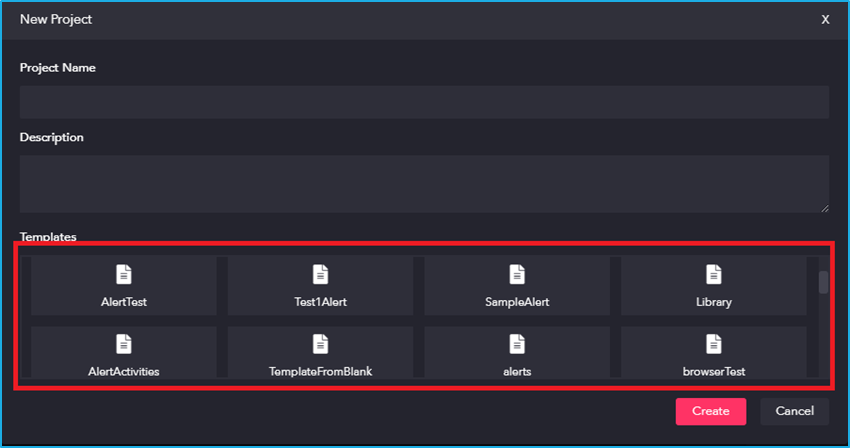
To create a project with a template:
Click on the New-Blank project option to create a project.
Provide a Project Name and a suitable Description for the new project.
Select a Template from the available templates displayed in the Template list tab in order to create a project using the templates. However, if no template has been selected, a blank project gets created.
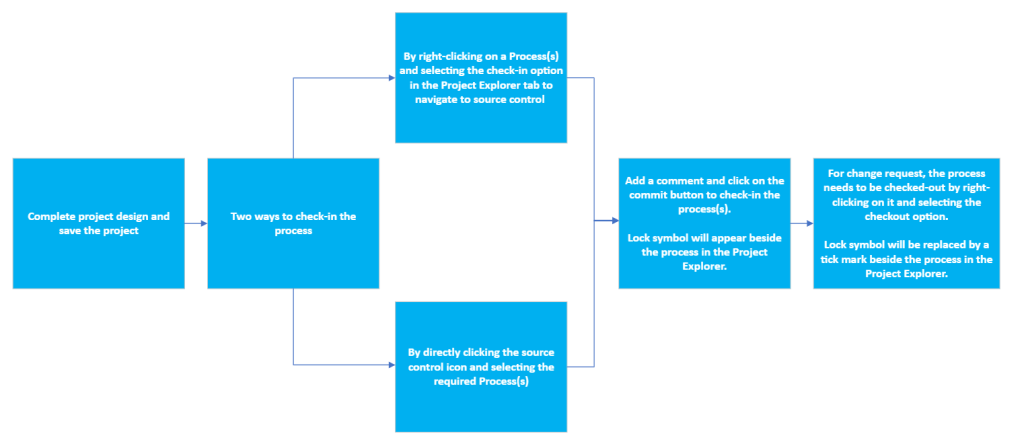
Whenever a project has been modified by a user and the same project has been checked in after the modification, the changes that the user had made will be reflected in the source control panel as a history.
The source control feature allows users to collaborate with multiple users using the default Genie Source Control Integration while developing large projects.